Apache | Integrating with Tomcat (mod_proxy_ajp) | Creating a Simple Web App in Tomcat
First, configure Tomcat so it works by itself. The goal is to run a simple JSP through Apache that displays only Tomcat Page from Tomcat.
For the web program created here, create a directory named hello under {Tomcat installation directory}/webapps.
C:\apache\apache-tomcat-9.0.29\webapps>dir
 C 드라이브의 볼륨에는 이름이 없습니다.
 볼륨 일련 번호: XXXX-XXXX

 C:\apache\apache-tomcat-9.0.29\webapps 디렉터리

2019-12-08  오전 02:38    <DIR>          .
2019-12-08  오전 02:38    <DIR>          ..
2019-12-07  오전 02:19    <DIR>          docs
2019-12-07  오전 02:19    <DIR>          examples
2019-12-08  오전 02:40    <DIR>          hello <------------------ newly created directory.
2019-12-07  오전 02:19    <DIR>          host-manager
2019-12-07  오전 02:19    <DIR>          manager
2019-12-07  오전 02:19    <DIR>          ROOT
               0개 파일                   0 바이트
               8개 디렉터리  450,057,445,376 바이트 남음

C:\apache\apache-tomcat-9.0.29\webapps>
In the created directory, create the configuration file {Tomcat installation directory}/webapps/hello/WEB-INF/web.xml and write the following.
<?xml version="1.0" encoding="UTF-8"?>
<web-app xmlns="http://java.sun.com/xml/ns/javaee" xmlns:xsi="http://www.w3.org/2001/XMLSchema-instance"
    xsi:schemaLocation="http://java.sun.com/xml/ns/javaee http://java.sun.com/xml/ns/javaee/web-app_3_0.xsd"
    version="3.0">

    <welcome-file-list>
        <welcome-file>index.jsp</welcome-file>
    </welcome-file-list>

</web-app>
Then create the file {Tomcat installation directory}/webapps/hello/index.jsp, which will be displayed on the screen, and write the following.
<html>
<body>
<h1>Tomcat Page</h1>
</body>
</html>
Now run the command file {Tomcat installation directory}/bin/startup.bat to start Tomcat. A console window like the following should appear.
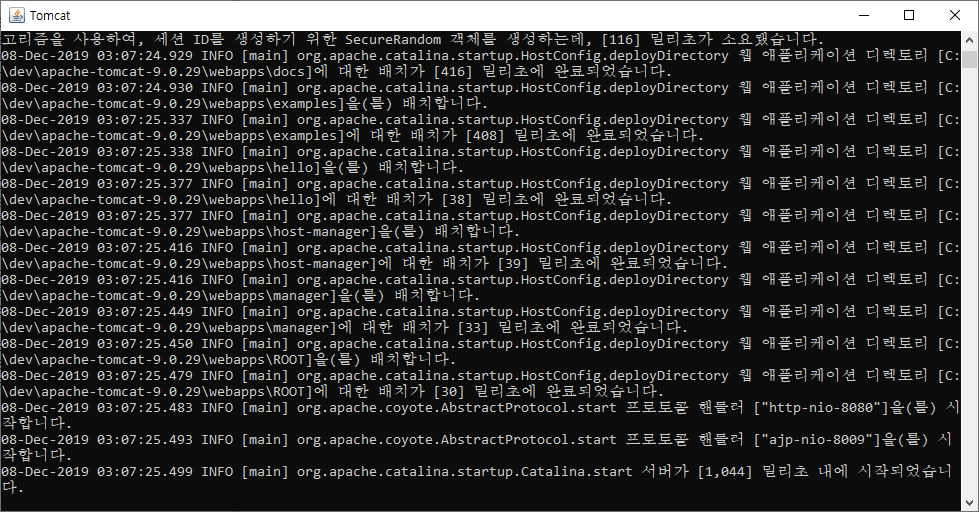
Check whether the page is displayed by accessing http://localhost:8080/hello/ in a browser.
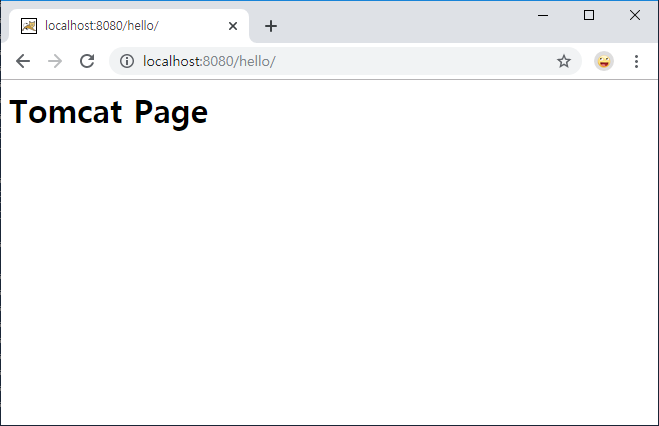
If it is displayed as above, the preparation is complete.