Getting Started with Maven | Maven Quick Start | Importing into Eclipse
Import the project created in the previous Encoding and Compiler Settings article into Eclipse.
Supplement
If Eclipse is not installed, download and install it from the following link. If you do not use Eclipse, you can skip this section.
https://www.eclipse.org/downloads/
Step 1. Open the Wizard
Open the wizard for importing an existing Maven project.
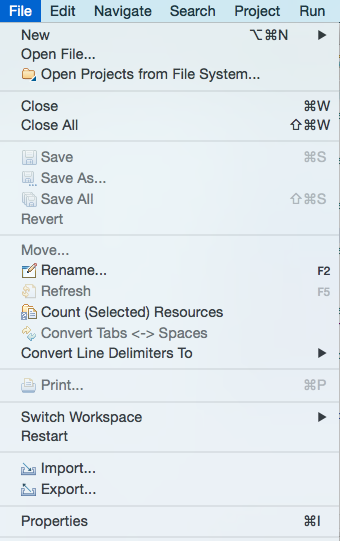
First, click Import... from the File menu.
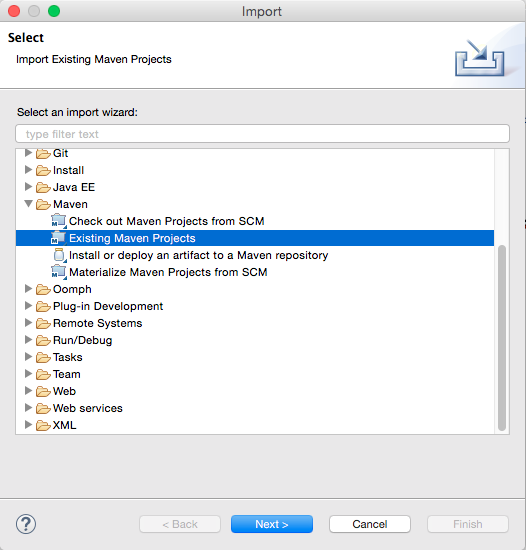
When the new window appears, select Existing Maven Projects and click the Next button.
Step 2. Run the Import
On the next screen, select the my-app directory created so far in Root Directory.
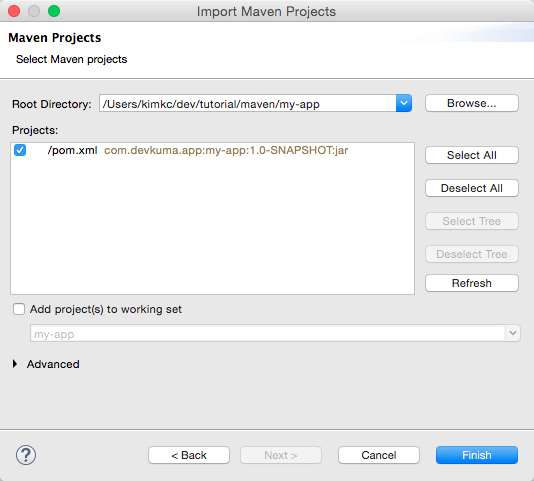
Click the Browse button and select the directory.
Confirm that pom.xml is checked under Projects, then click the Finish button.
Step 3. Check the Result
Confirm that my-app appears in Package Explorer.
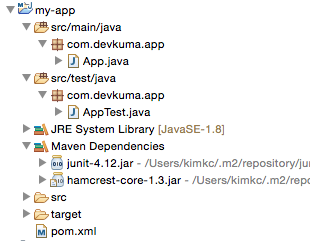
Java is set to 1.8, and JUnit 4.12 is also added as a dependency.