Windows Hyper-V
What Is Virtualization?
In general, an OS runs on hardware such as memory and hard disks. By running that hardware as software, you can create another computer inside an OS.
Benefits of Virtualization
- You can save space, energy, and cost by reducing the number of physical servers.
- You can build different OS environments.
- You can reduce the cost and time needed to prepare environments.
Drawbacks of Virtualization
- Because overhead is added, applications that depend heavily on hardware may not work properly.
What Is Hyper-V?
Hyper-V is a virtualization technology provided by Microsoft.
Hyper-V Features
Hyper-V has two major characteristics.
- It is a Windows Server feature.
- Because Microsoft provides it just like Windows, it is included with Windows Server, has no additional cost, and is simple to use.
- It is hypervisor-based virtualization technology.
- Unlike host-based virtualization technology such as Virtual Server, it runs on a hypervisor in the same way as the management OS, so it operates faster than host-based virtualization.
Enable Hyper-V
To use Hyper-V, you must install and enable it first. Enable it through the page below.
Install CentOS on Hyper-V
Download the CentOS Installation File
Download CentOS Stream 9 x86_64 from the link above.
Quickly Create a Virtual Machine for Installing CentOS on Hyper-V
Here, create a virtual machine with Quick Create.
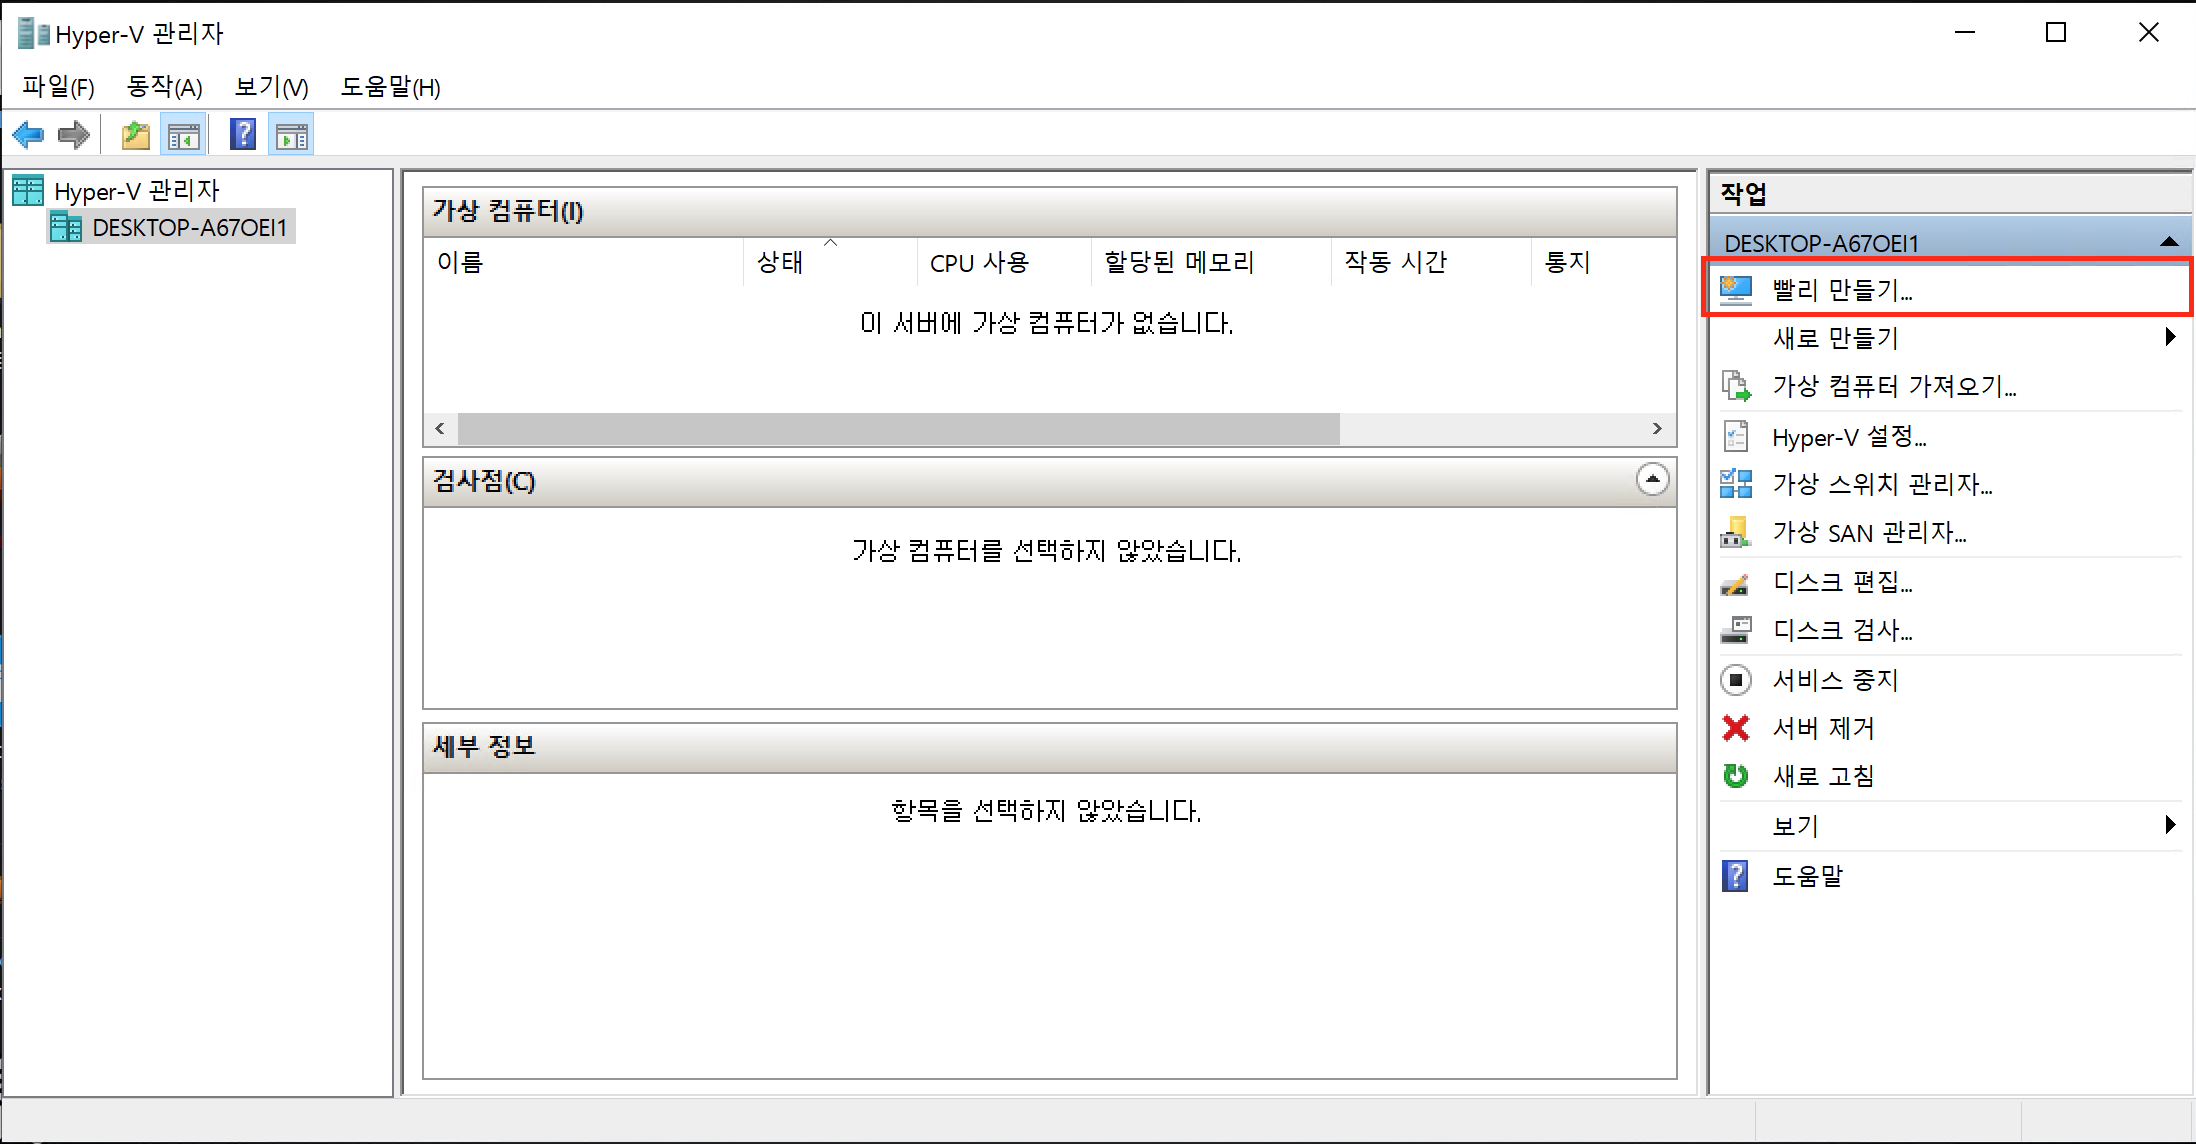
-
Open Hyper-V and click “Quick Create…”.
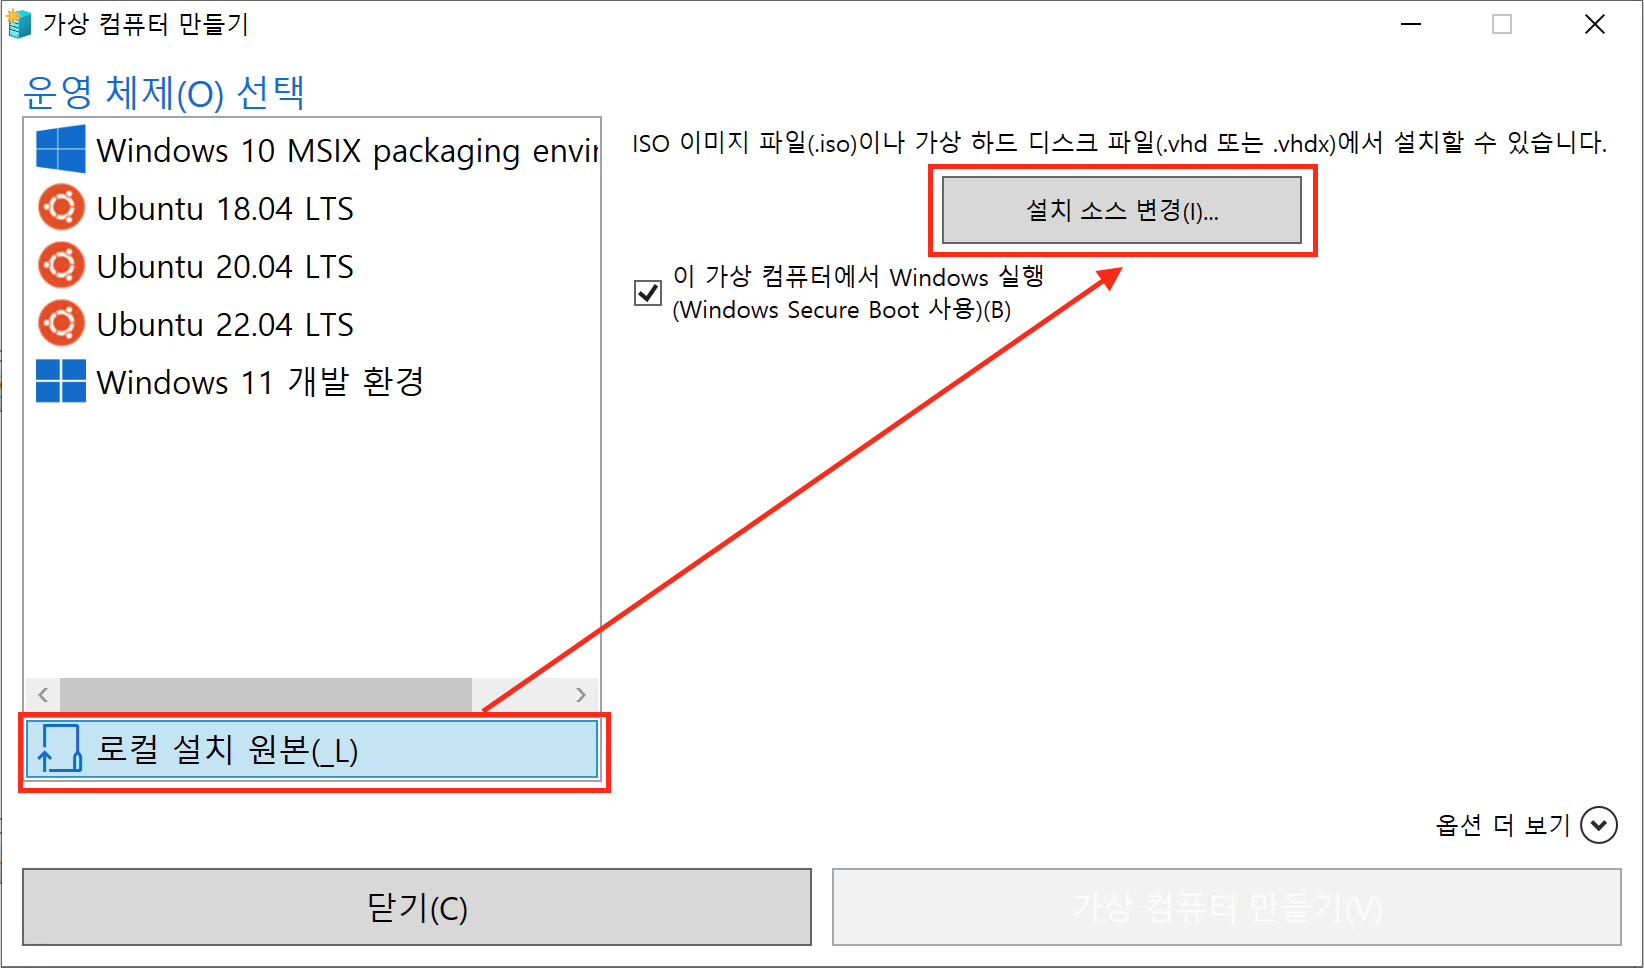
-
When the “Create Virtual Machine” dialog appears, click “Local installation source (_L)”, then click the “Change installation source” button.
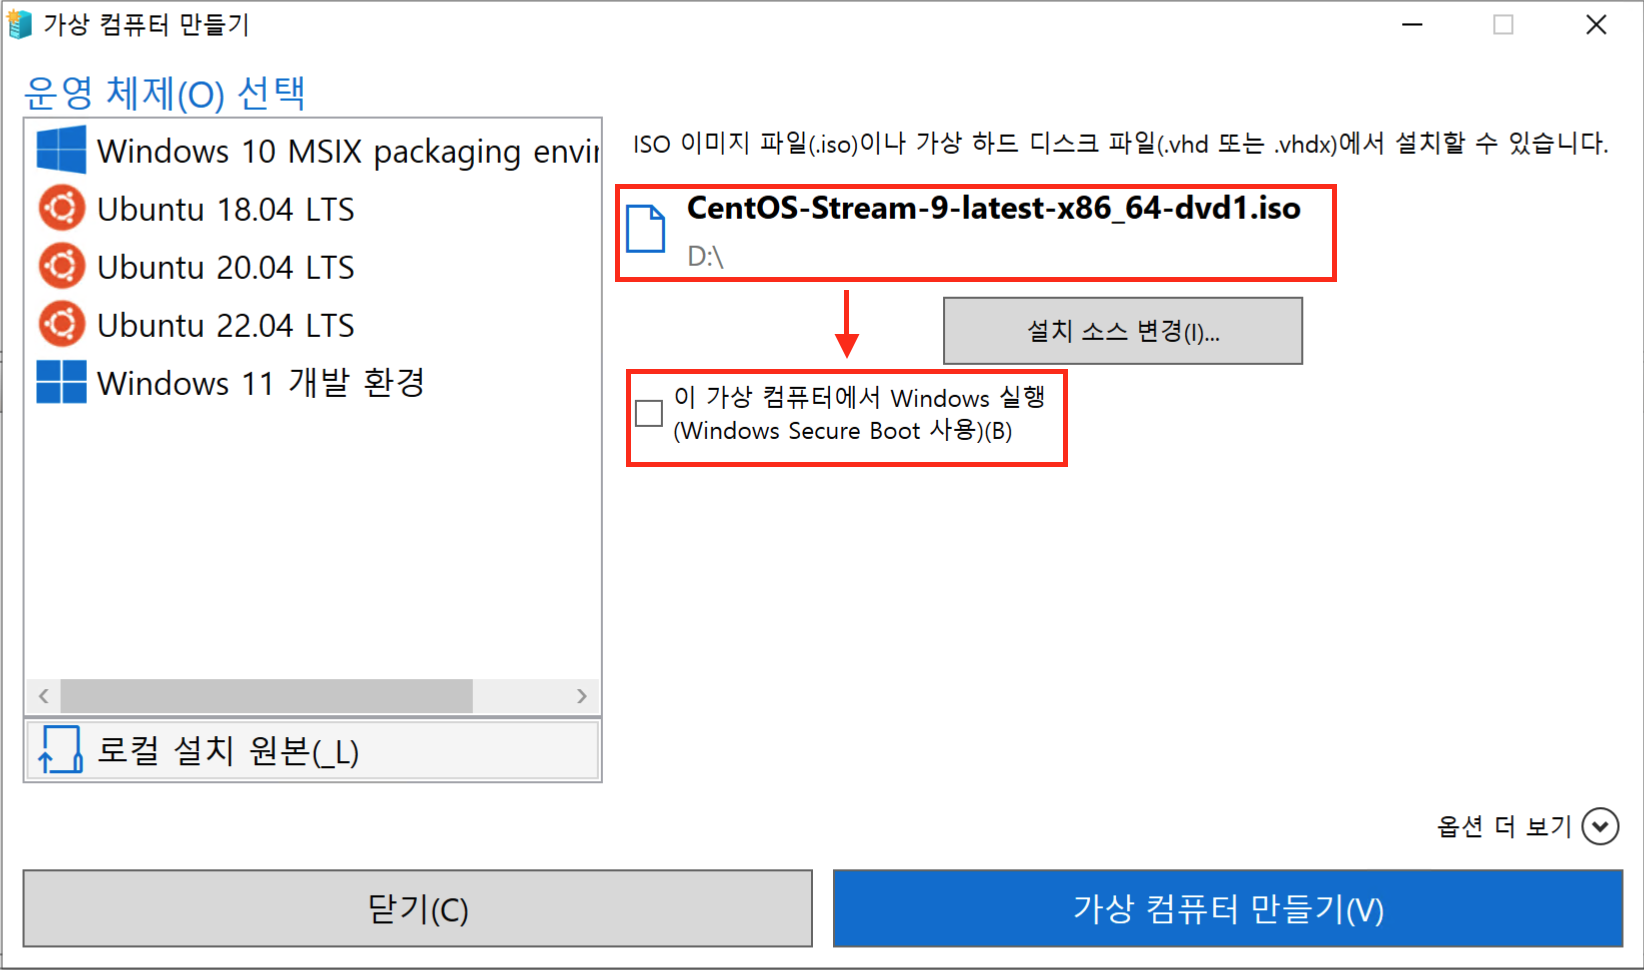
-
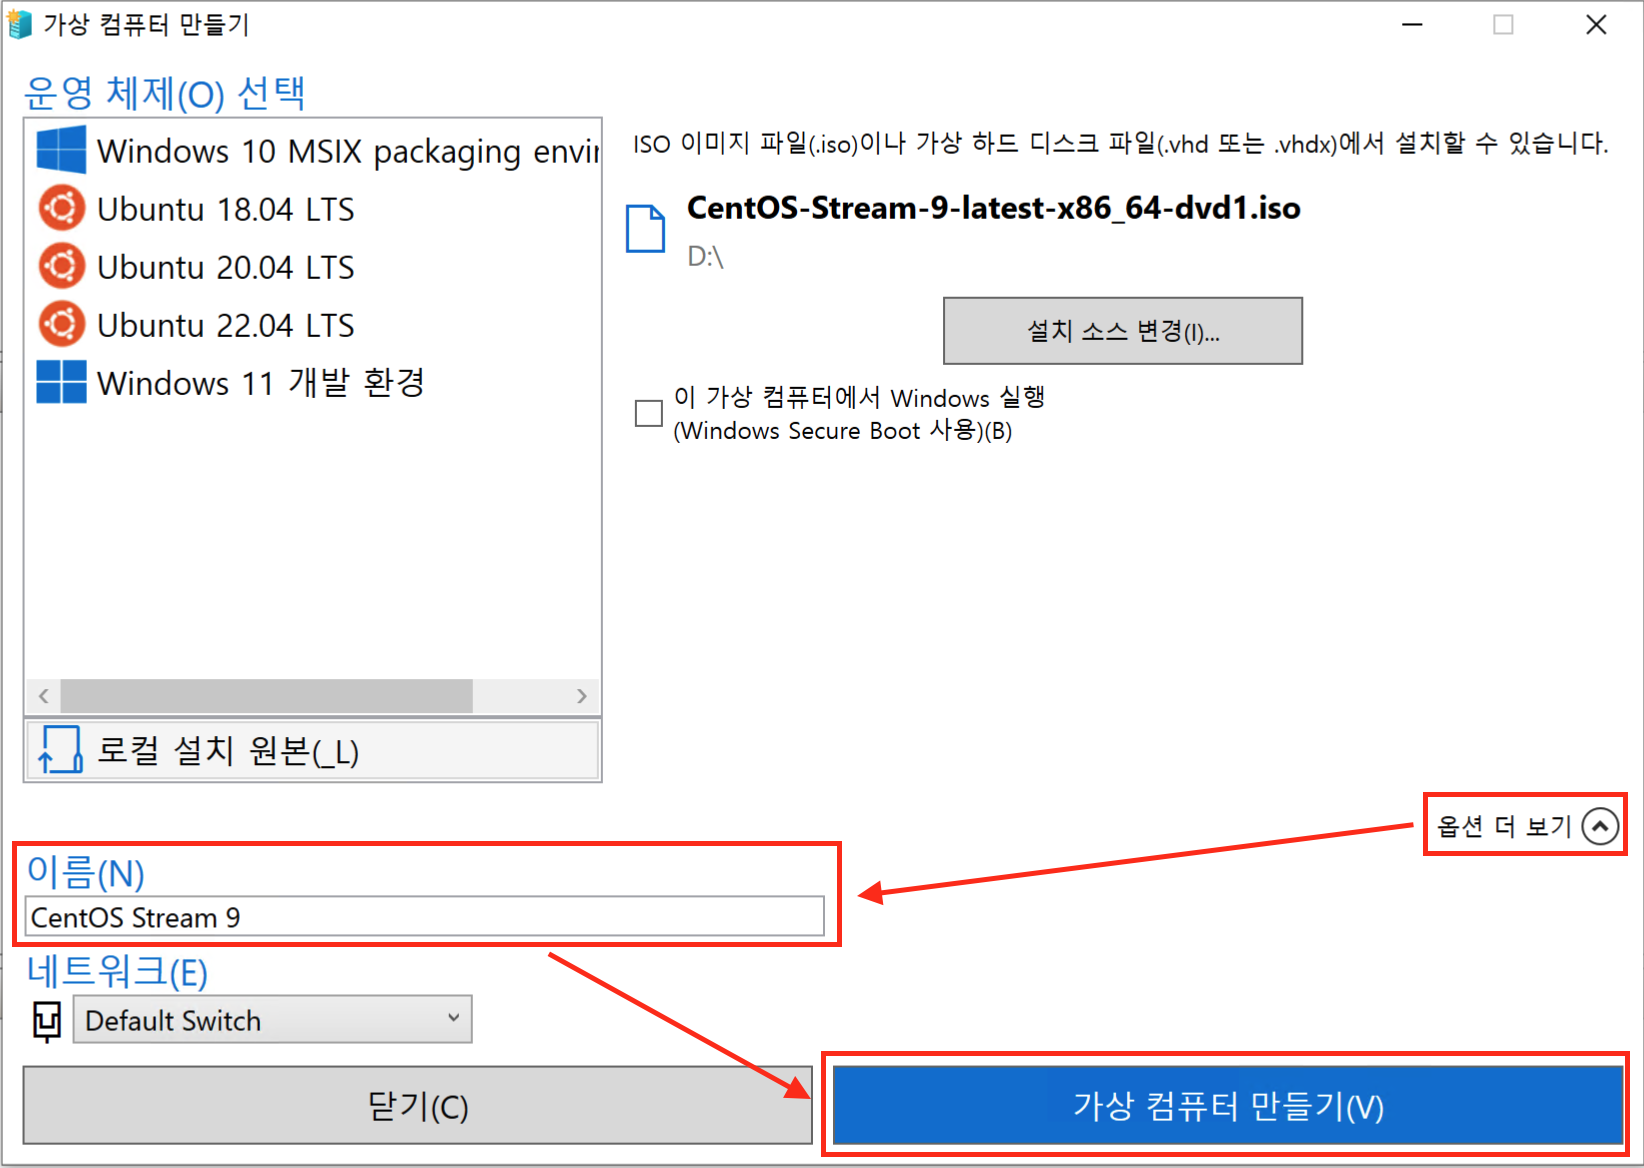
In the file selection window opened by “Change installation source”, select the CentOS
.isofile downloaded earlier. Since you are not installing Windows, clear the “This virtual machine will run Windows” checkbox.
-
Click “More options” to show the “Name” and “Network” fields. Enter any name you want, then click “Create Virtual Machine”.
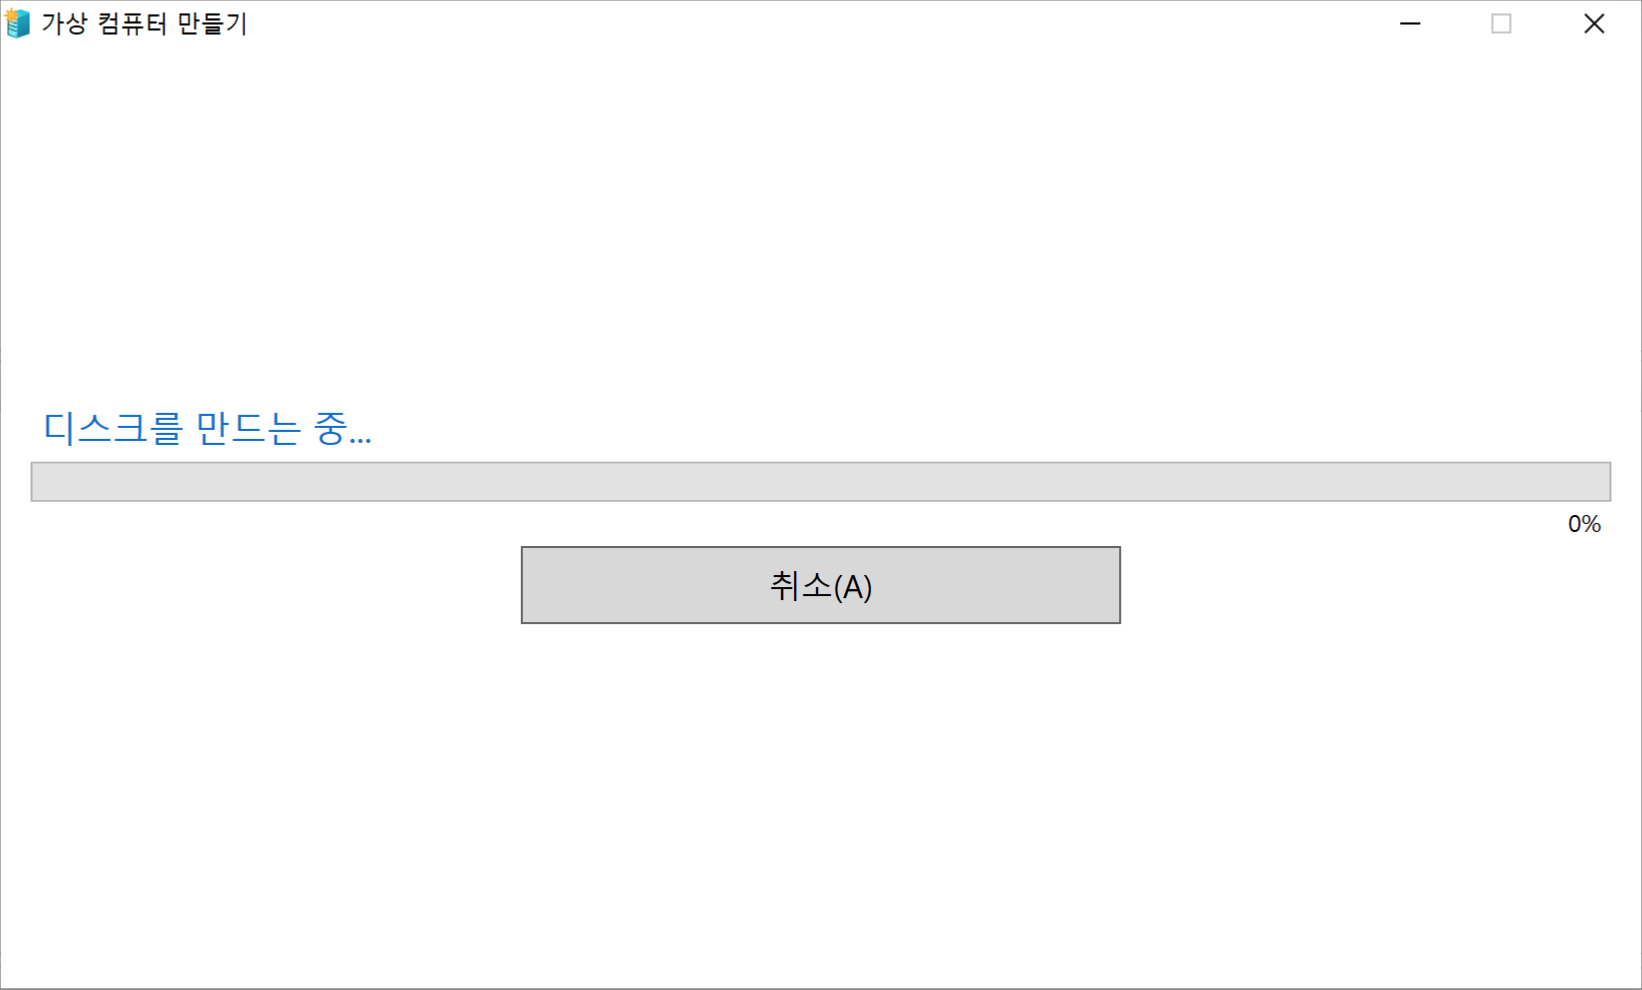
-
The screen changes to the virtual machine creation screen, and messages appear while it creates several items.
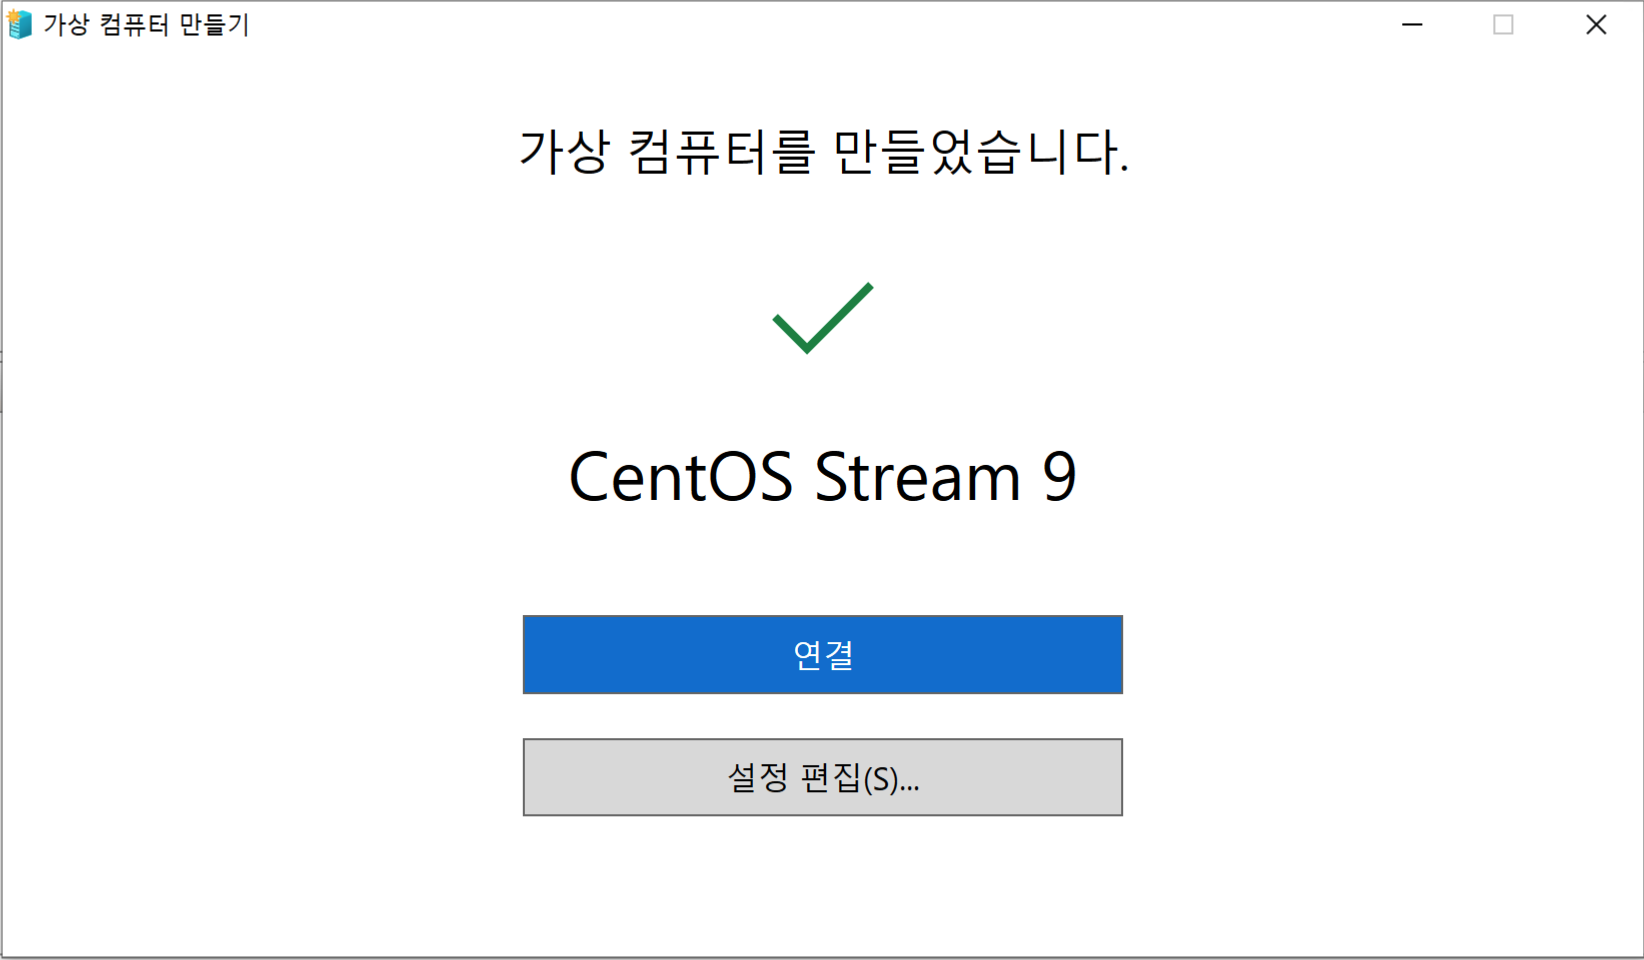
-
After a short wait, it finishes with the message “The virtual machine was created successfully.”
Create a New Virtual Machine for Installing CentOS on Hyper-V
Here, create a virtual machine by using New Virtual Machine.
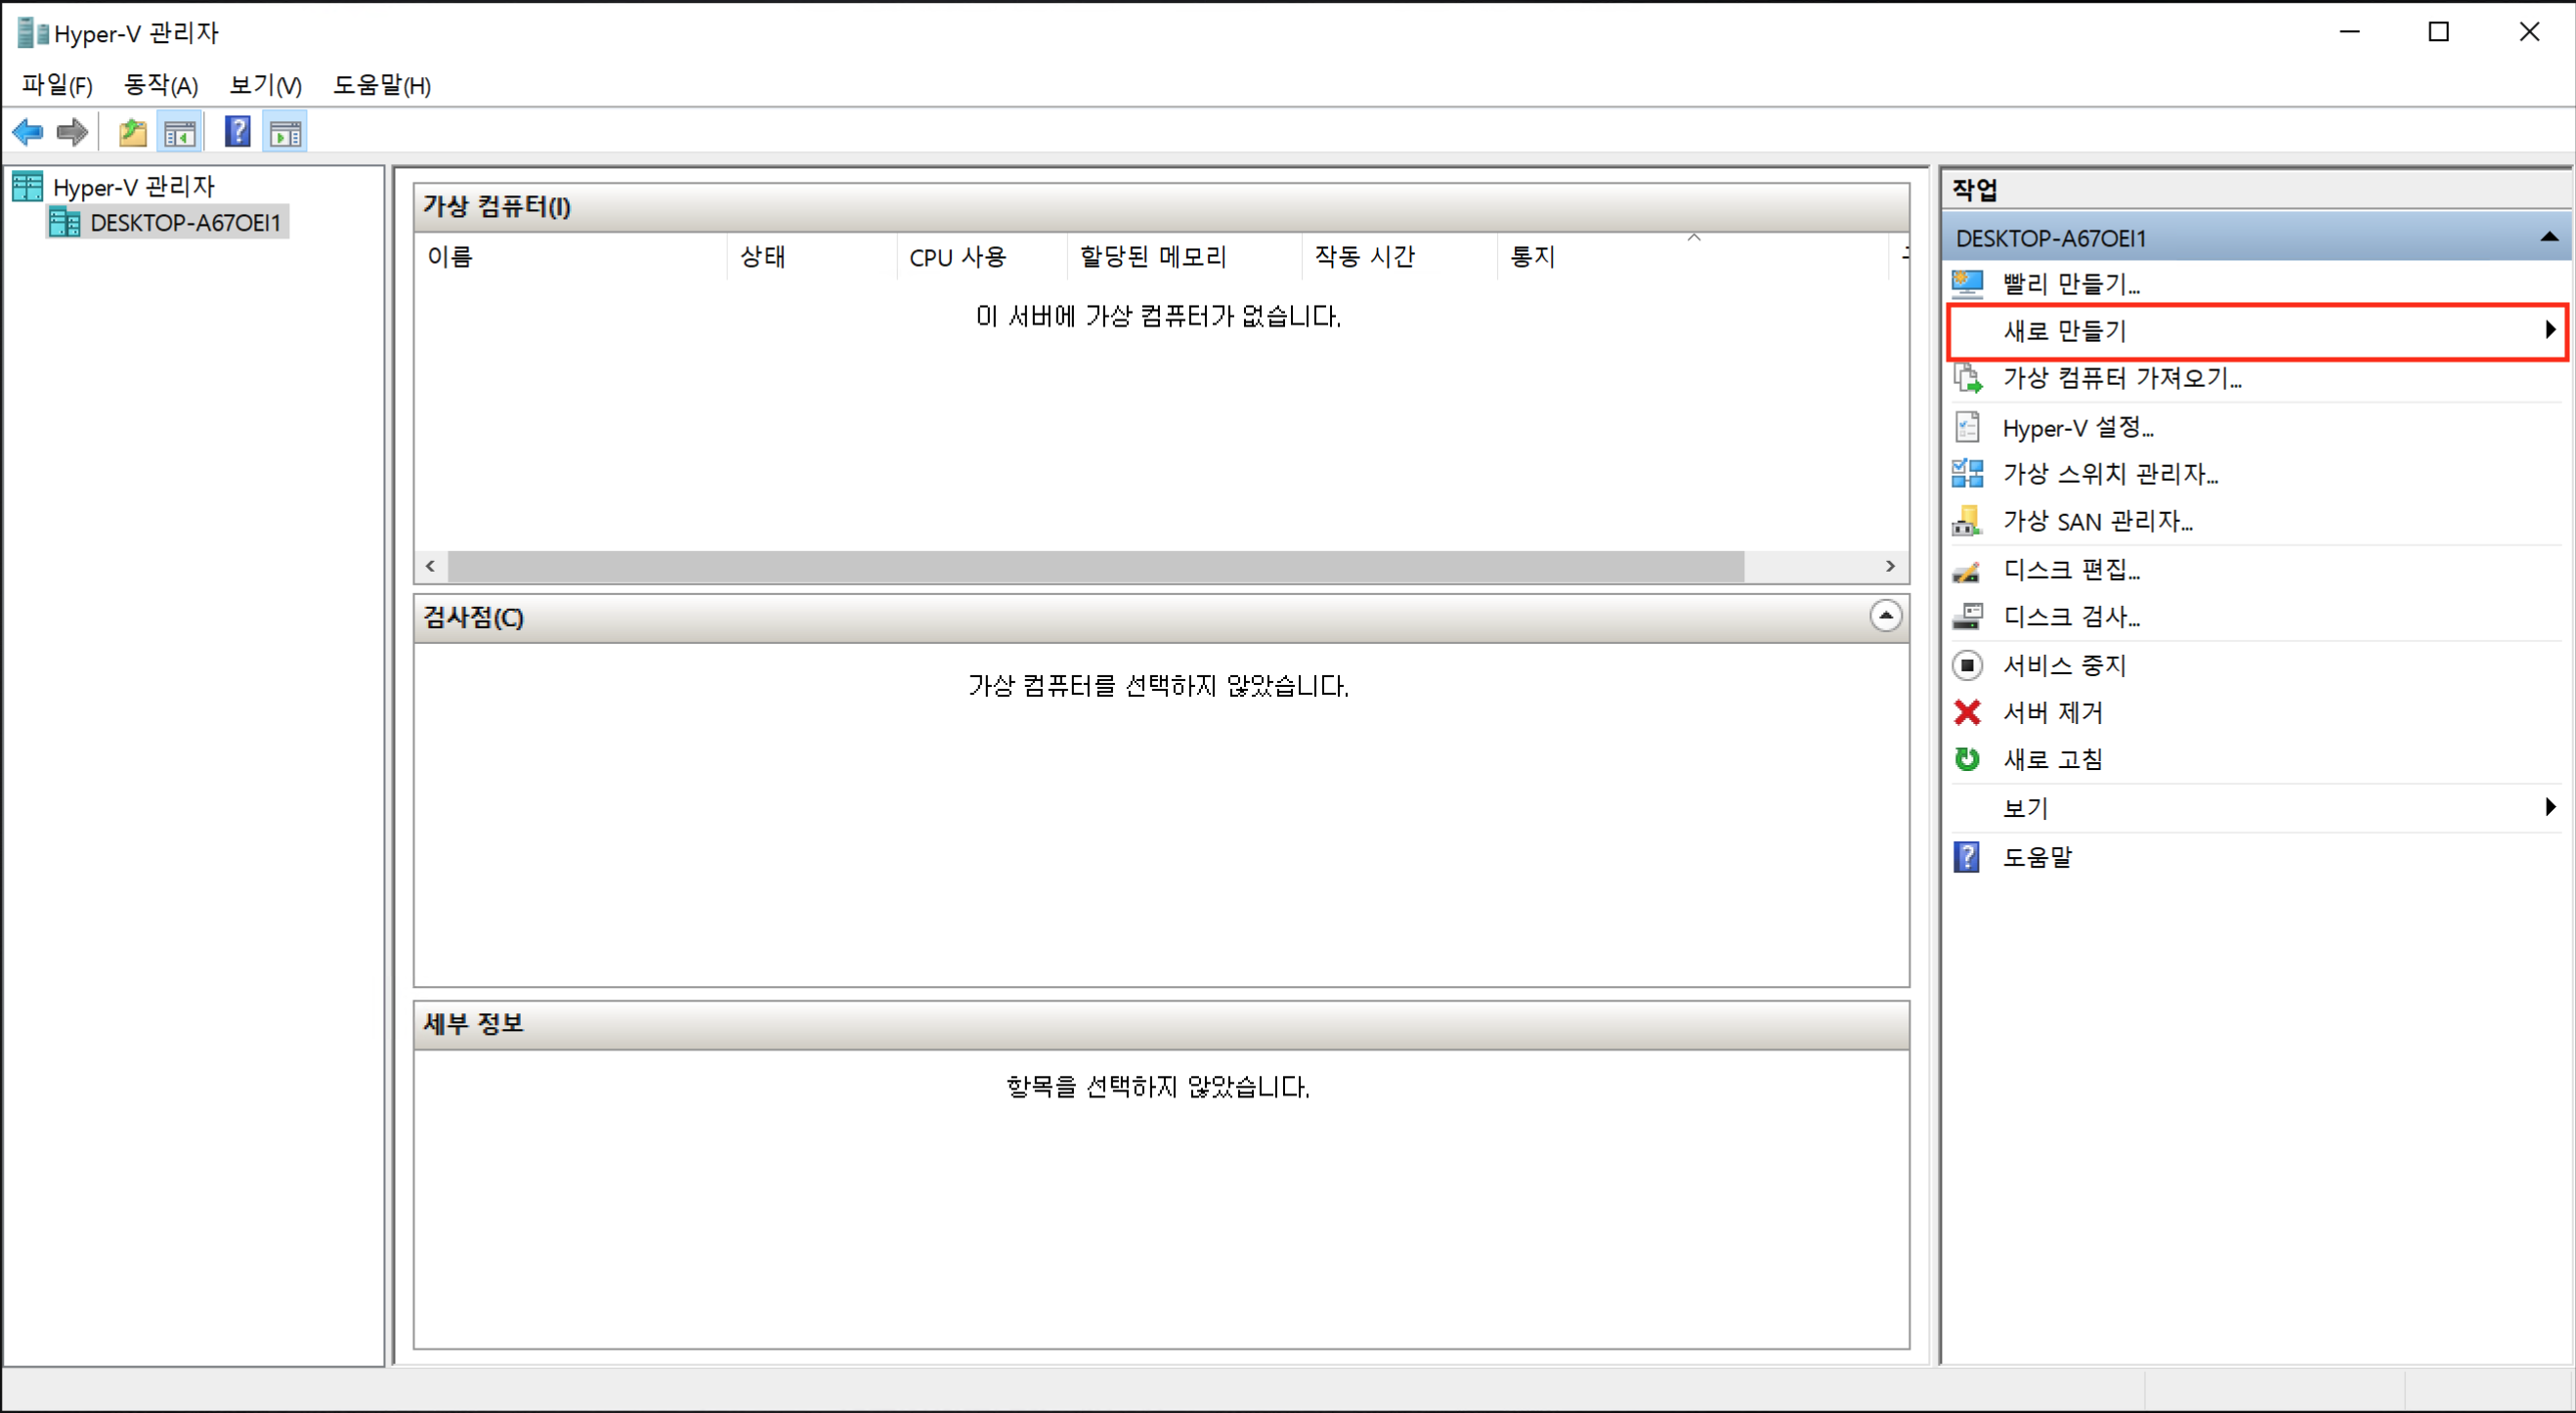
-
Open Hyper-V and click “New…”.
-
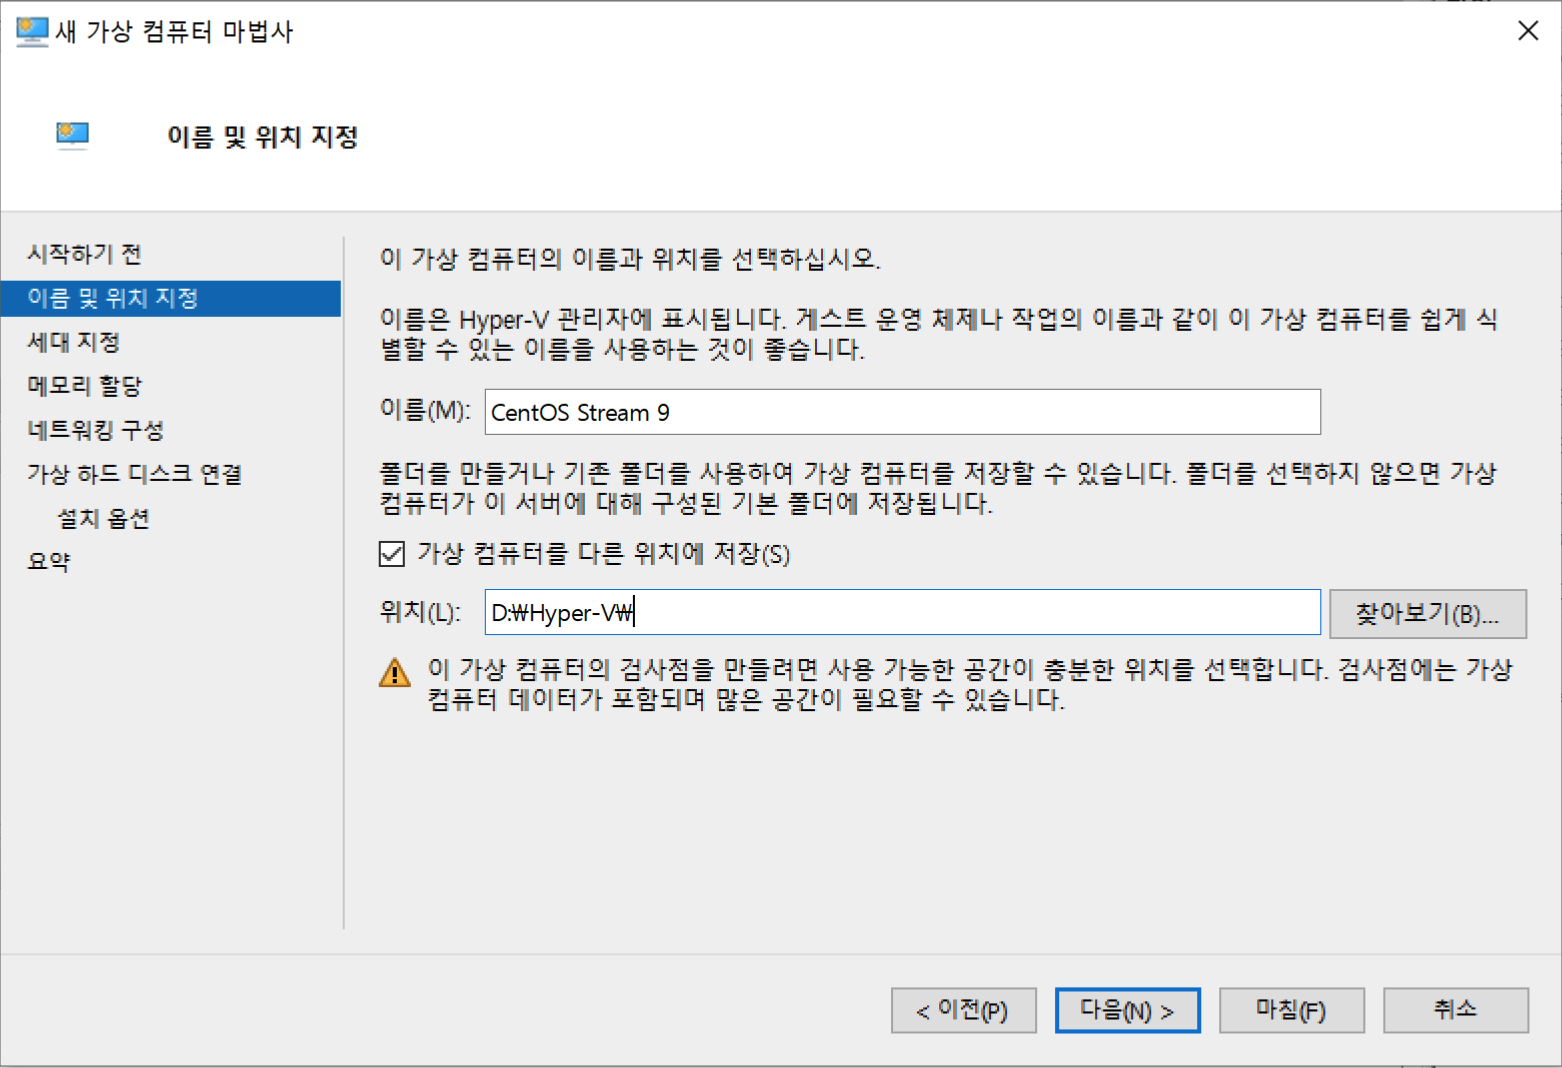
Specify Name and Location: set a name and select the installation location. Here, the D drive is specified.
-
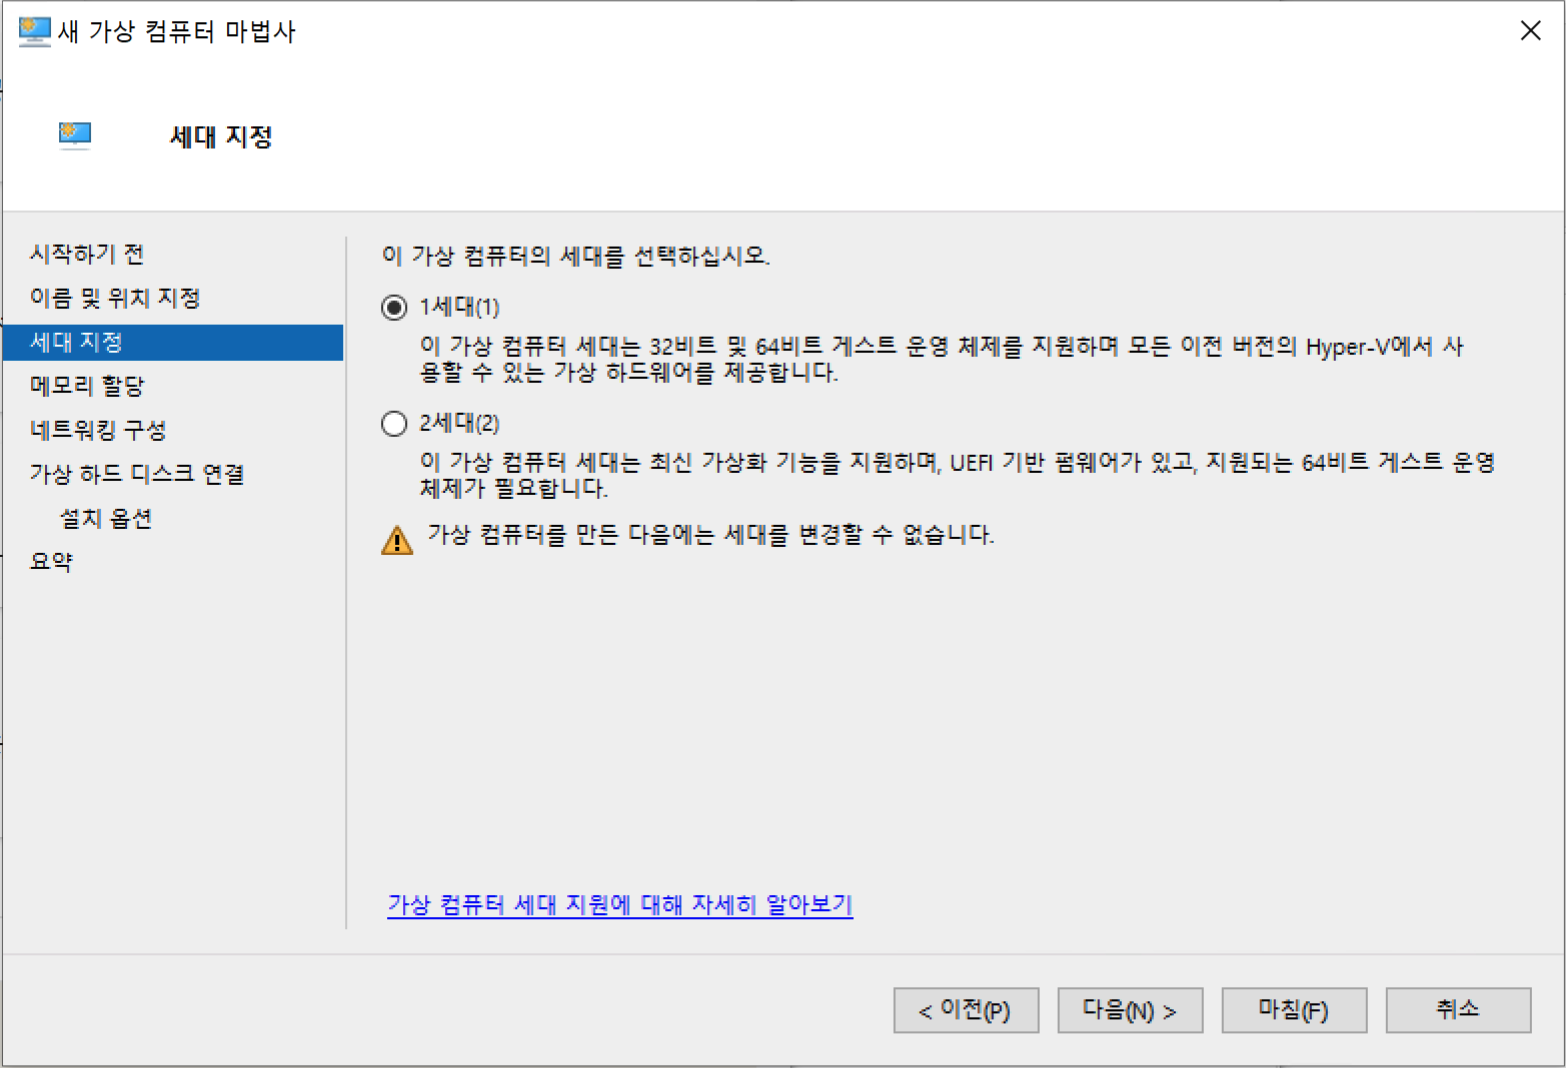
Specify Generation: select the desired generation. Here, proceed with the default Generation 1.
-
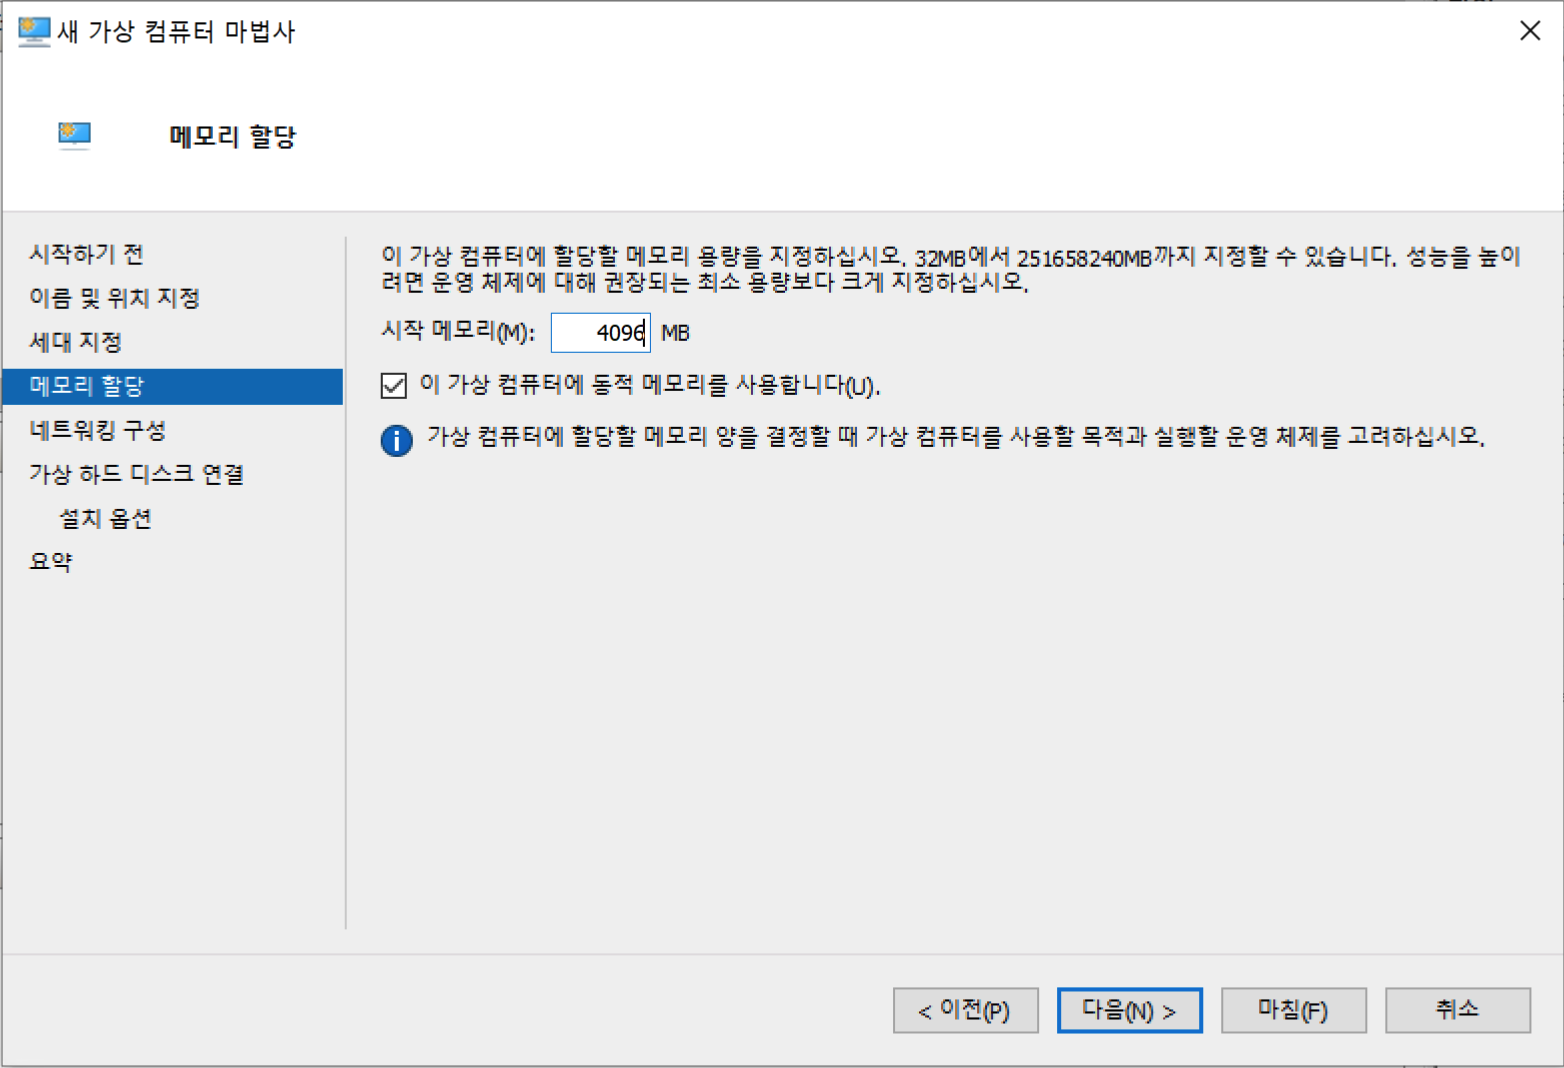
Assign Memory: the default is 1024 MB, but here it is changed to 4096 MB.
-
Configure Networking: select the connection setting to use.

-
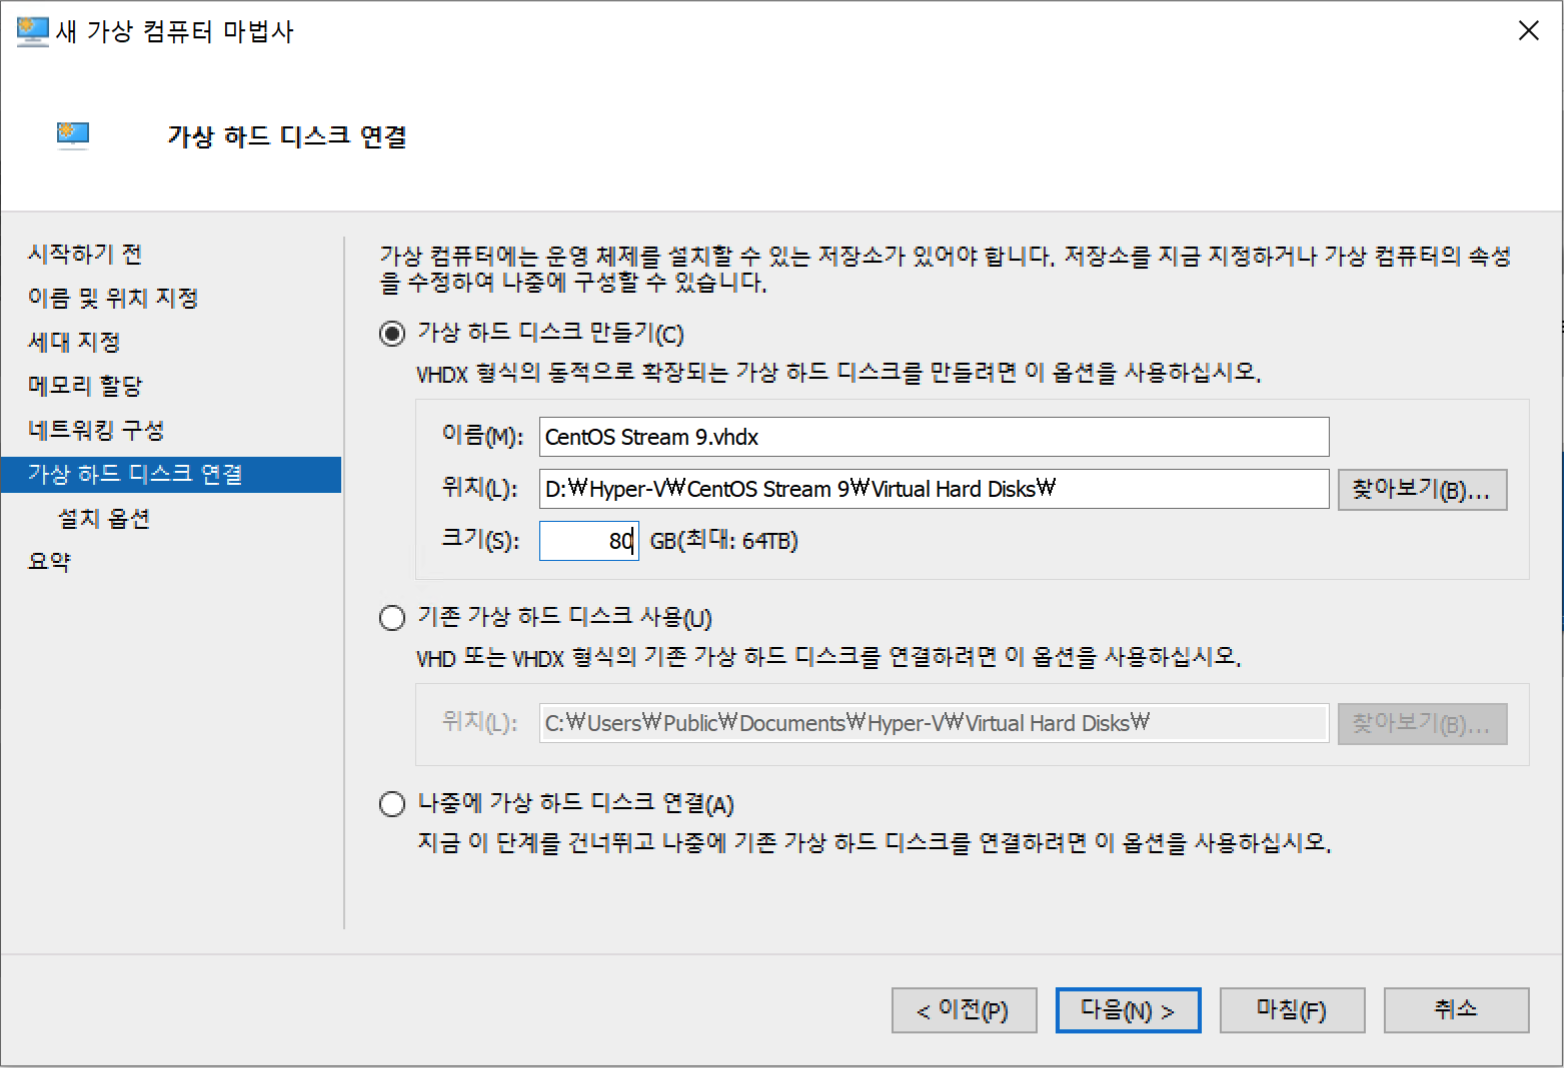
Connect Virtual Hard Disk: configure the hardware. Here, only the size is set to 80 GB.
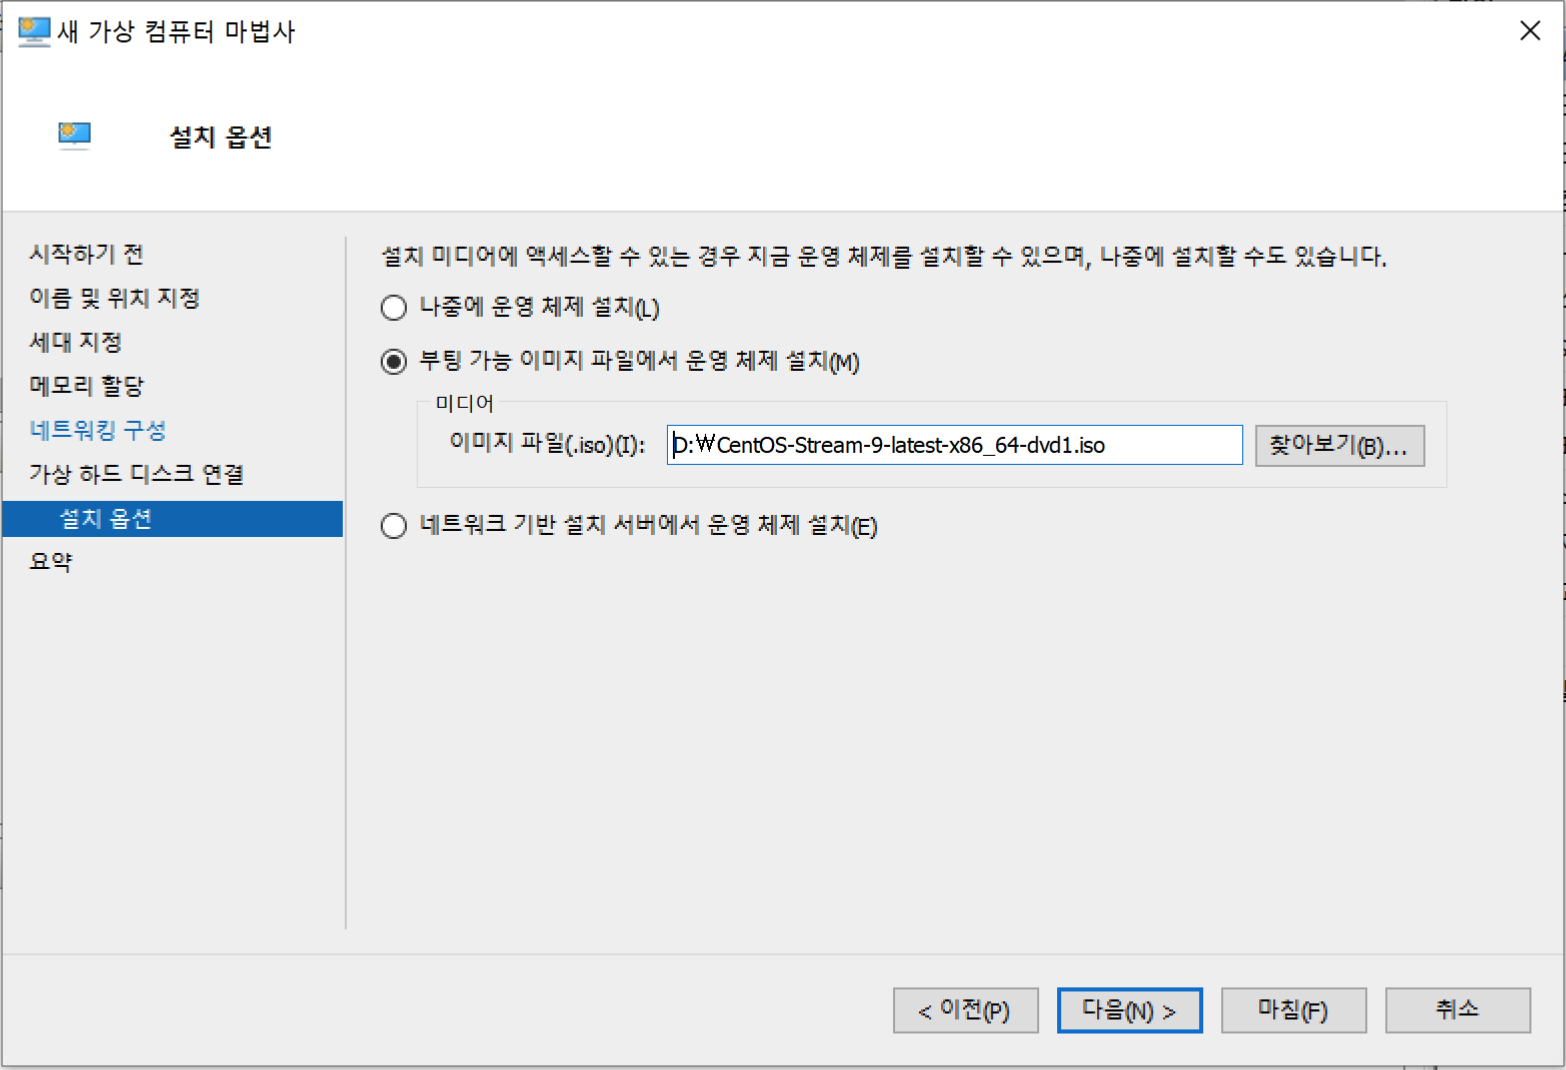
-
Installation Options: select options for the operating system to install. Here, select the CentOS
.isofile from above.
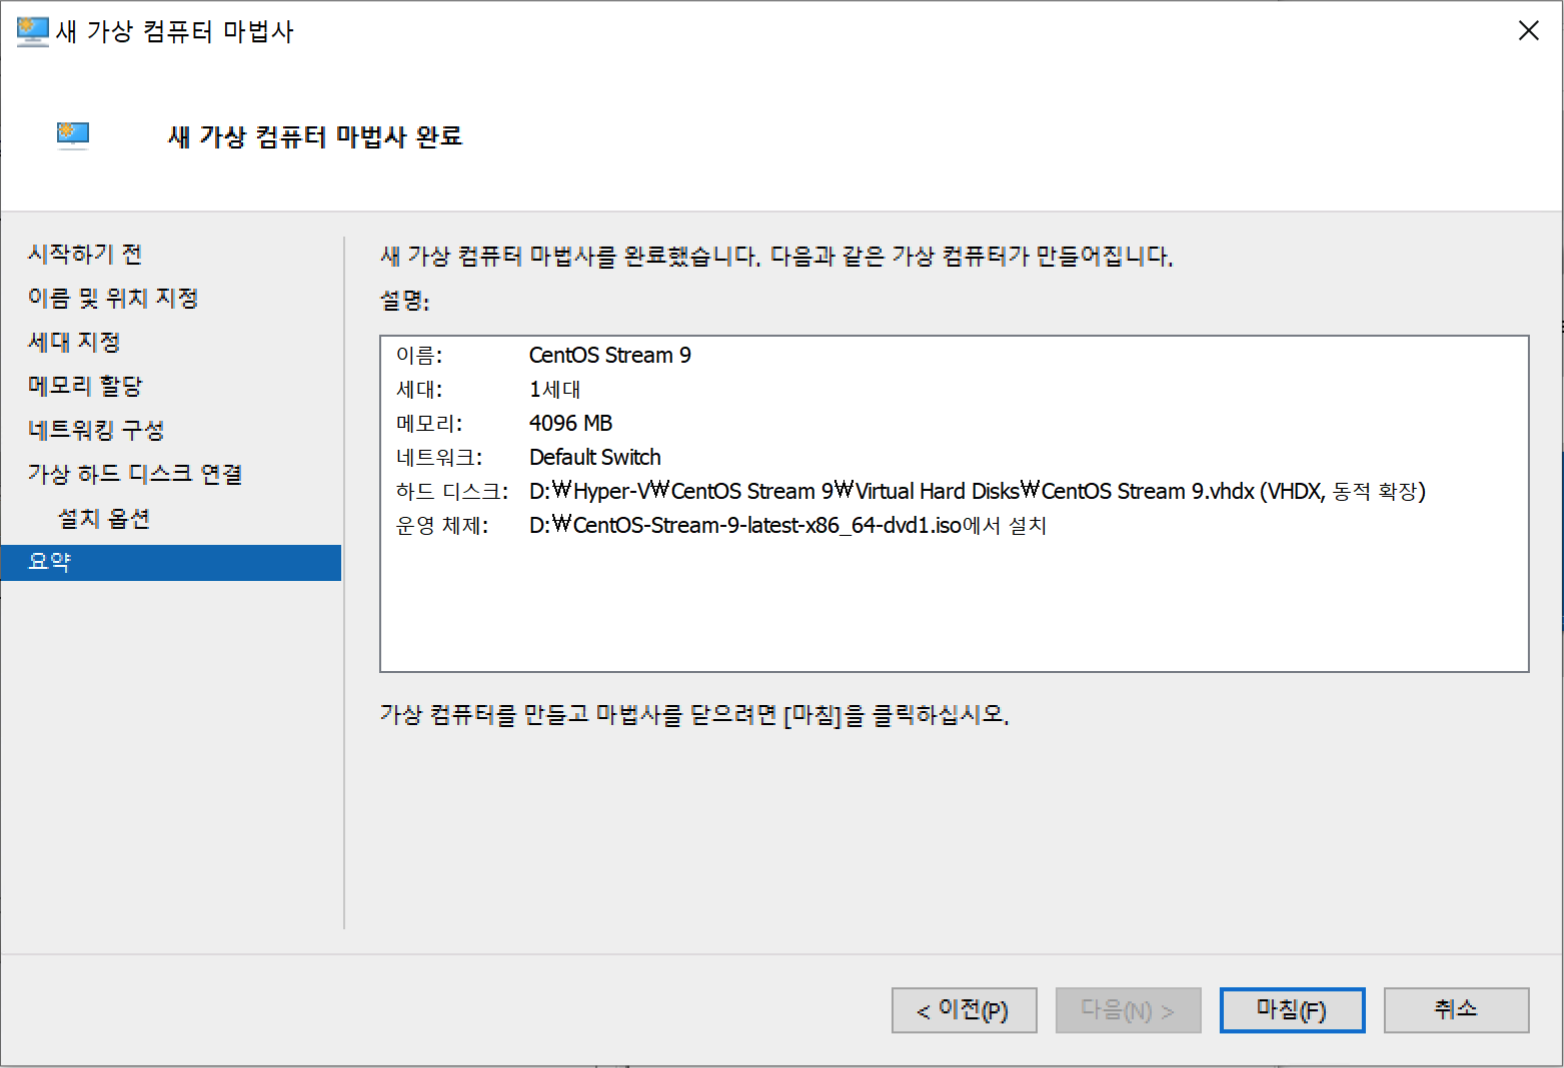
-
Summary: the items selected above are summarized. Click the final “Finish” button to complete.
Install CentOS on Hyper-V
Now install CentOS on Hyper-V.
-
If you created the virtual machine with “Quick Create”, click the “Connect” button after the installation screen appears.
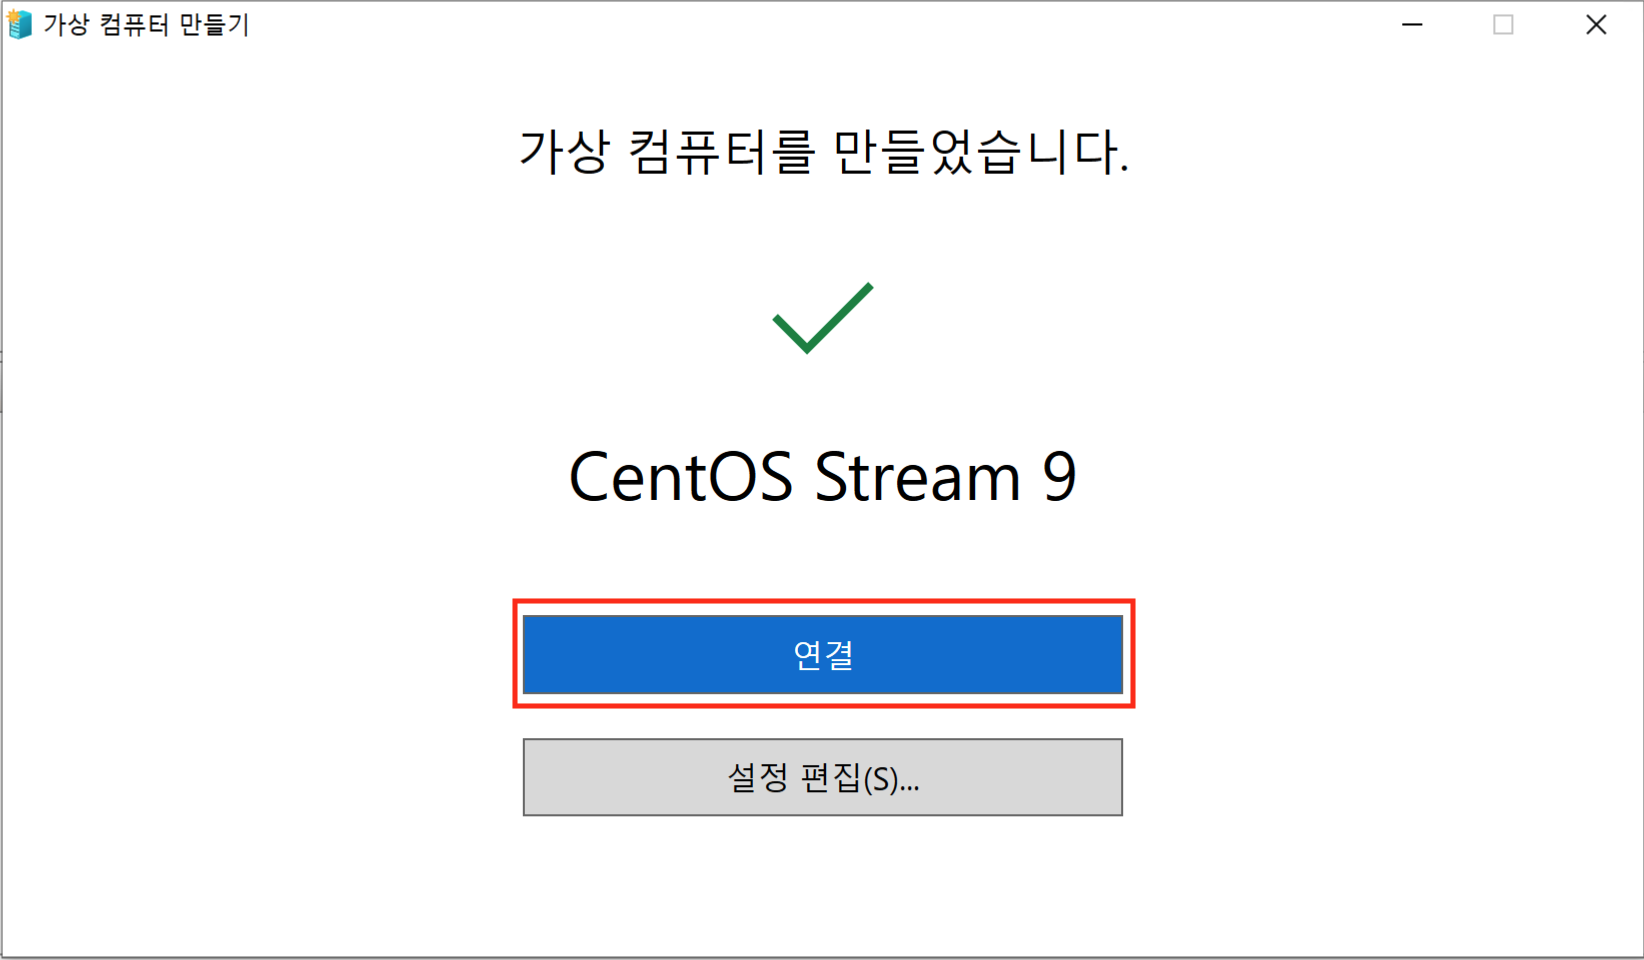
Or select the added virtual machine from the list and click “Connect”.
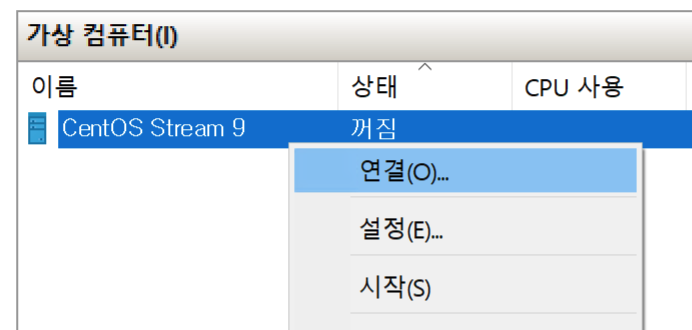
-
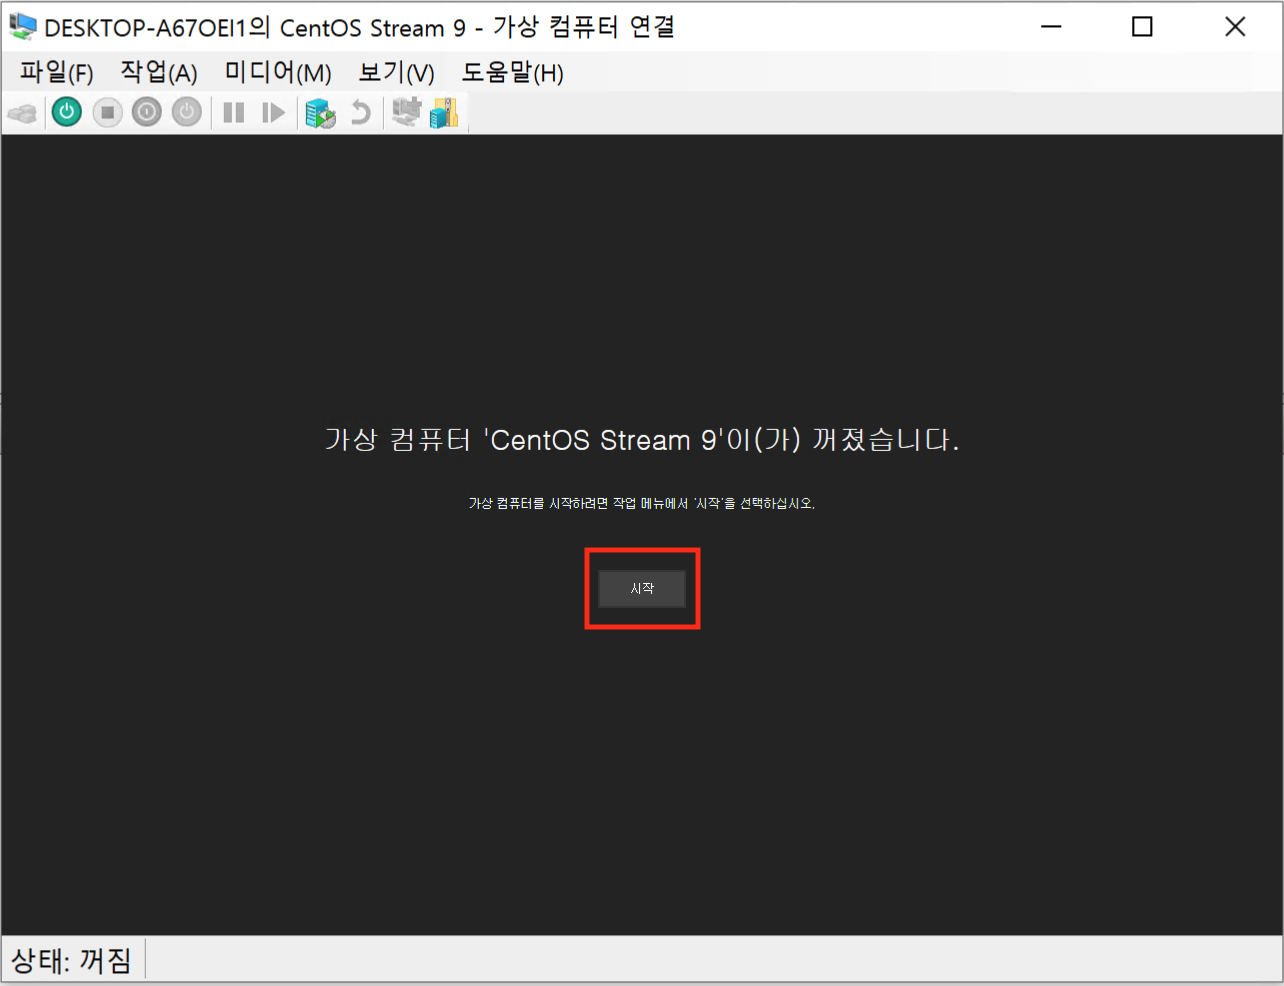
A black screen appears as shown below. Click “Start”.
-
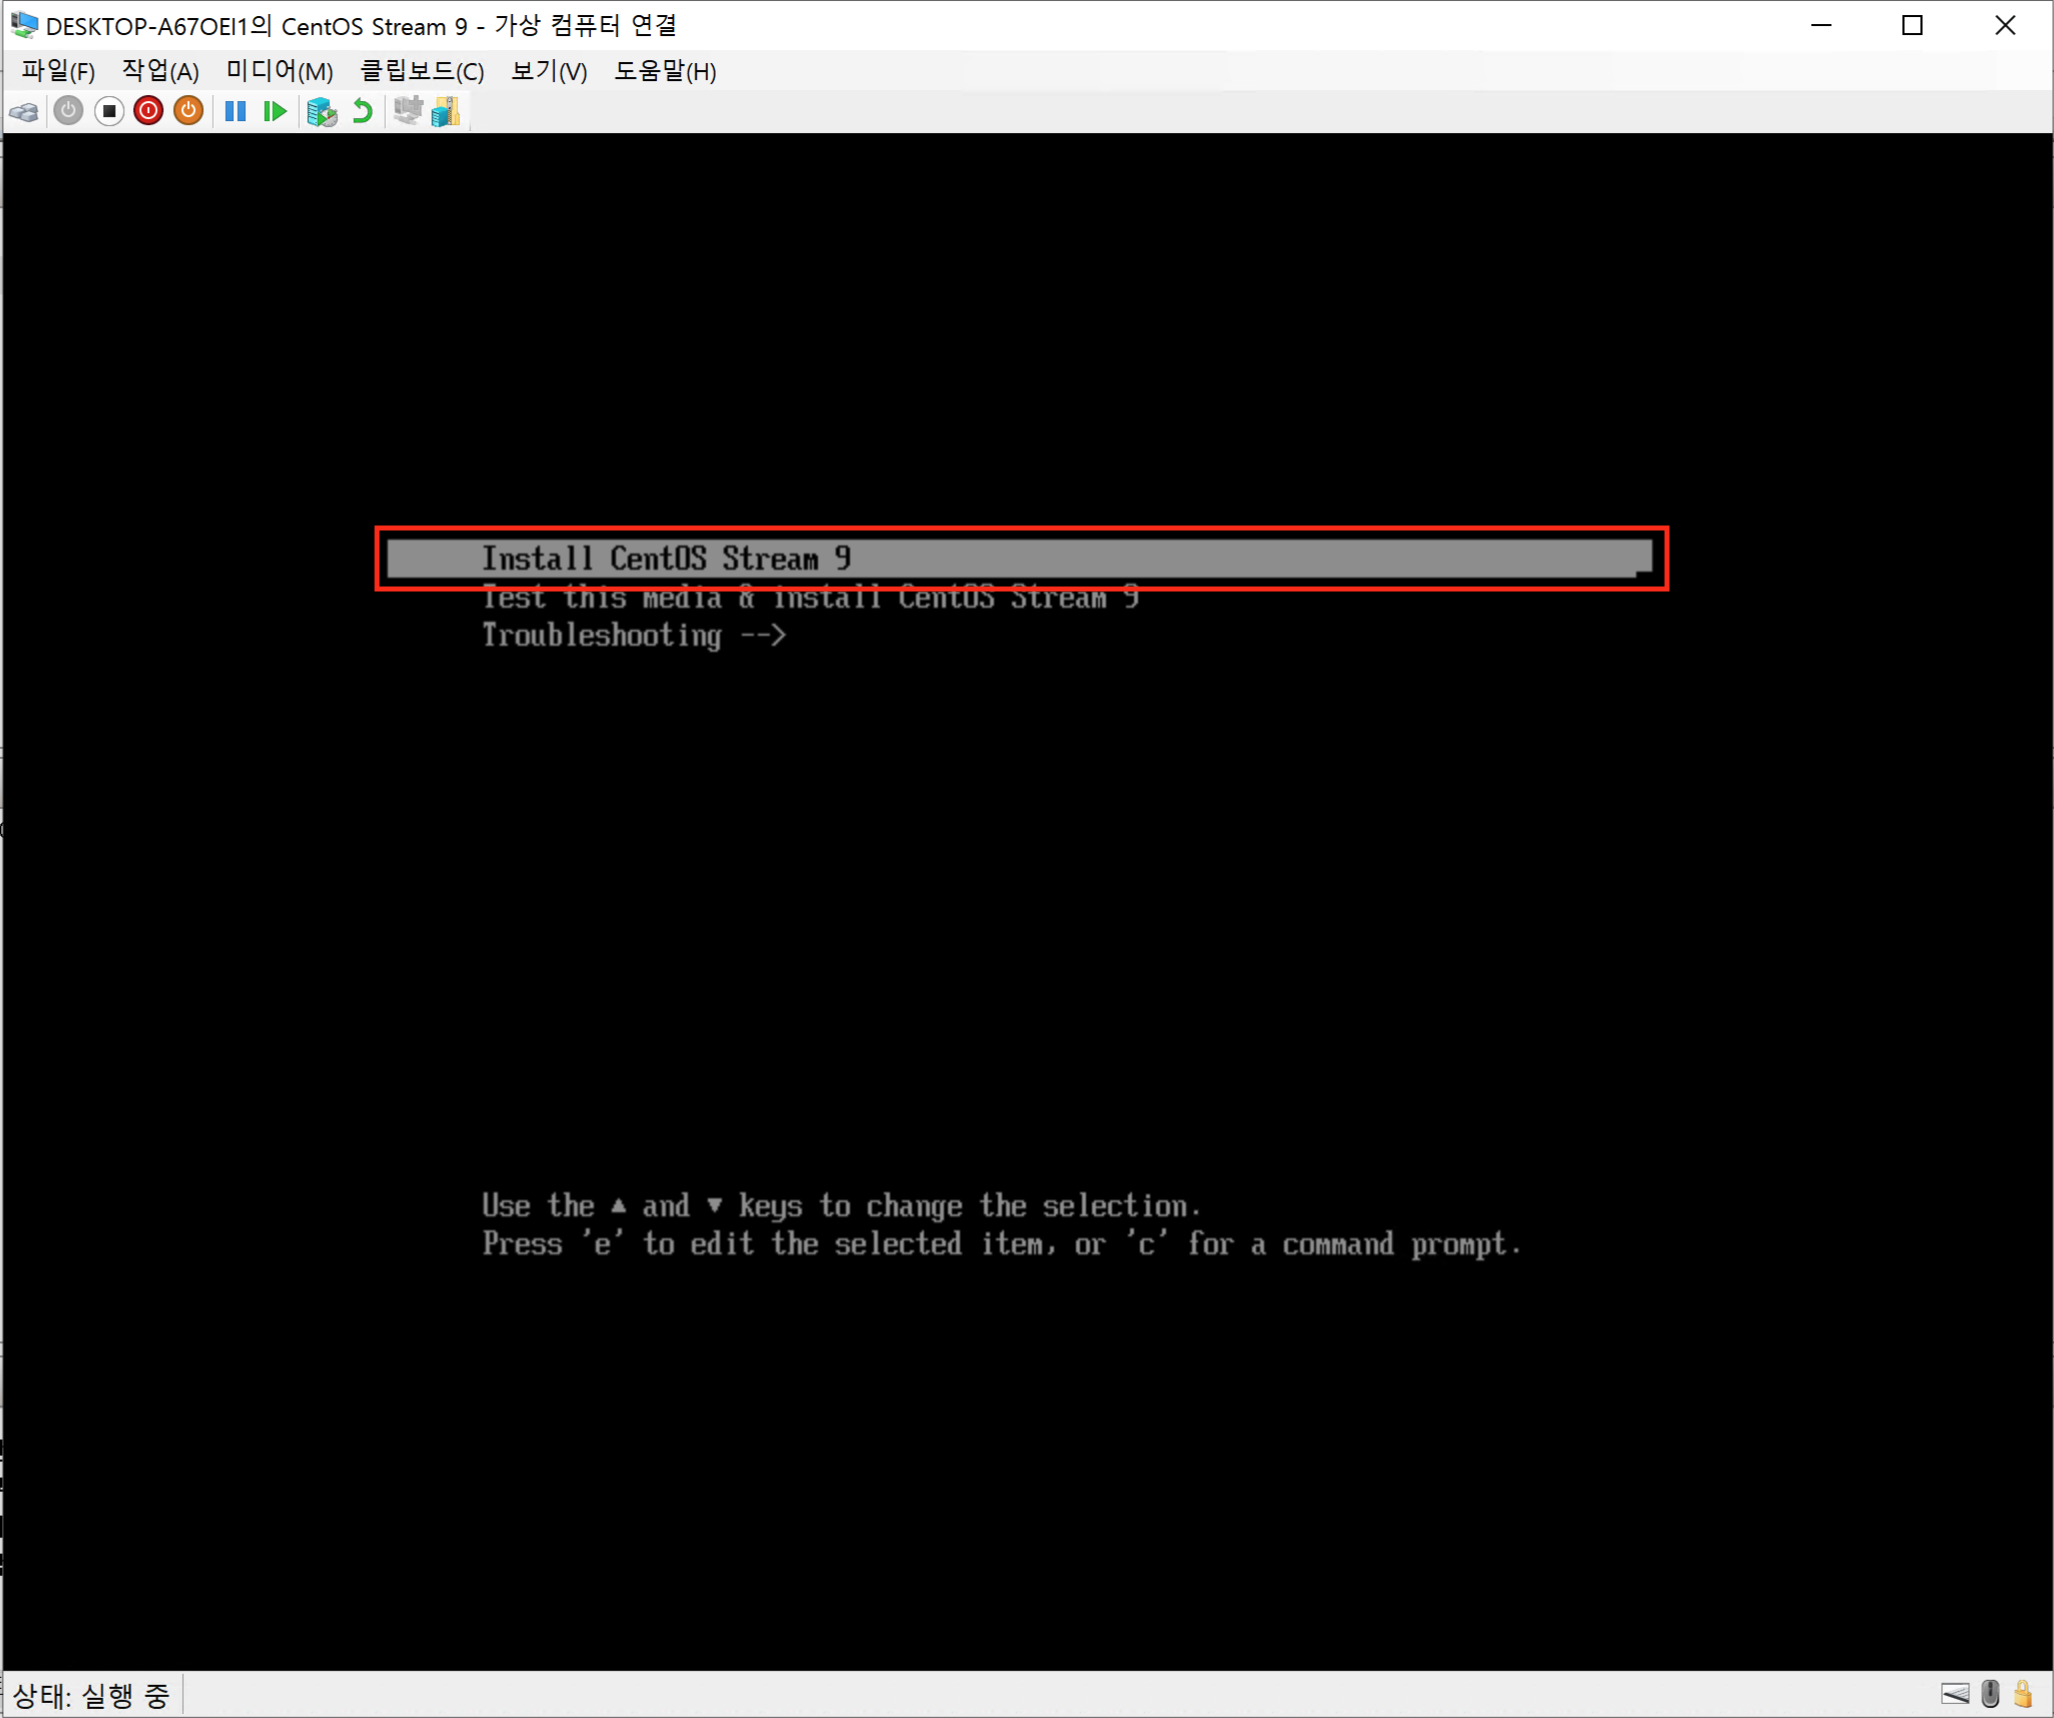
Select “Install CentOS Stream 9”.
-
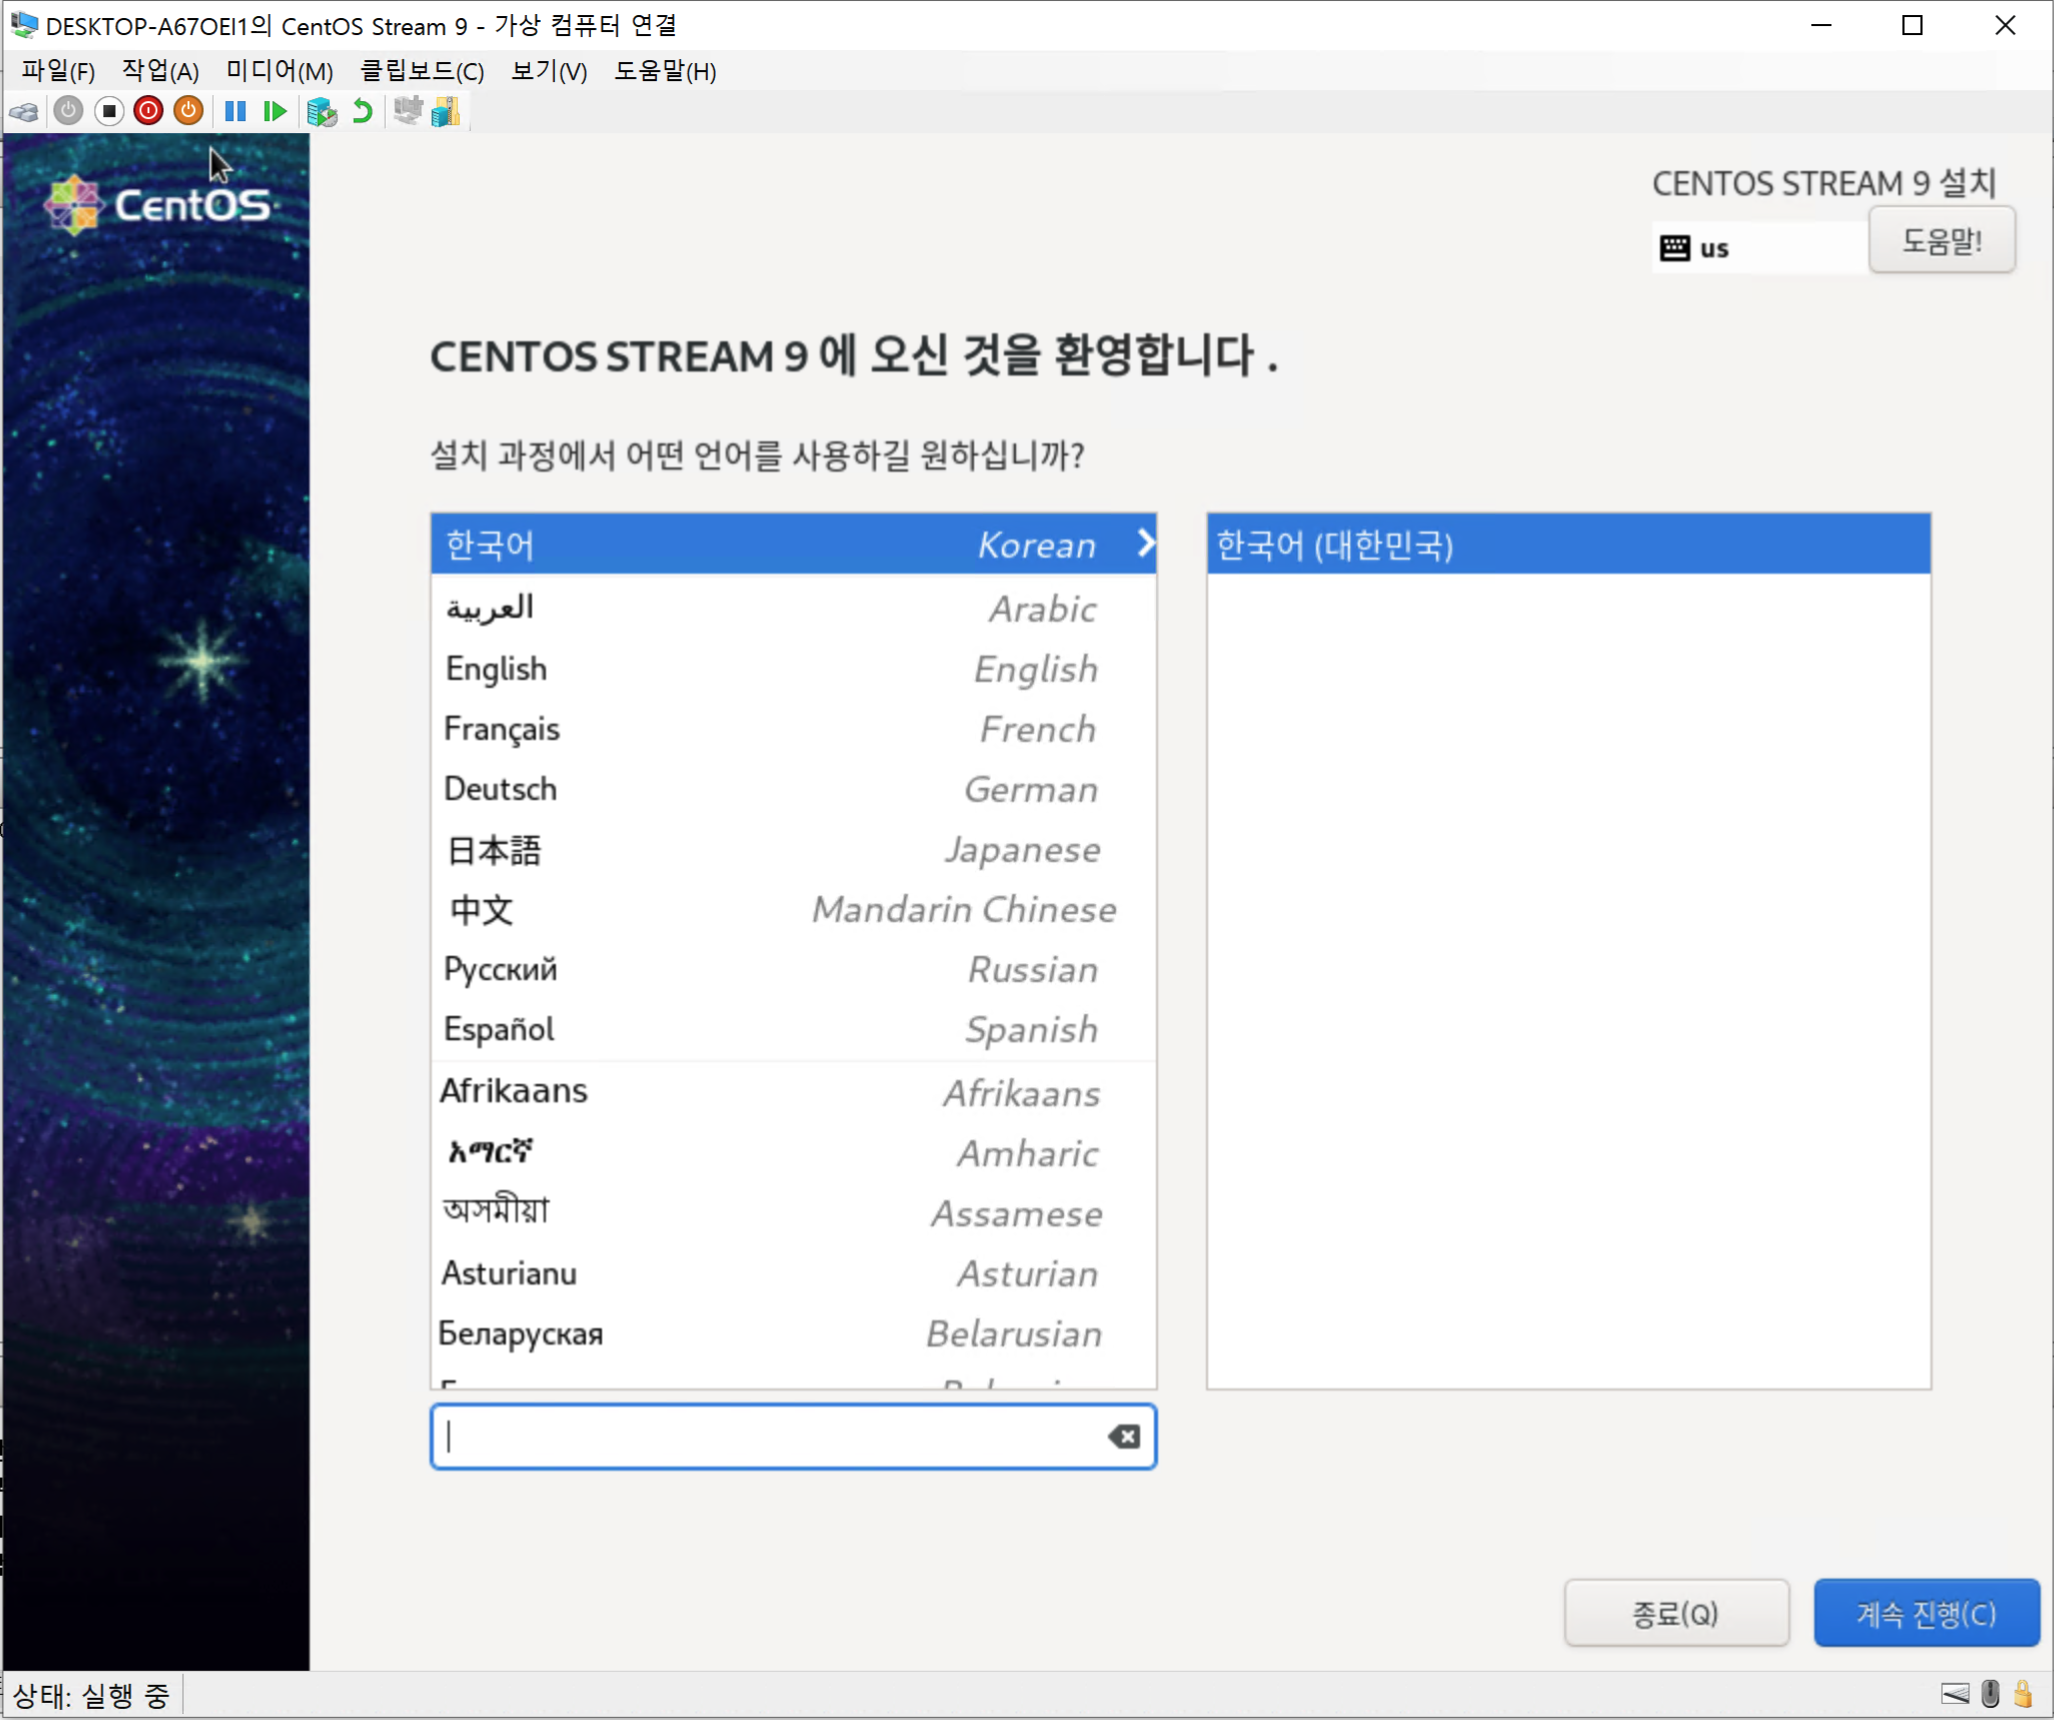
When the language selection screen appears, click “Continue”.
-
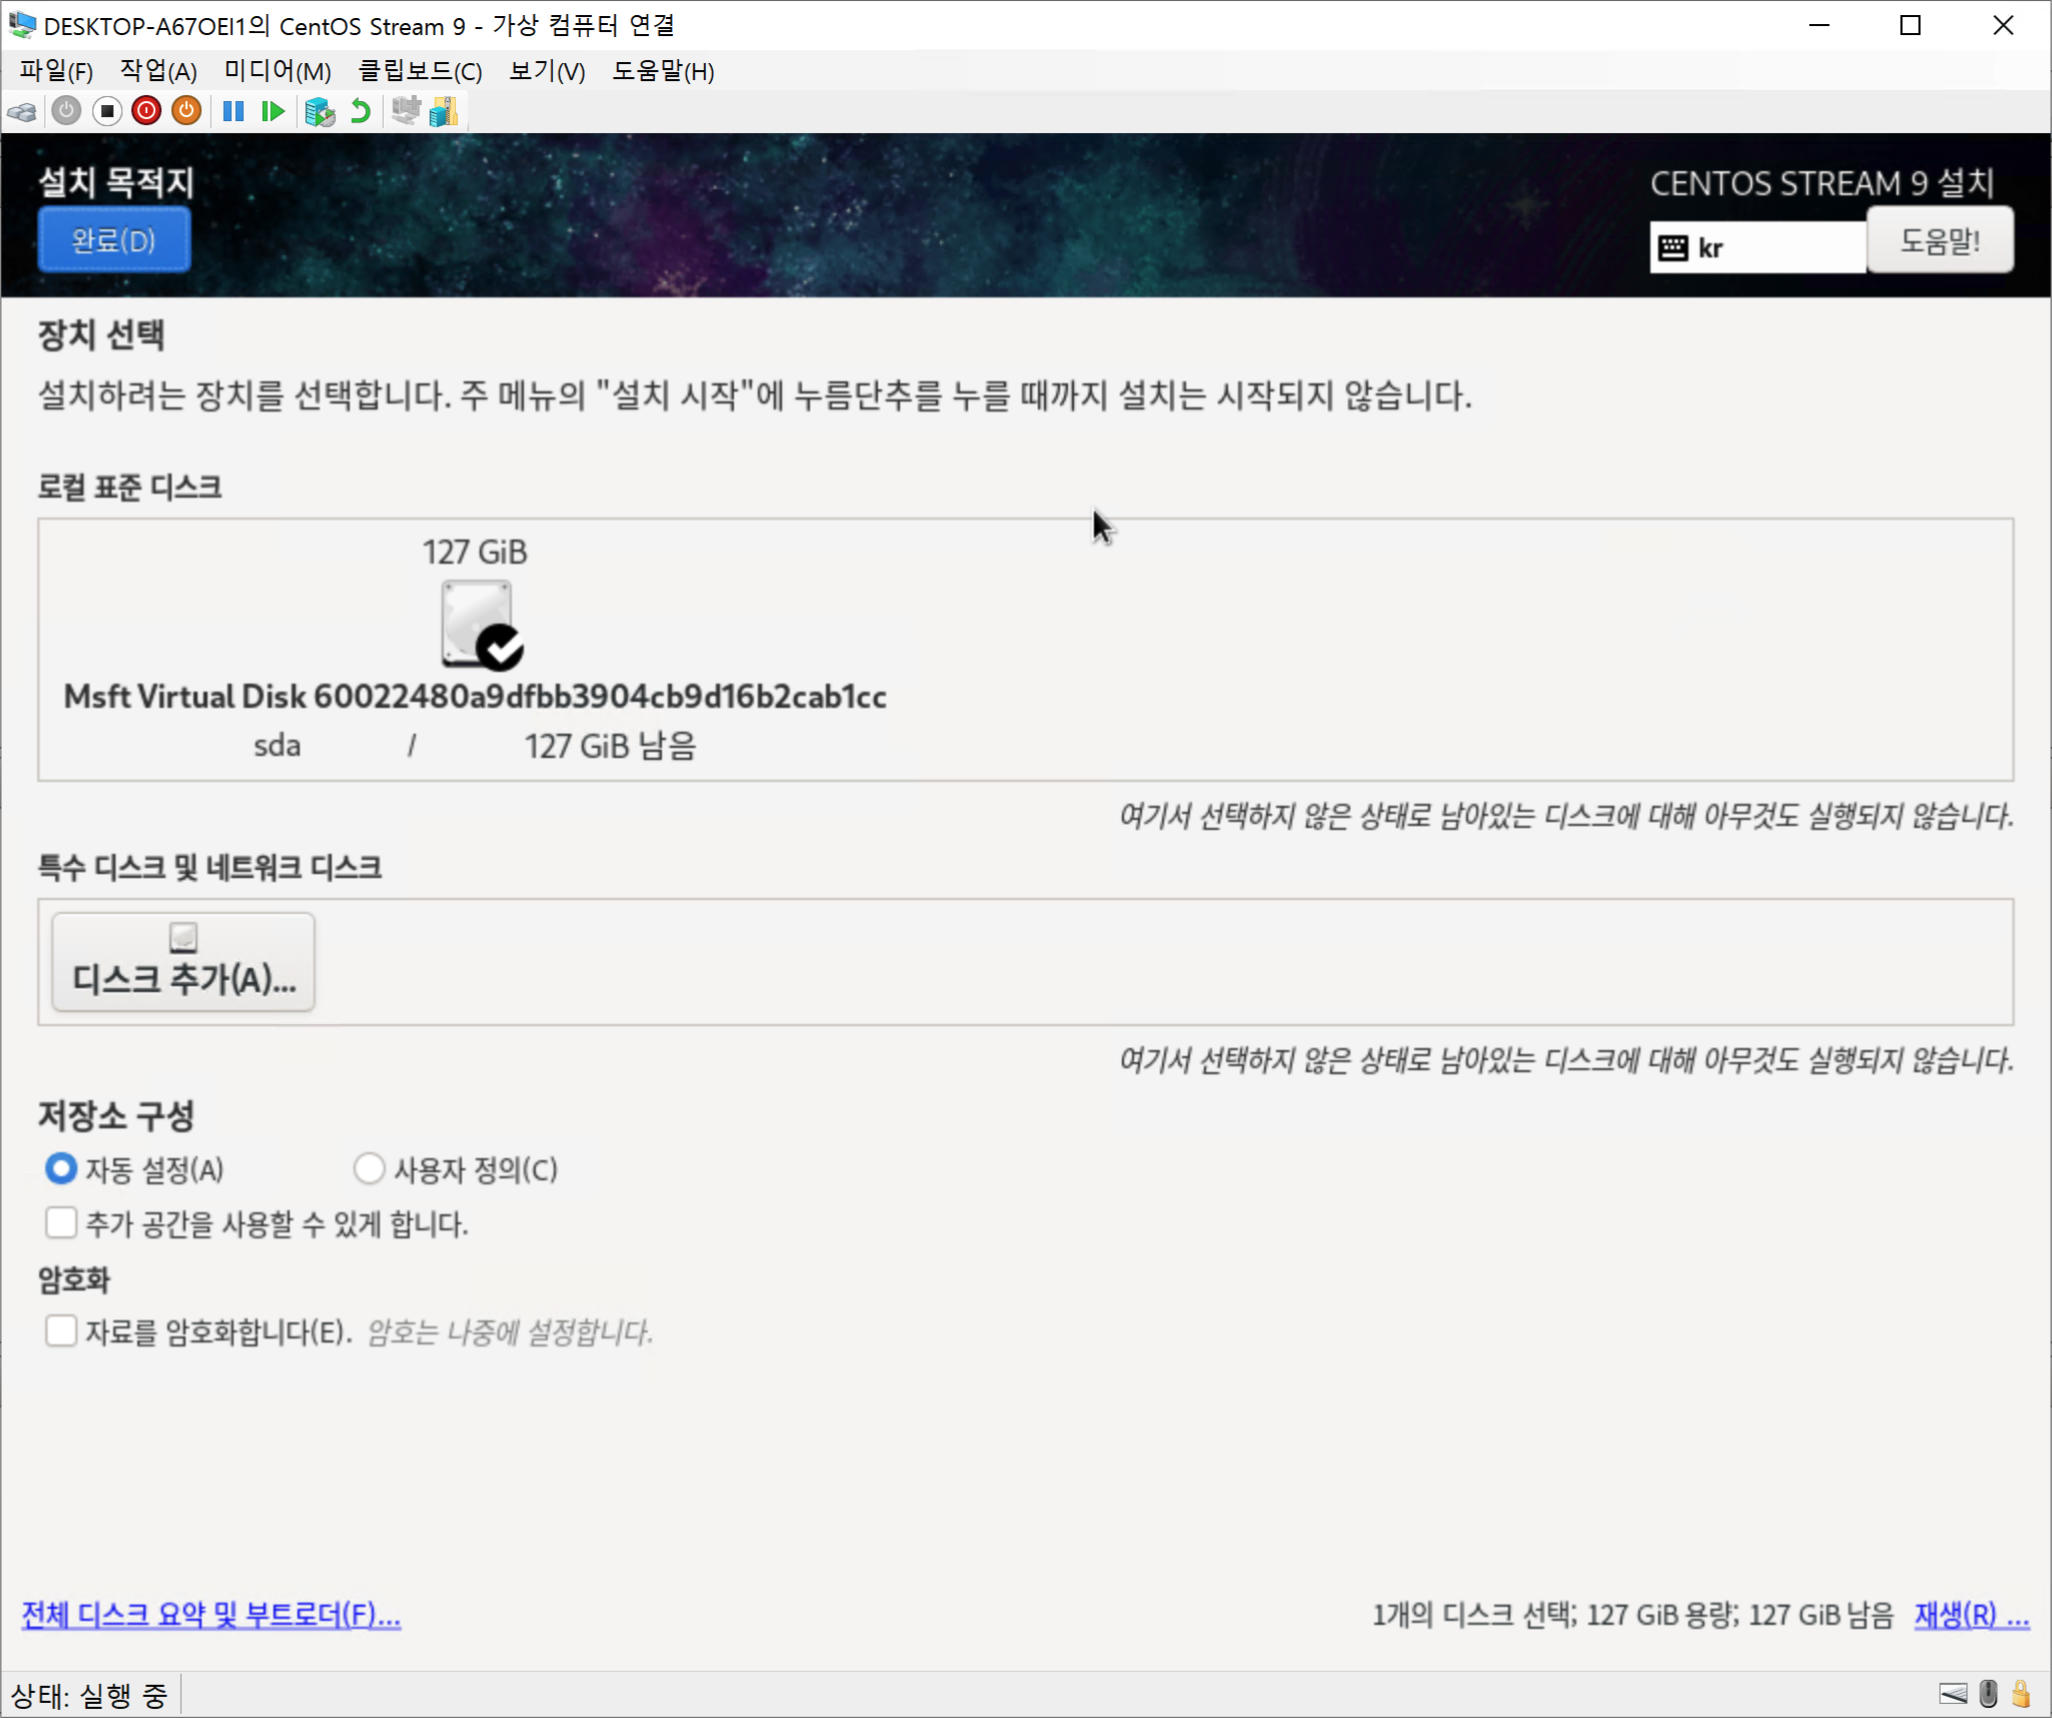
This is the configuration screen.
- You must configure all items with warning marks before the “Begin Installation” button becomes active.
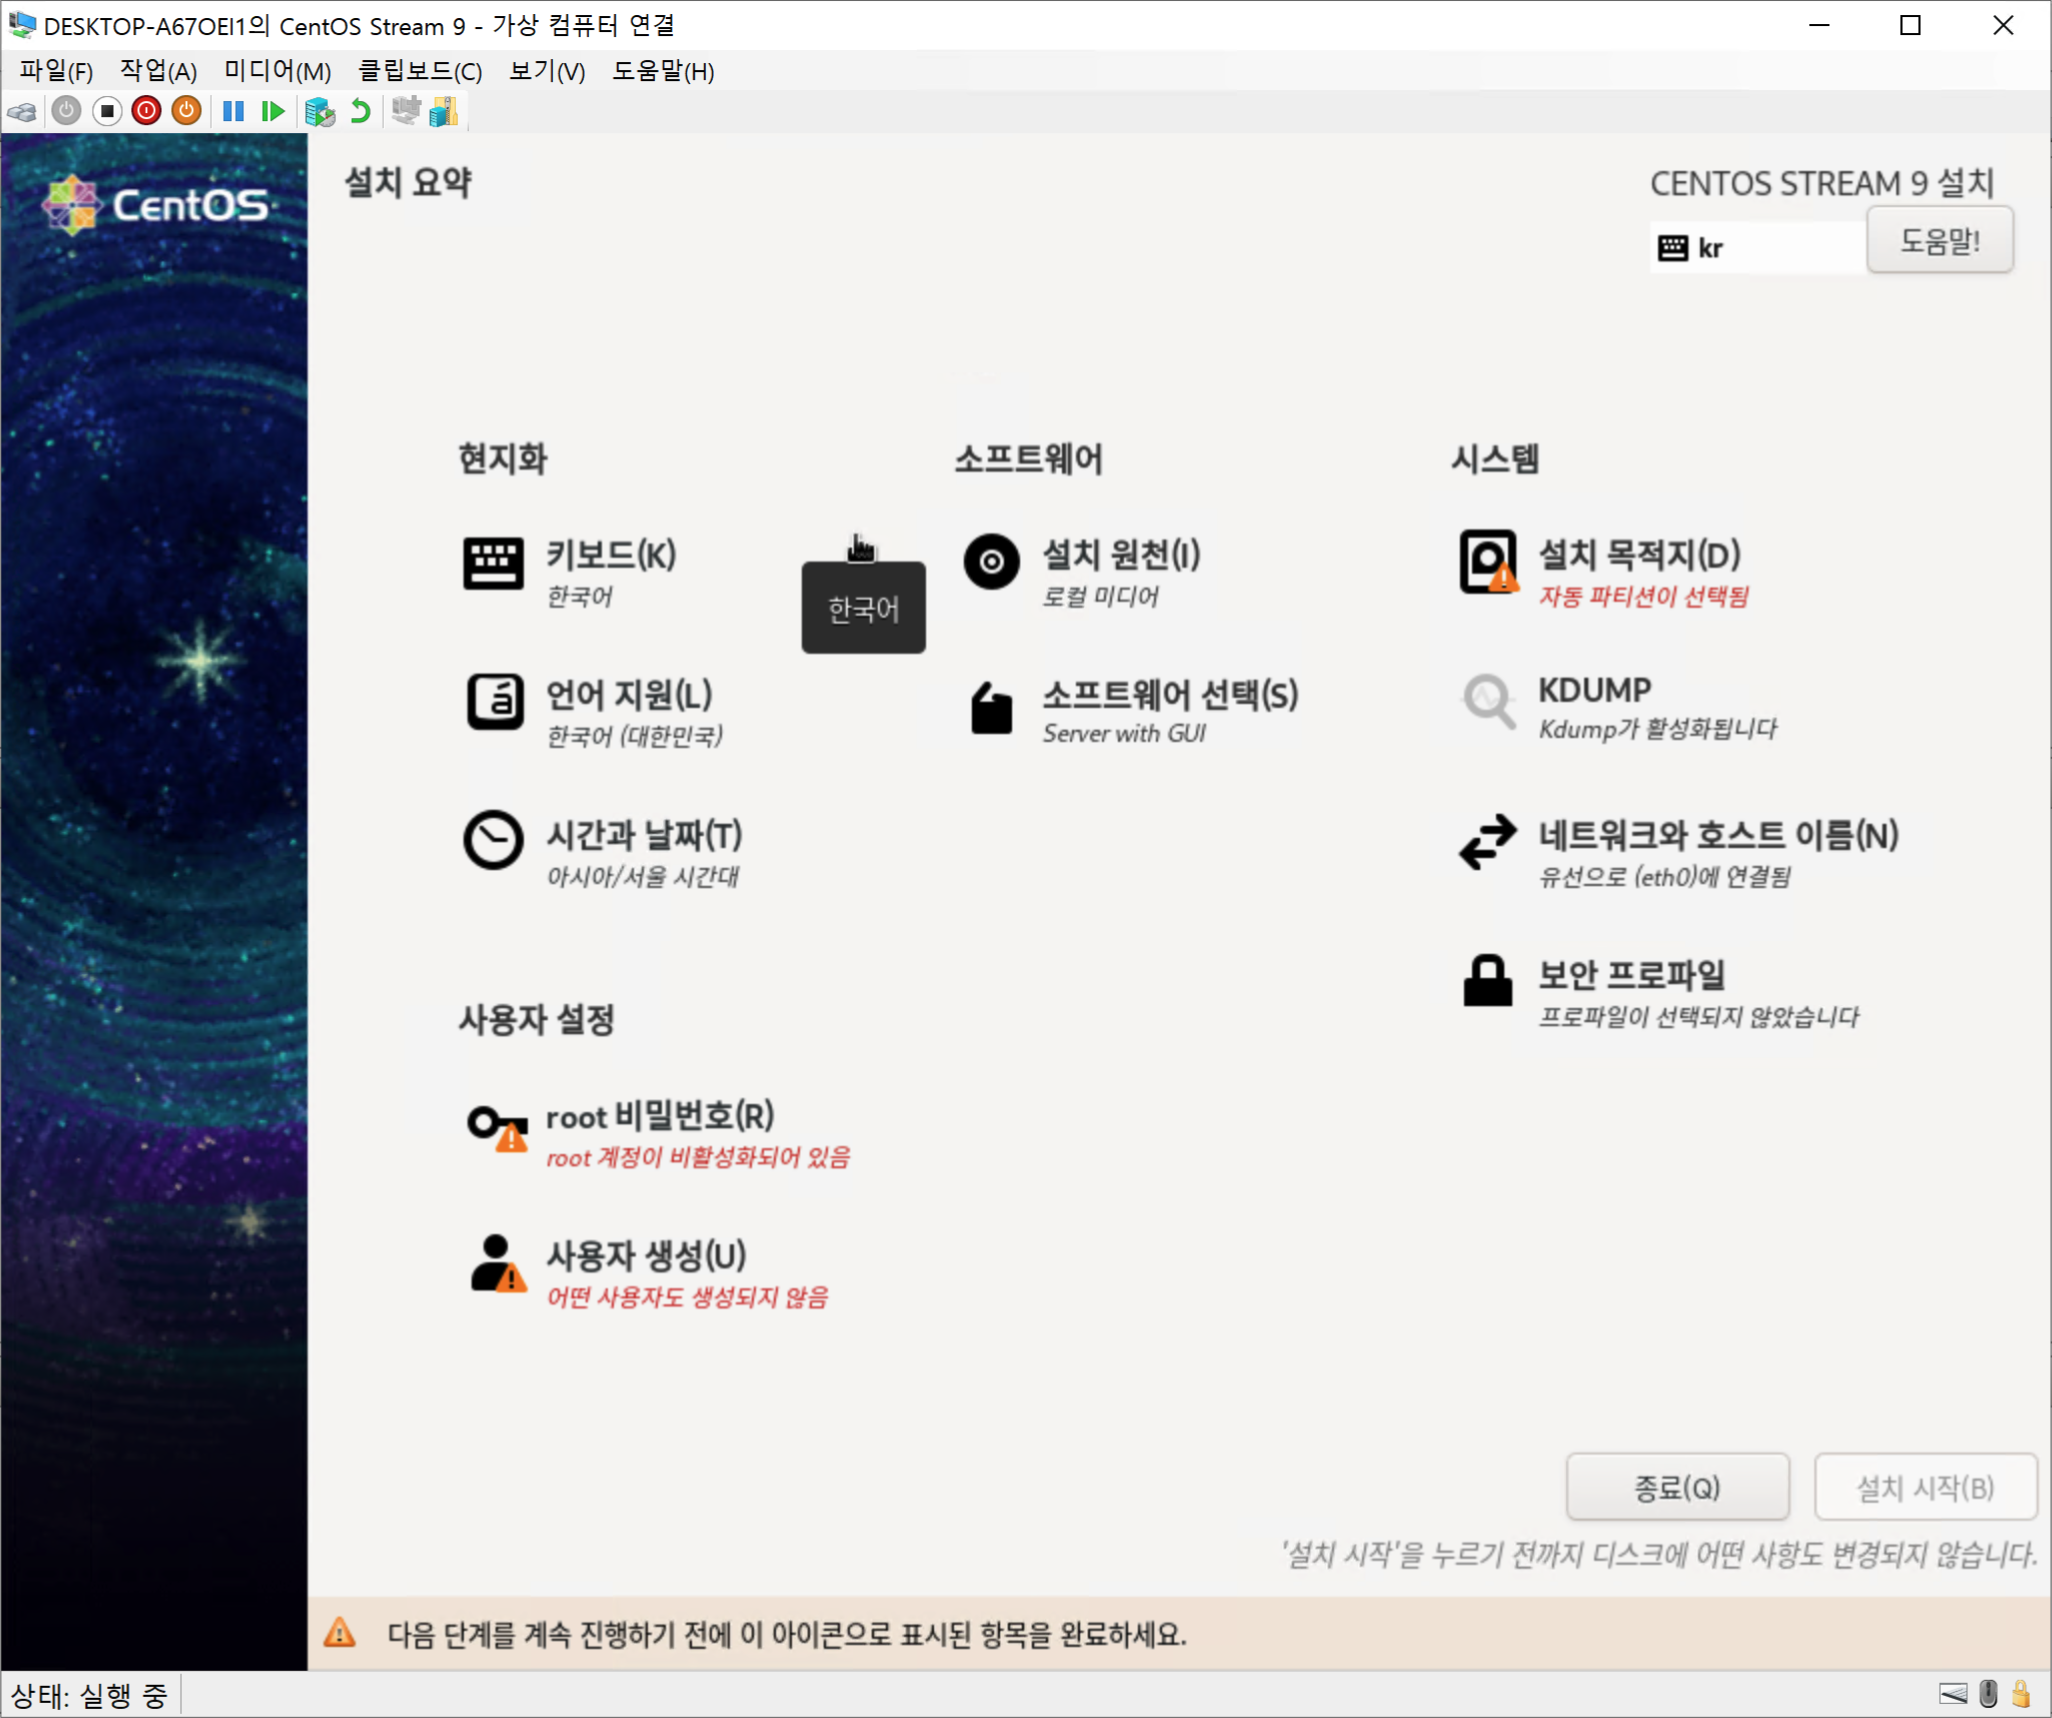
- On the “Installation Summary” screen, click “Installation Destination”, select the disk to install to, and click “Done”.
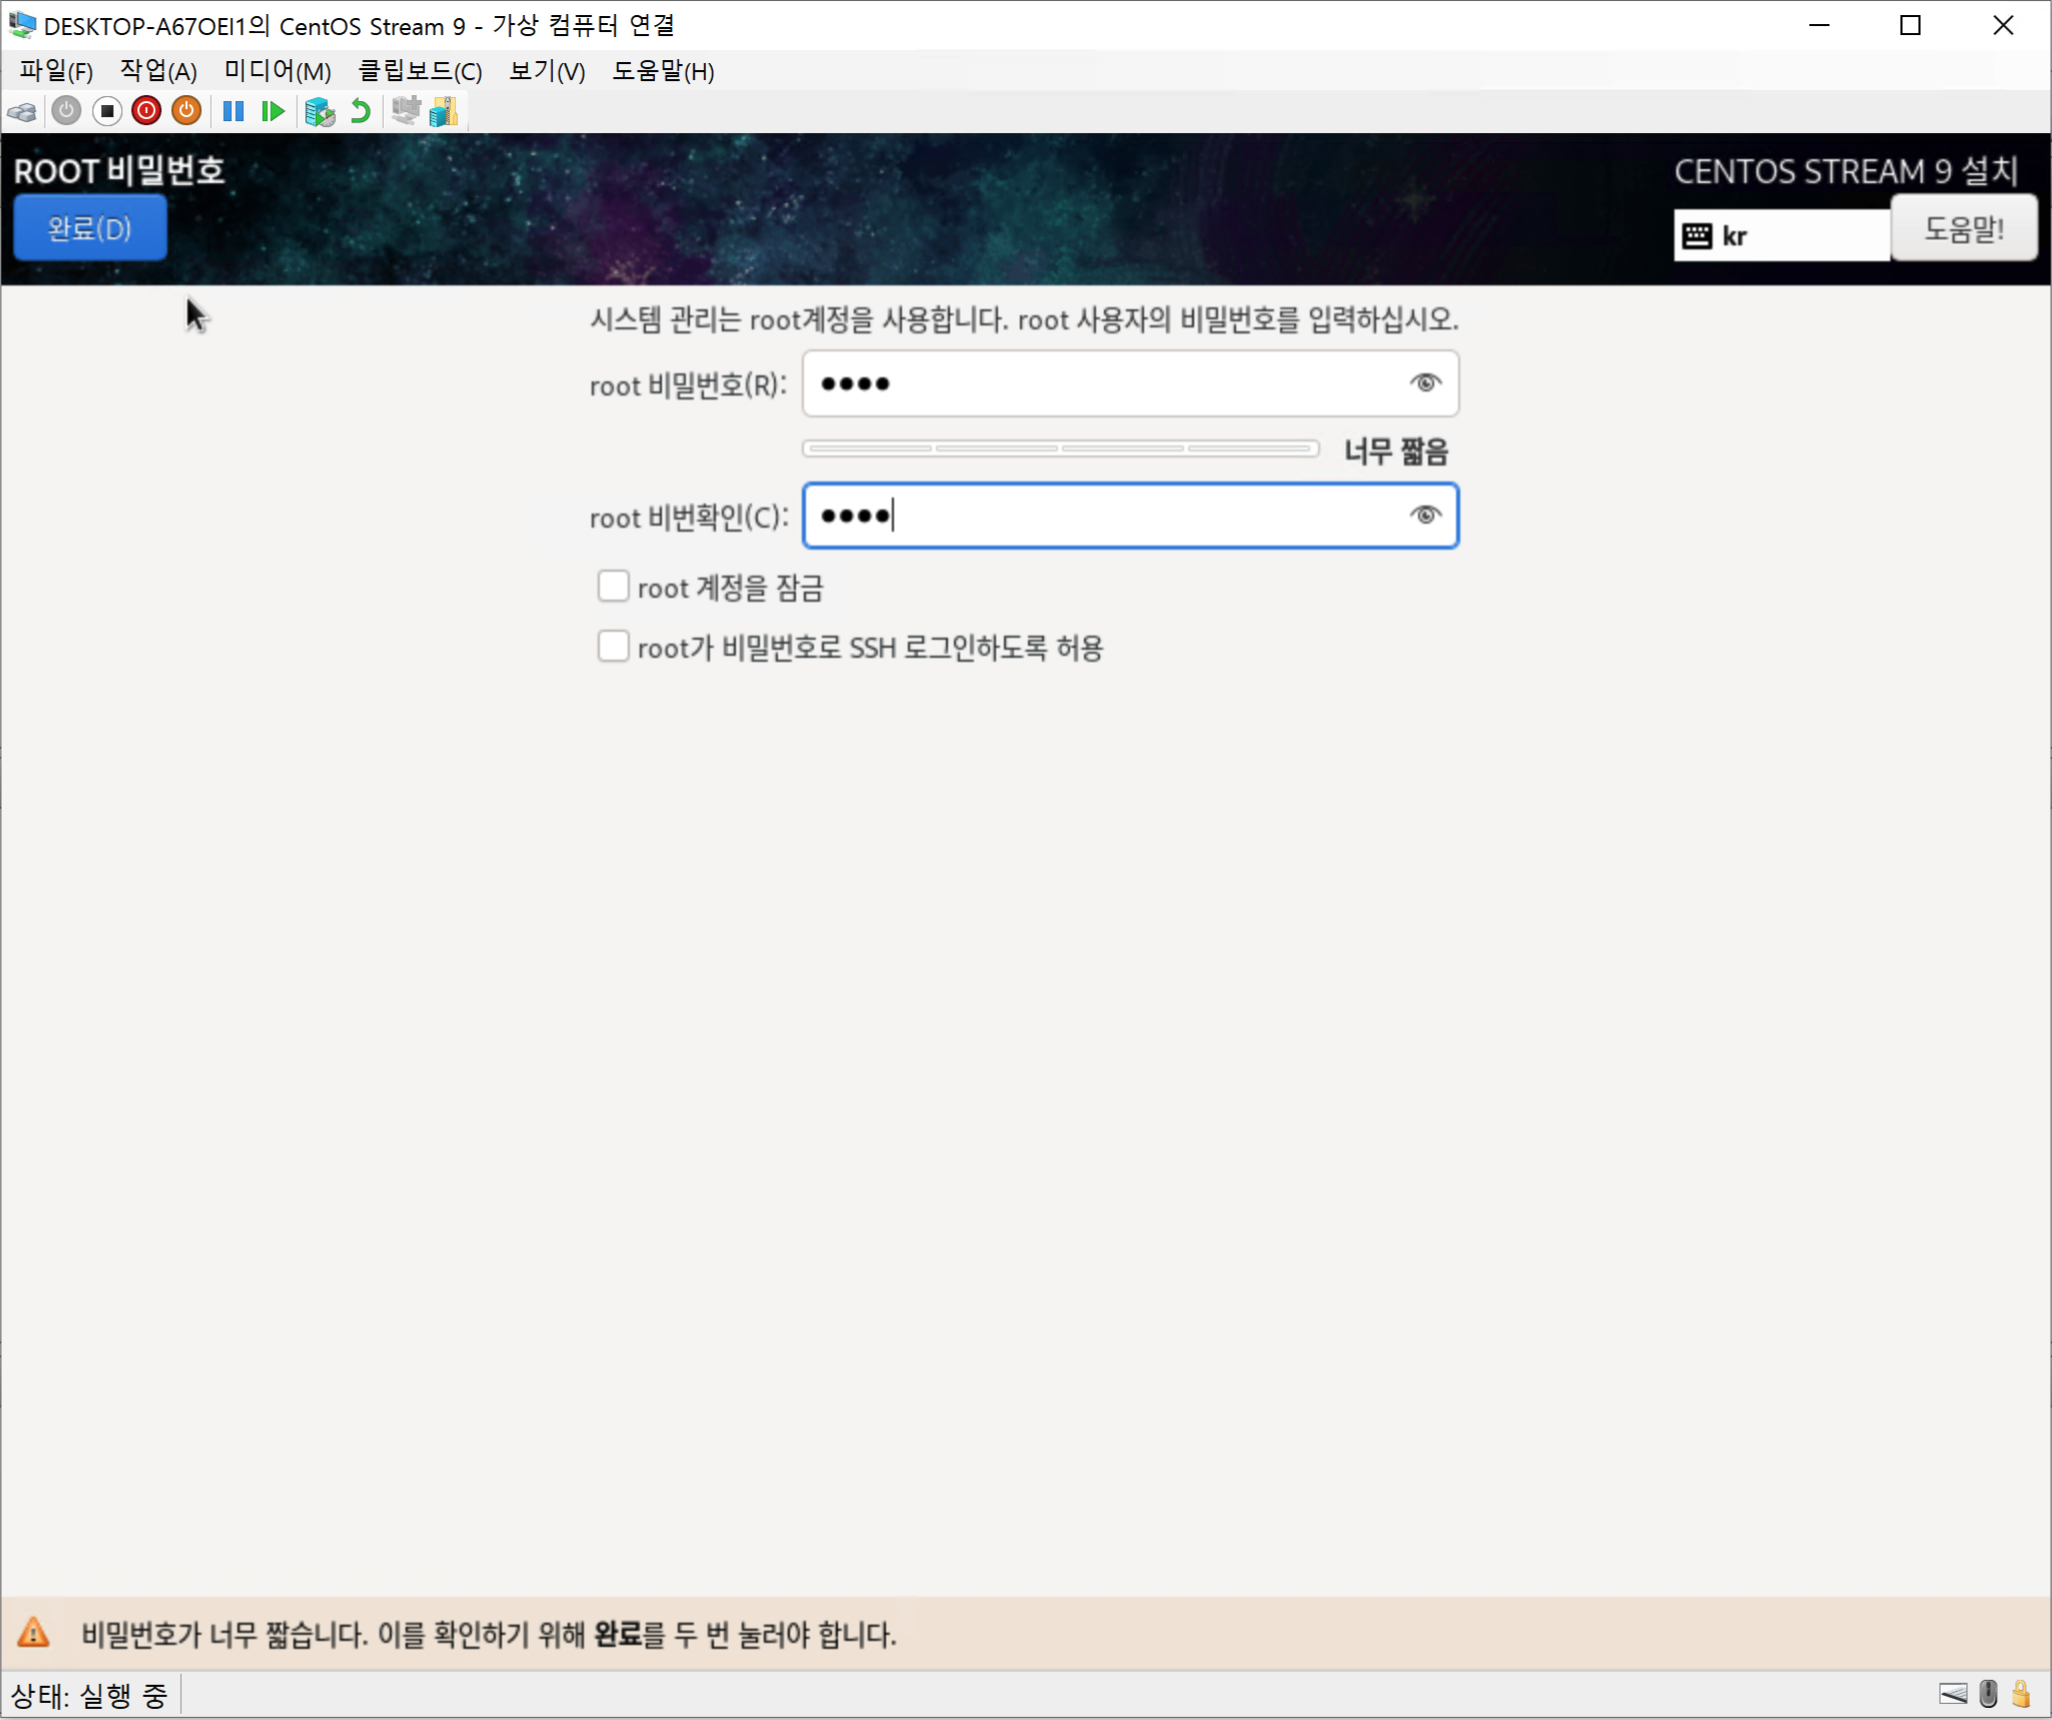
- On the “Installation Summary” screen, click “Root Password”, set the root account password, and click “Done”.
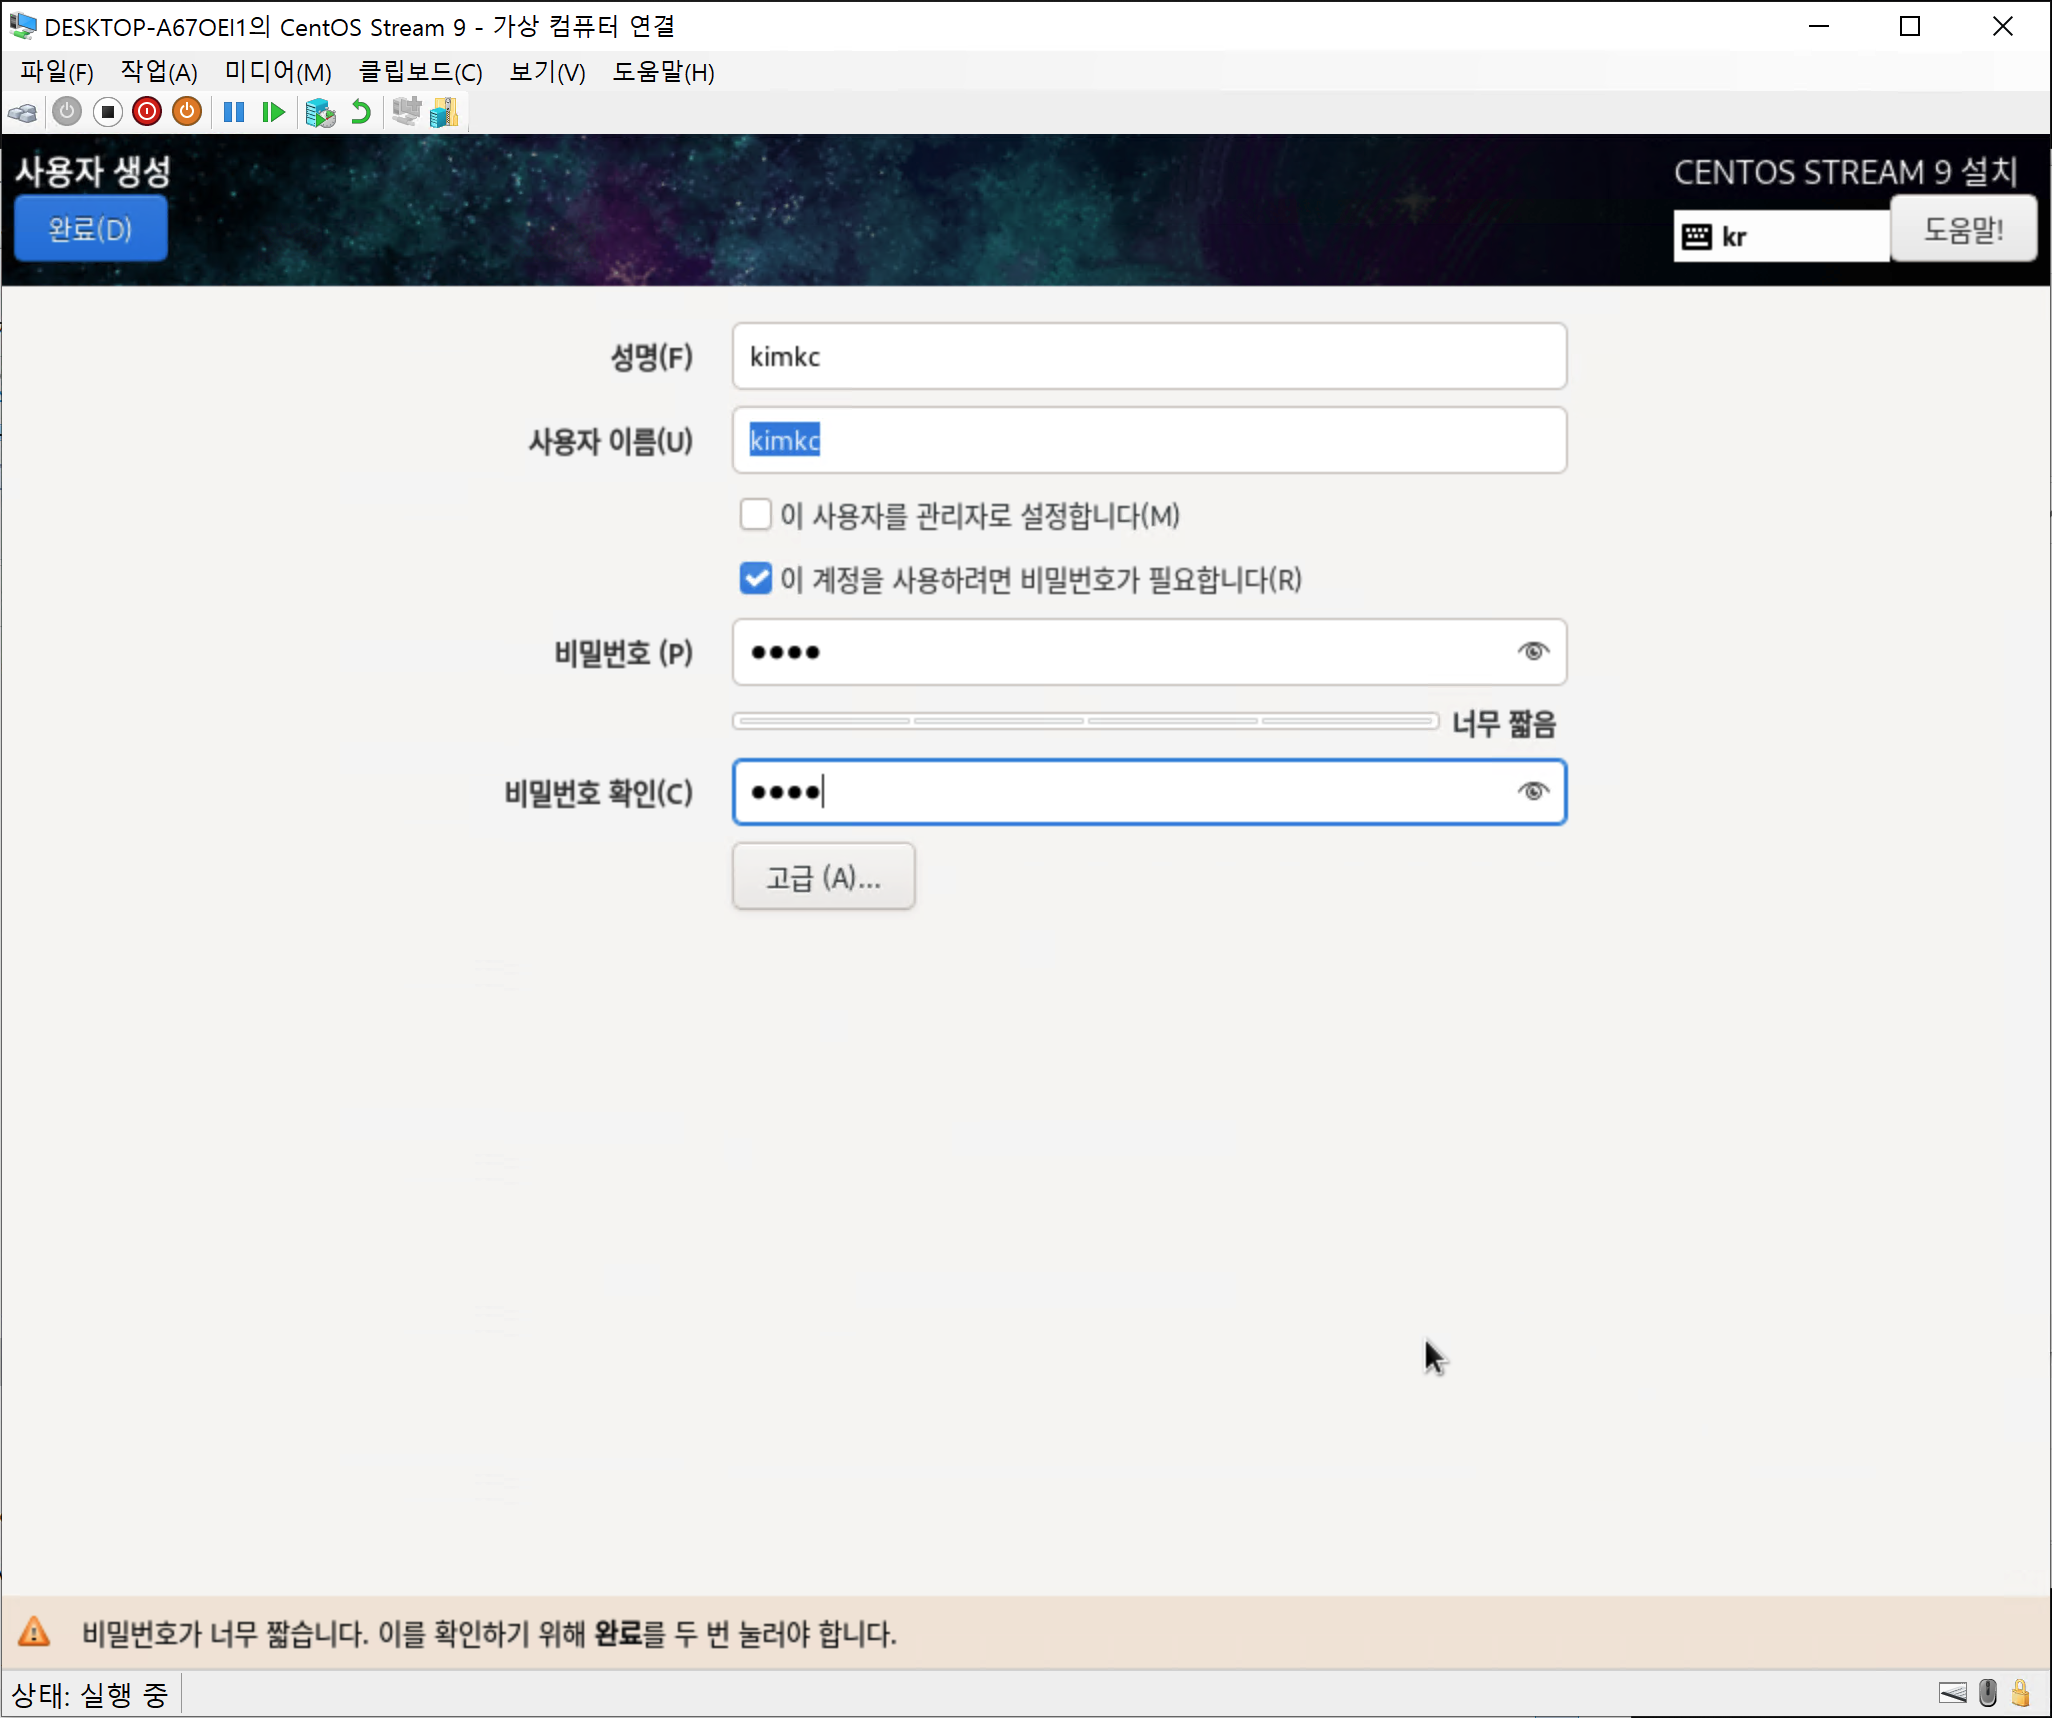
- On the “Installation Summary” screen, click “User Creation”, set the user information, and click “Done”.
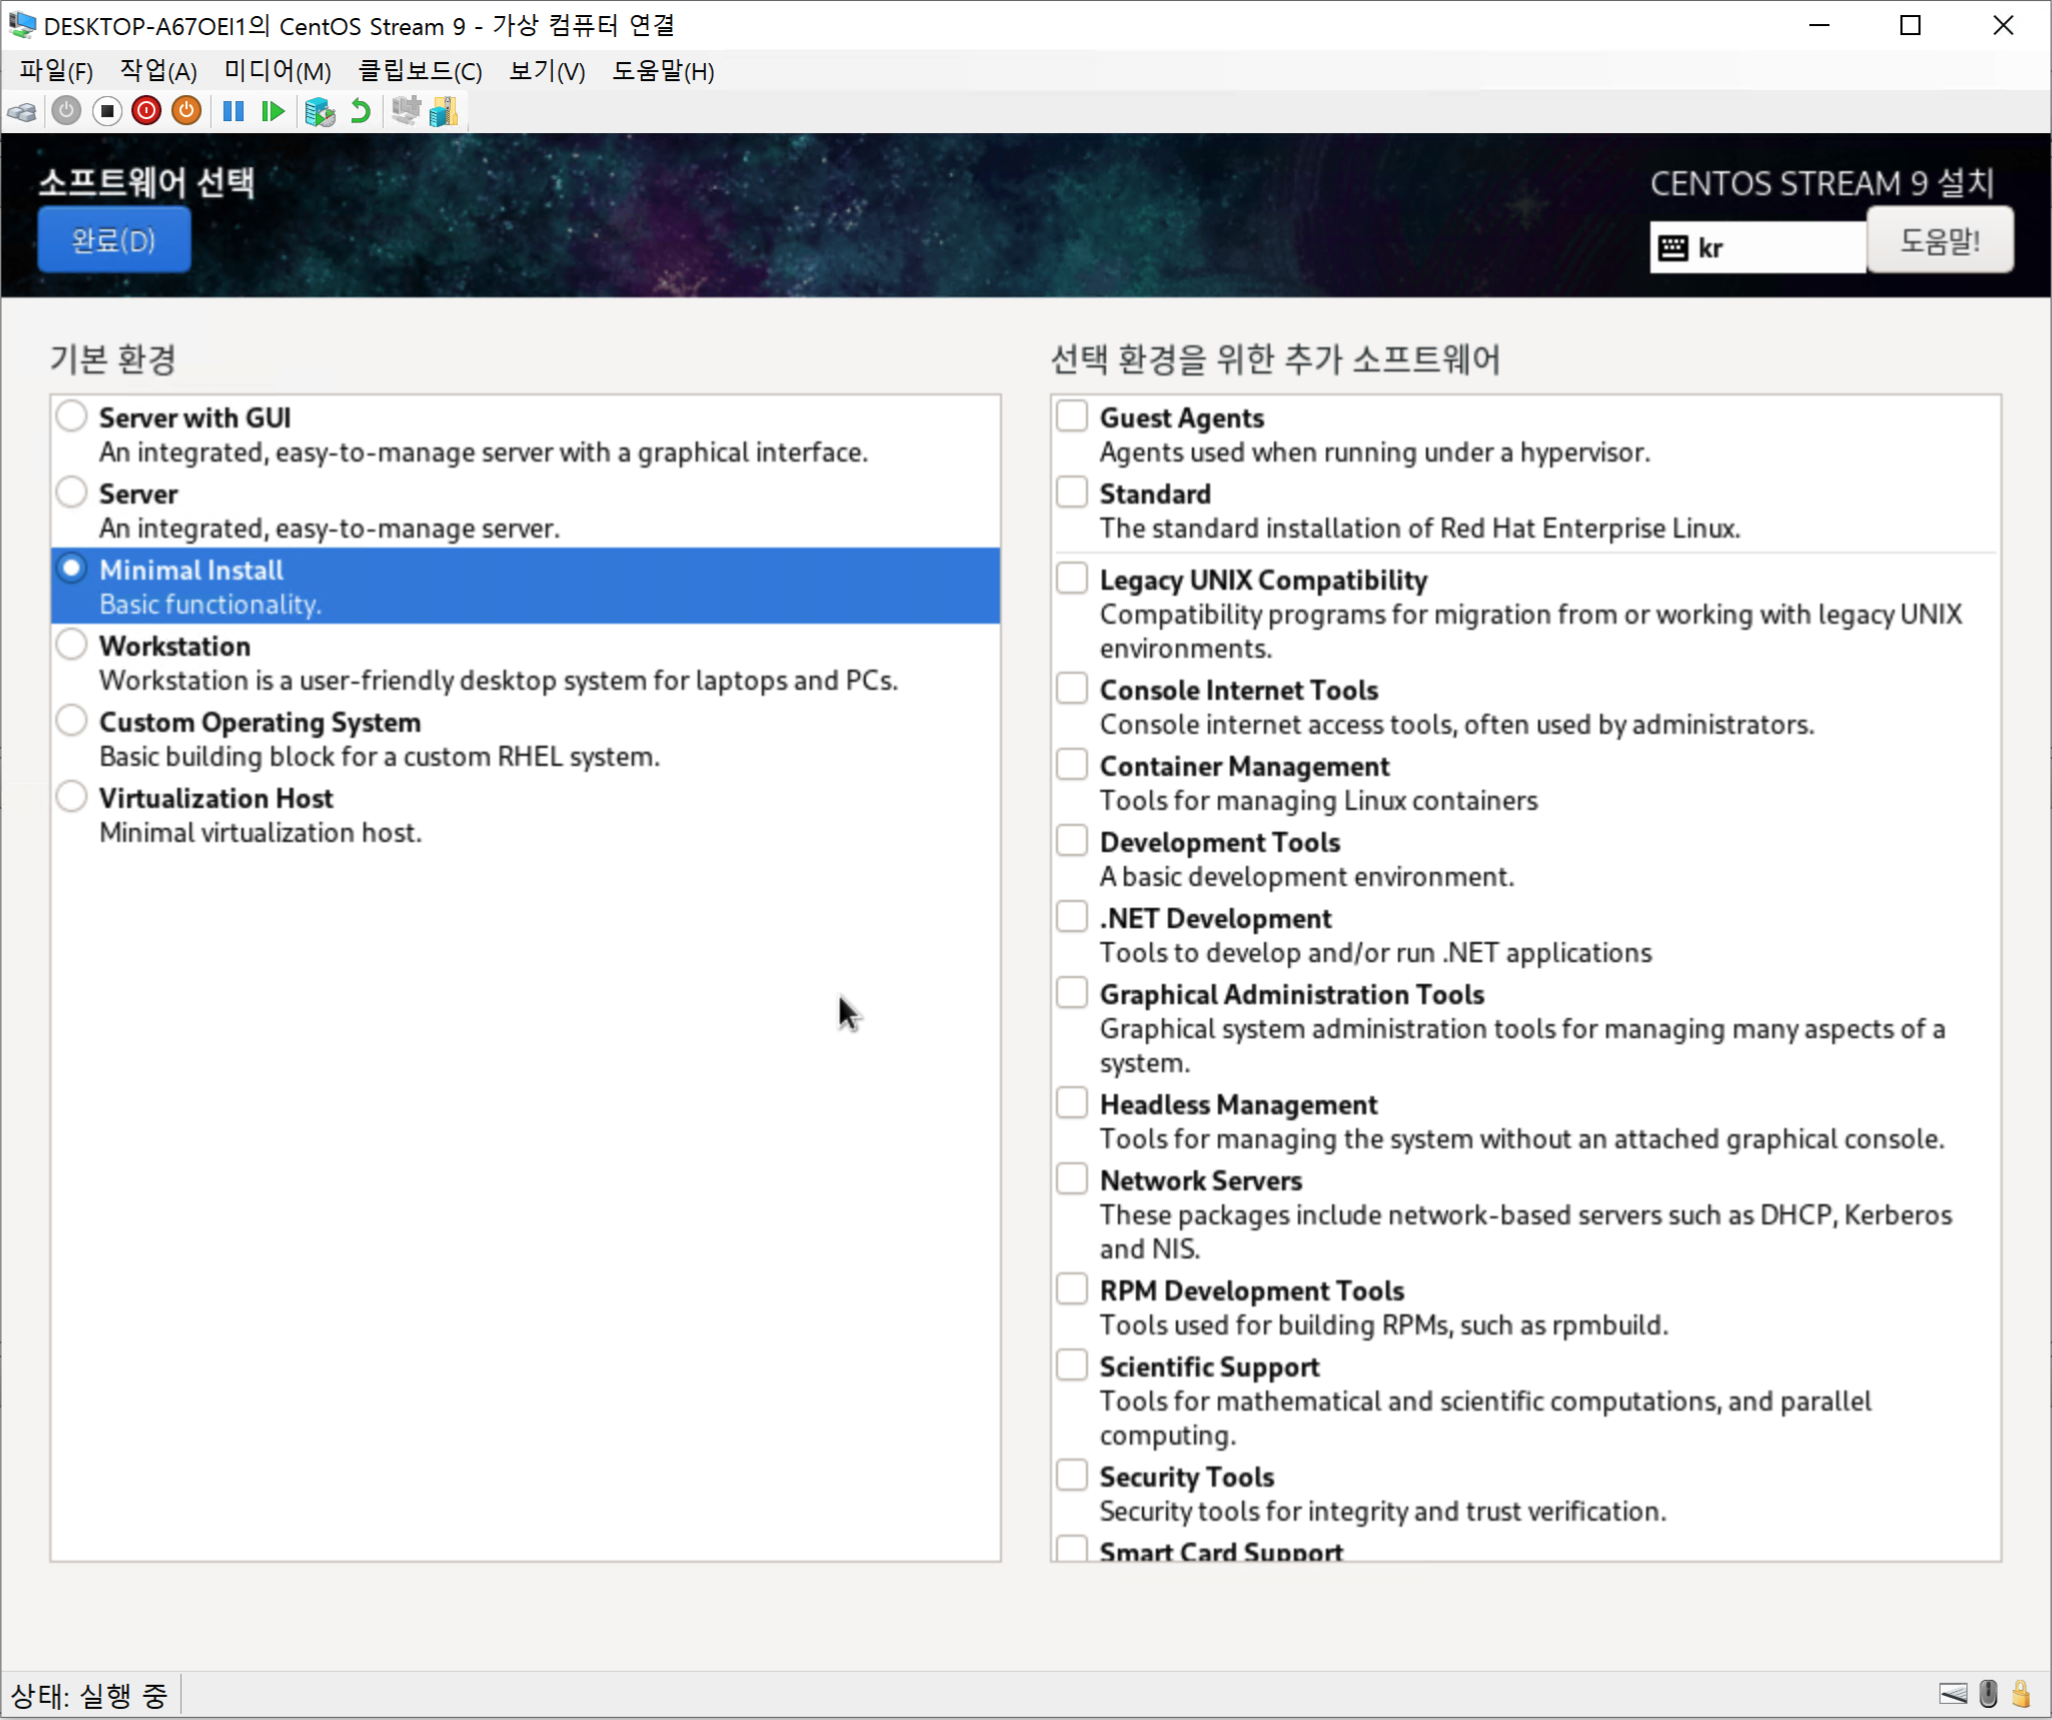
- On the “Installation Summary” screen, click “Software Selection”, select the base environment, and click “Done”. Here, select “Minimal Install” because CLI will be used.
- When all settings are complete, click “Begin Installation”.
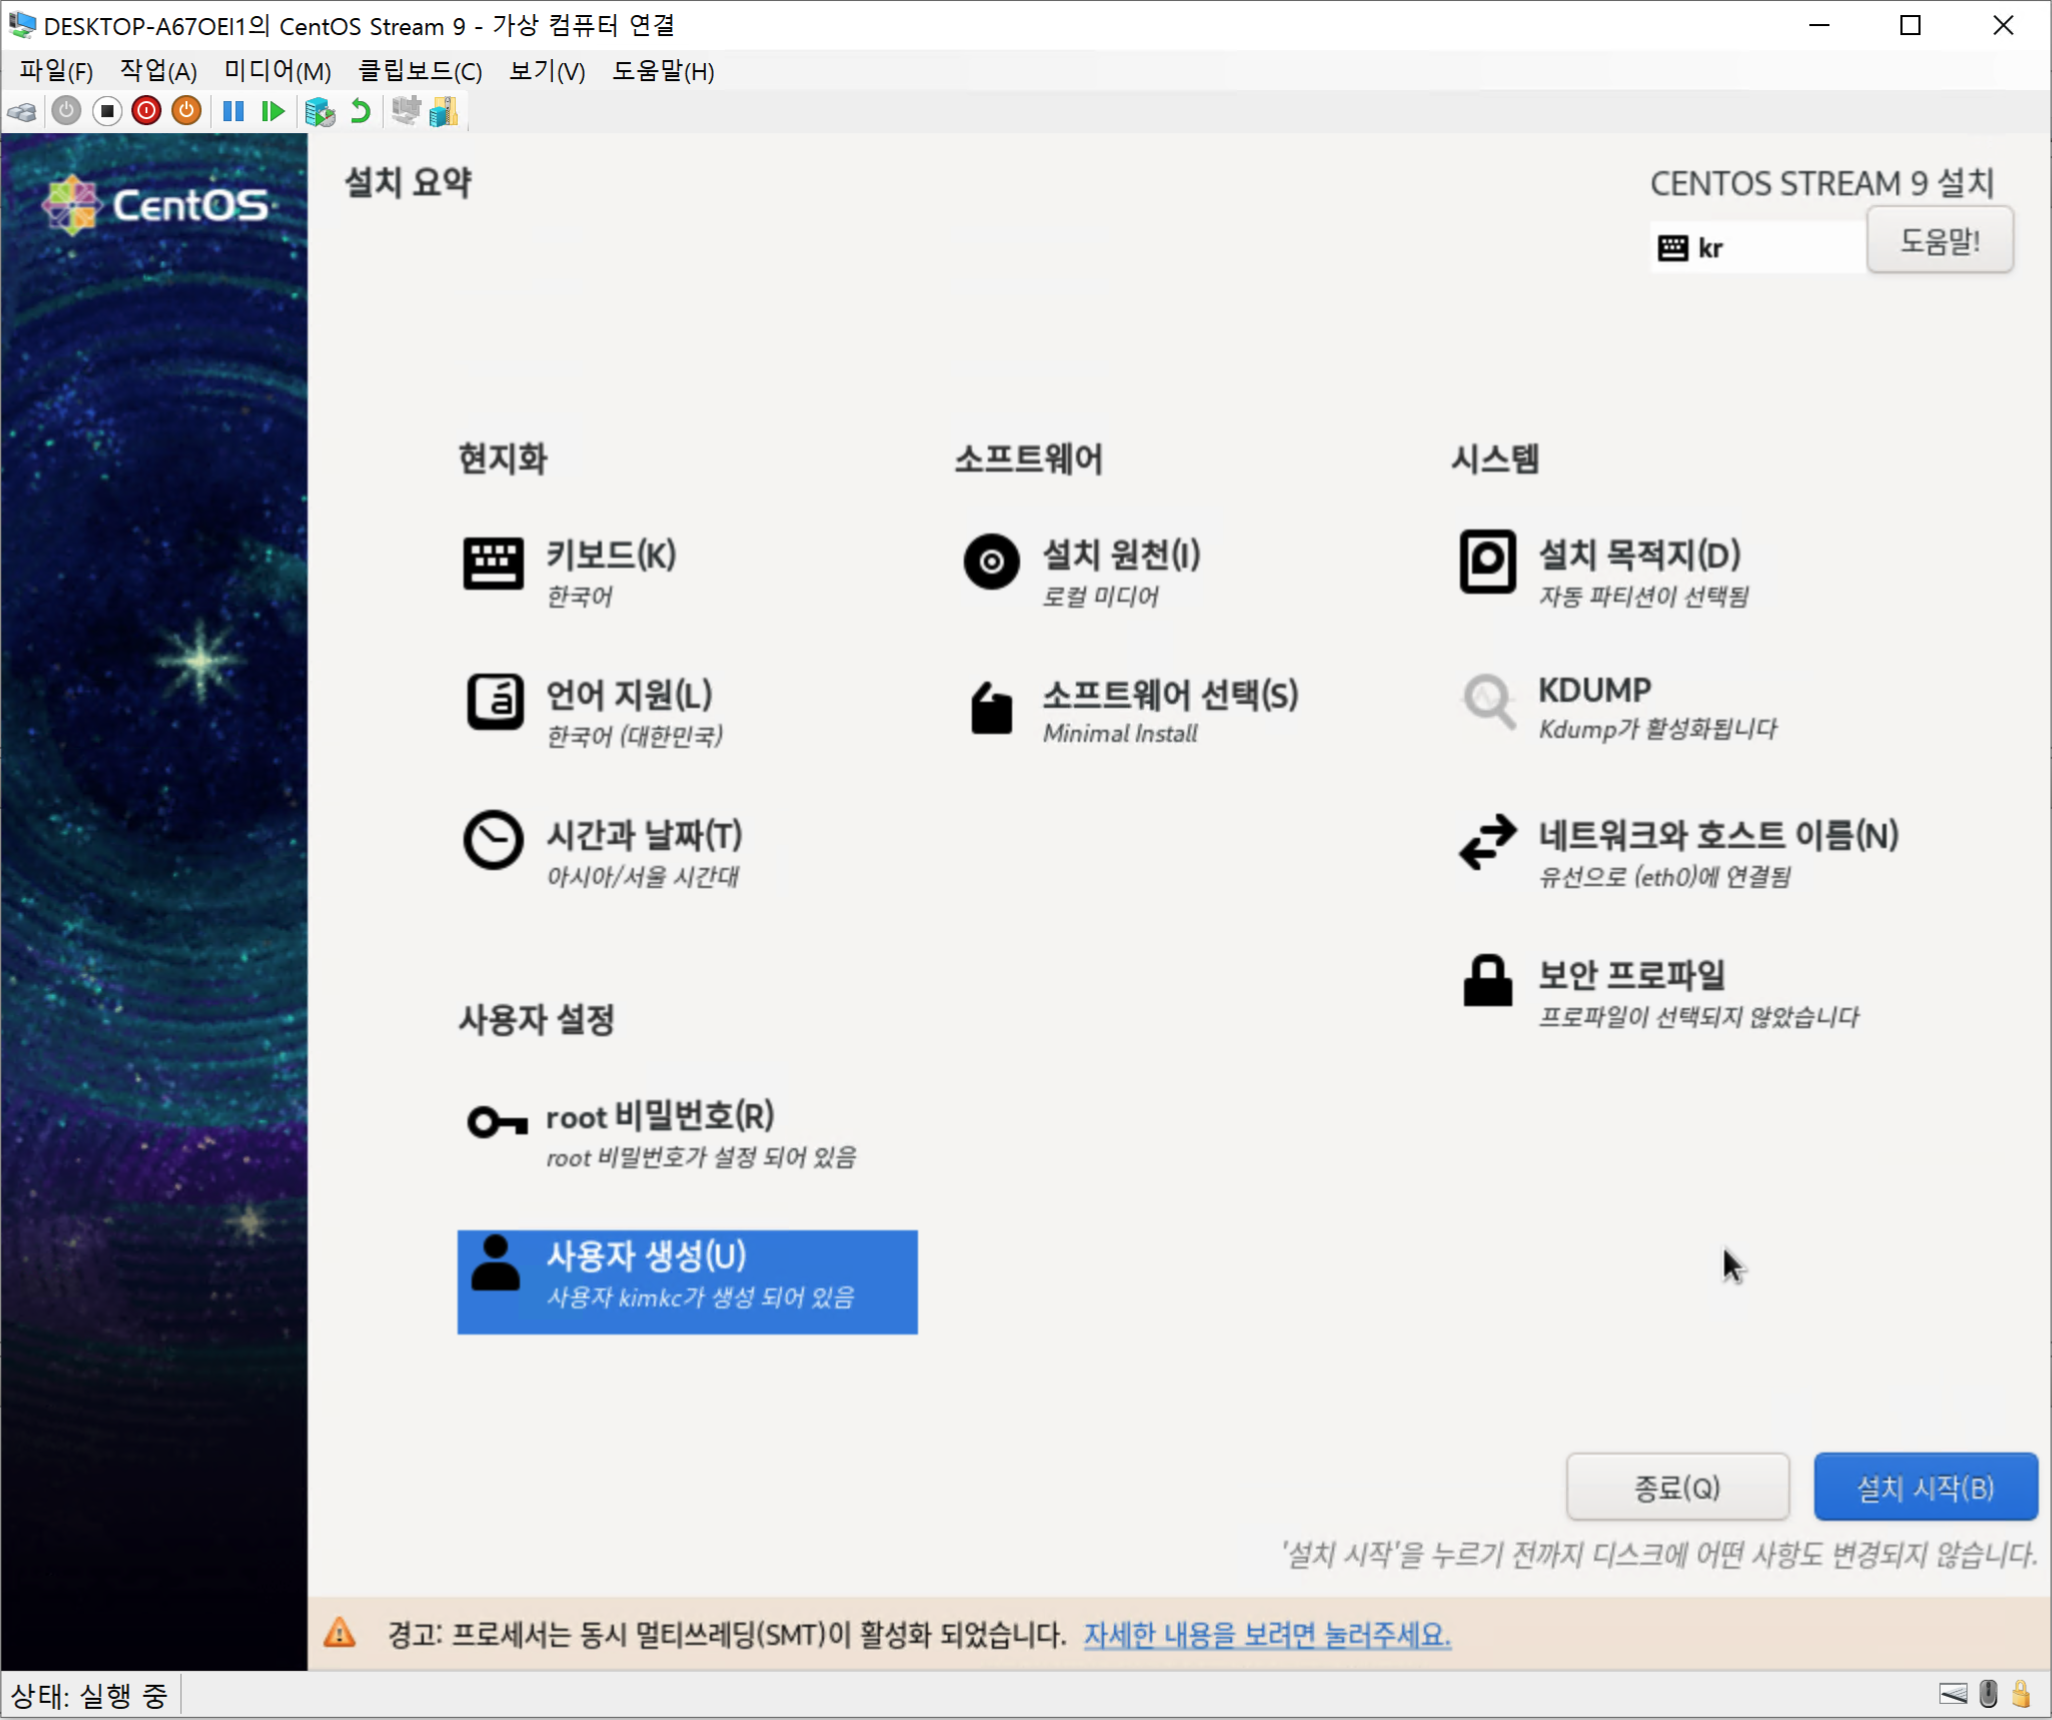
- You must configure all items with warning marks before the “Begin Installation” button becomes active.
-
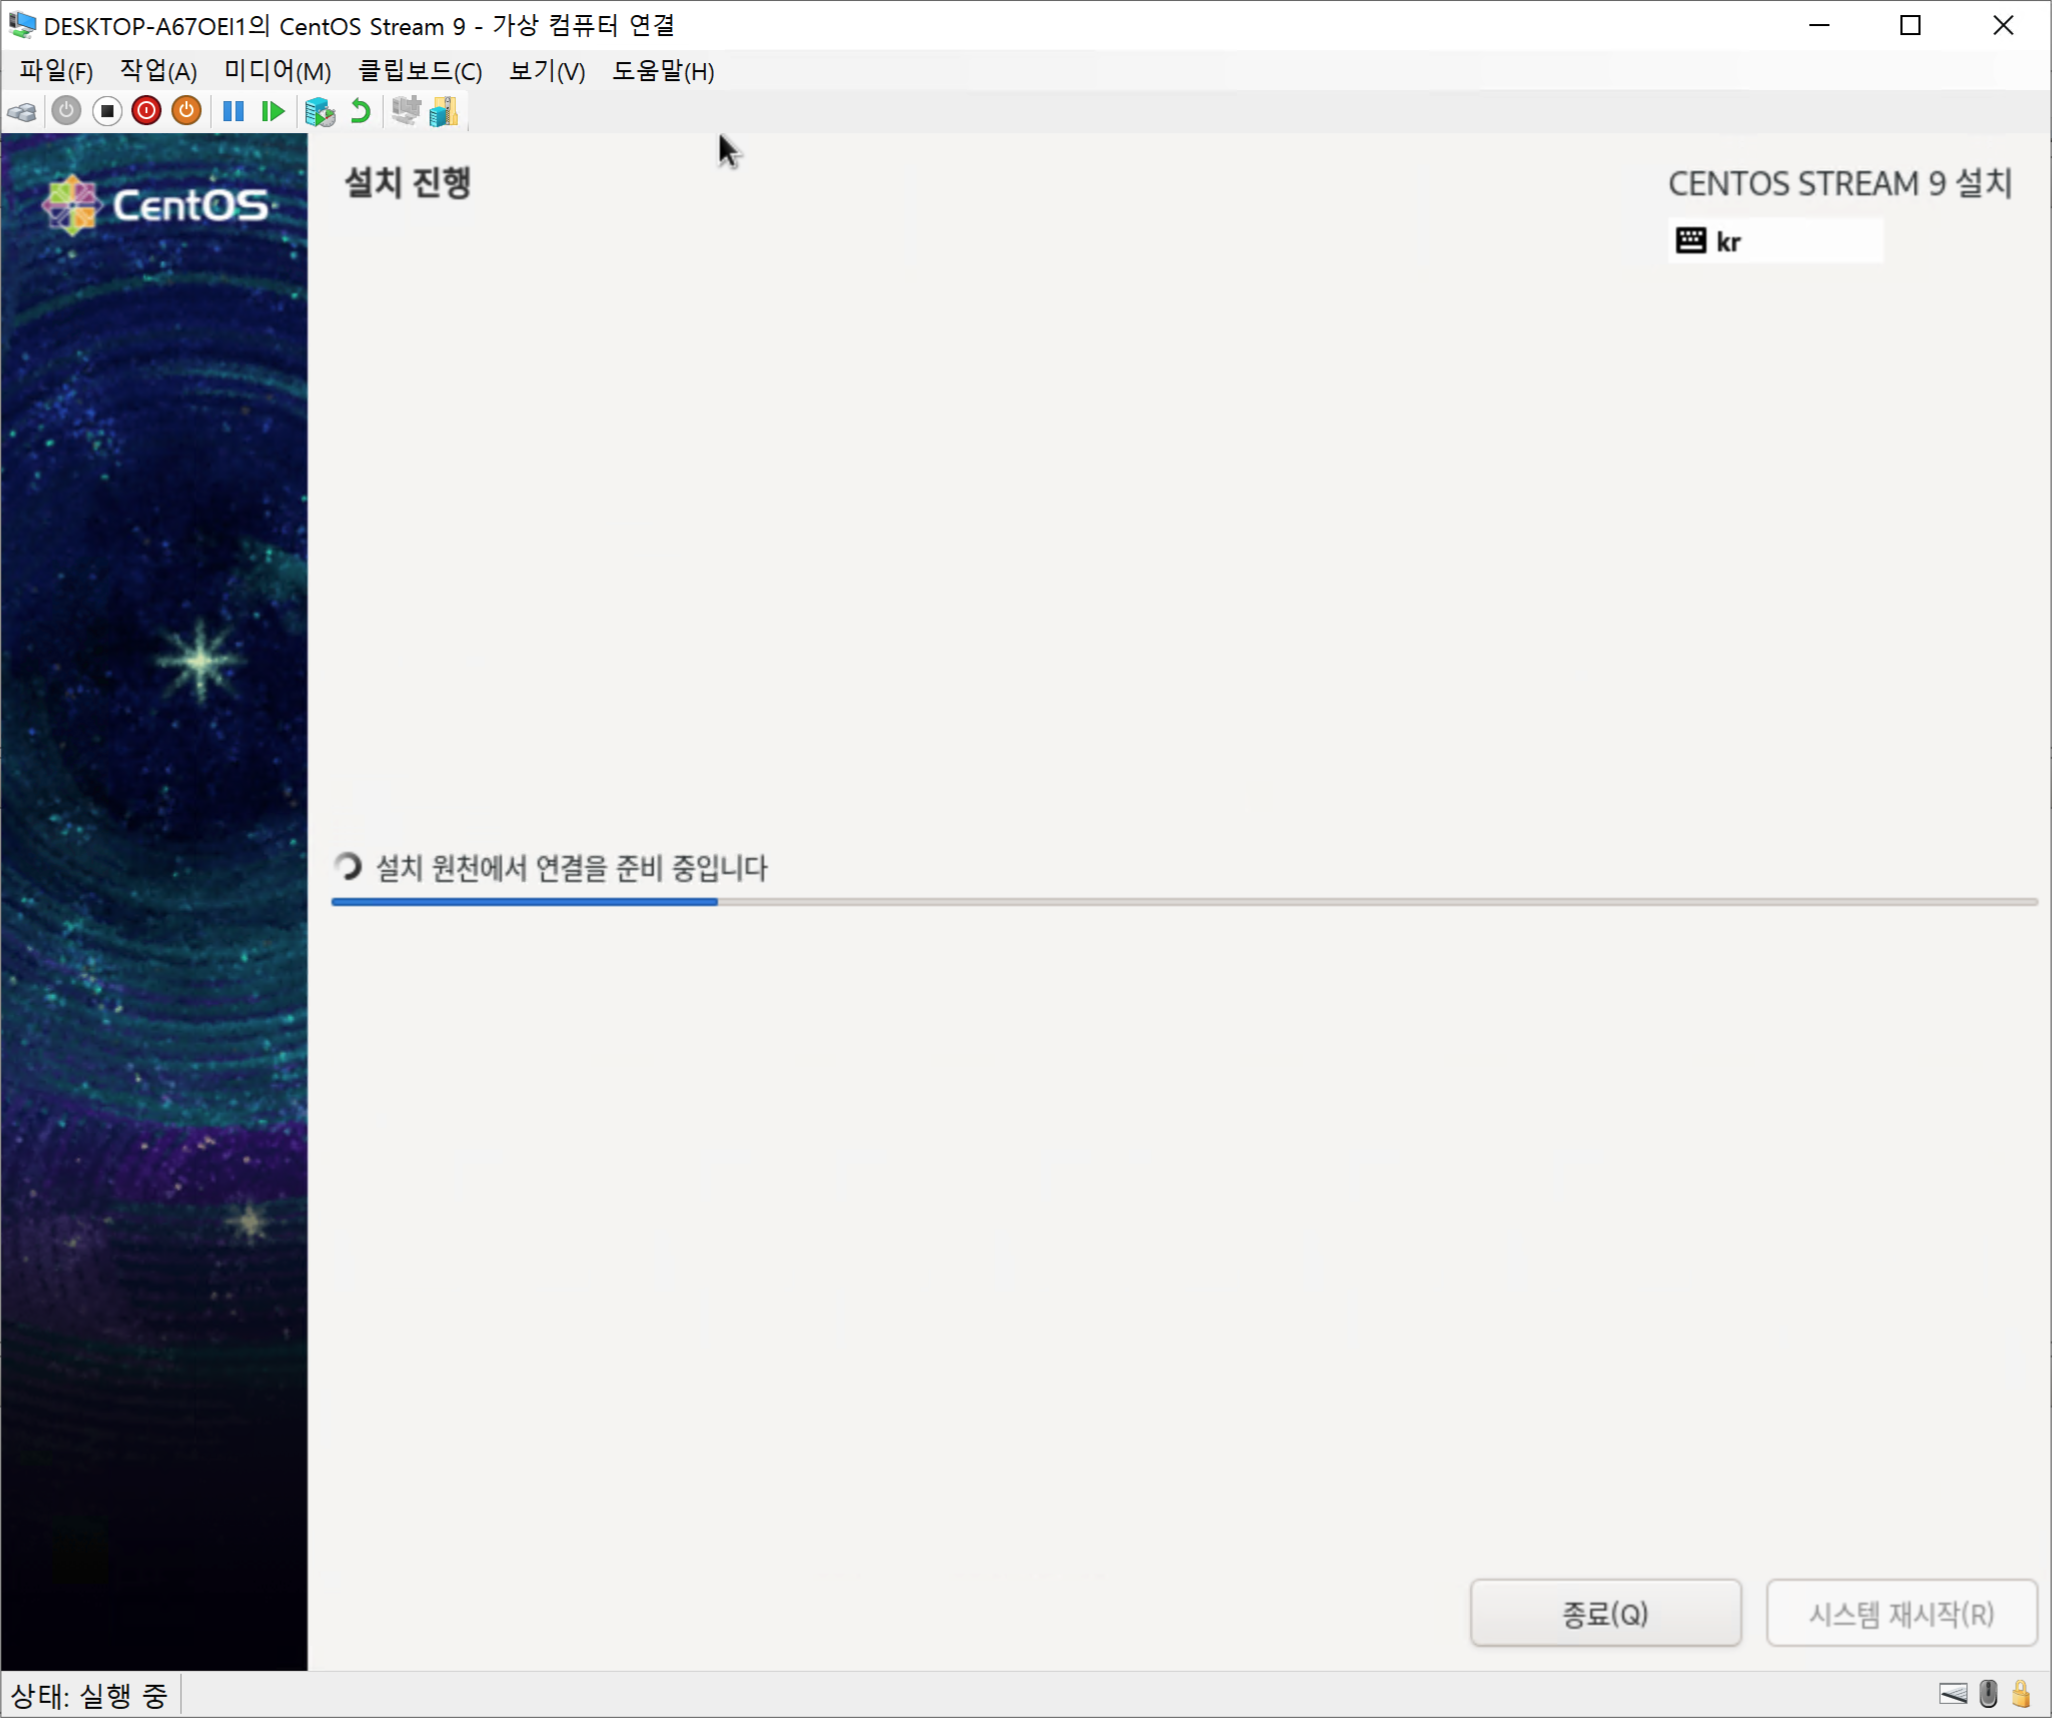
Installation now proceeds.
-
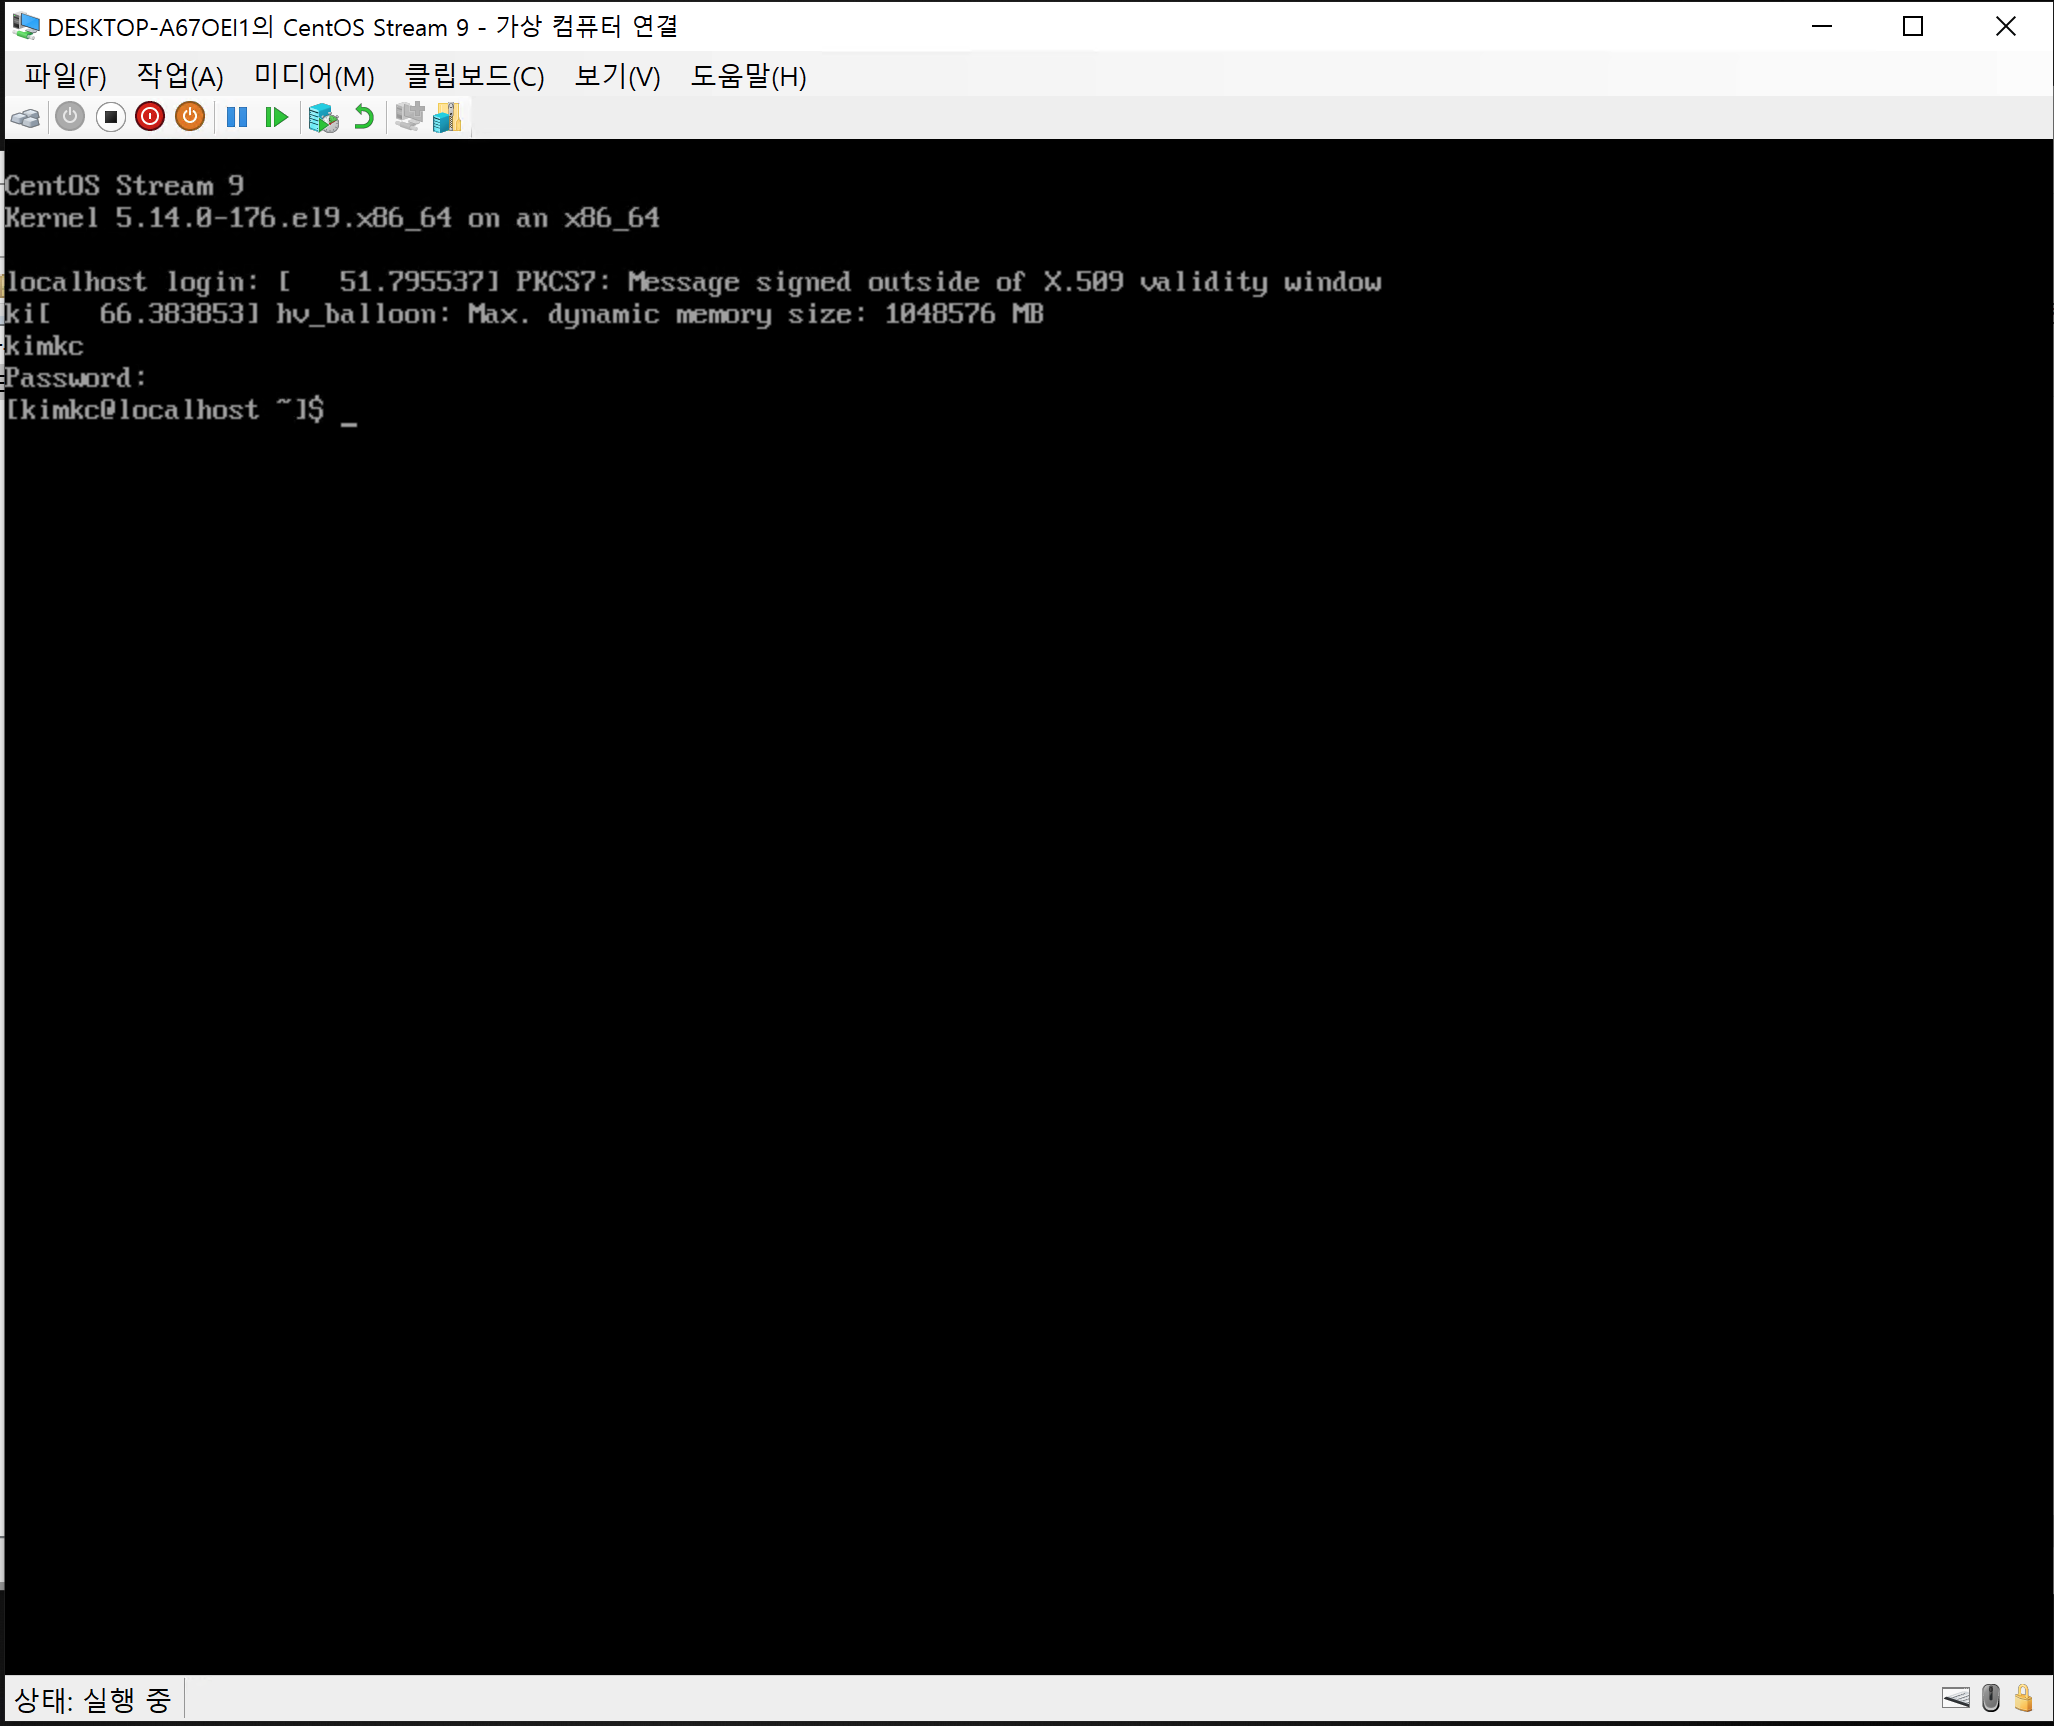
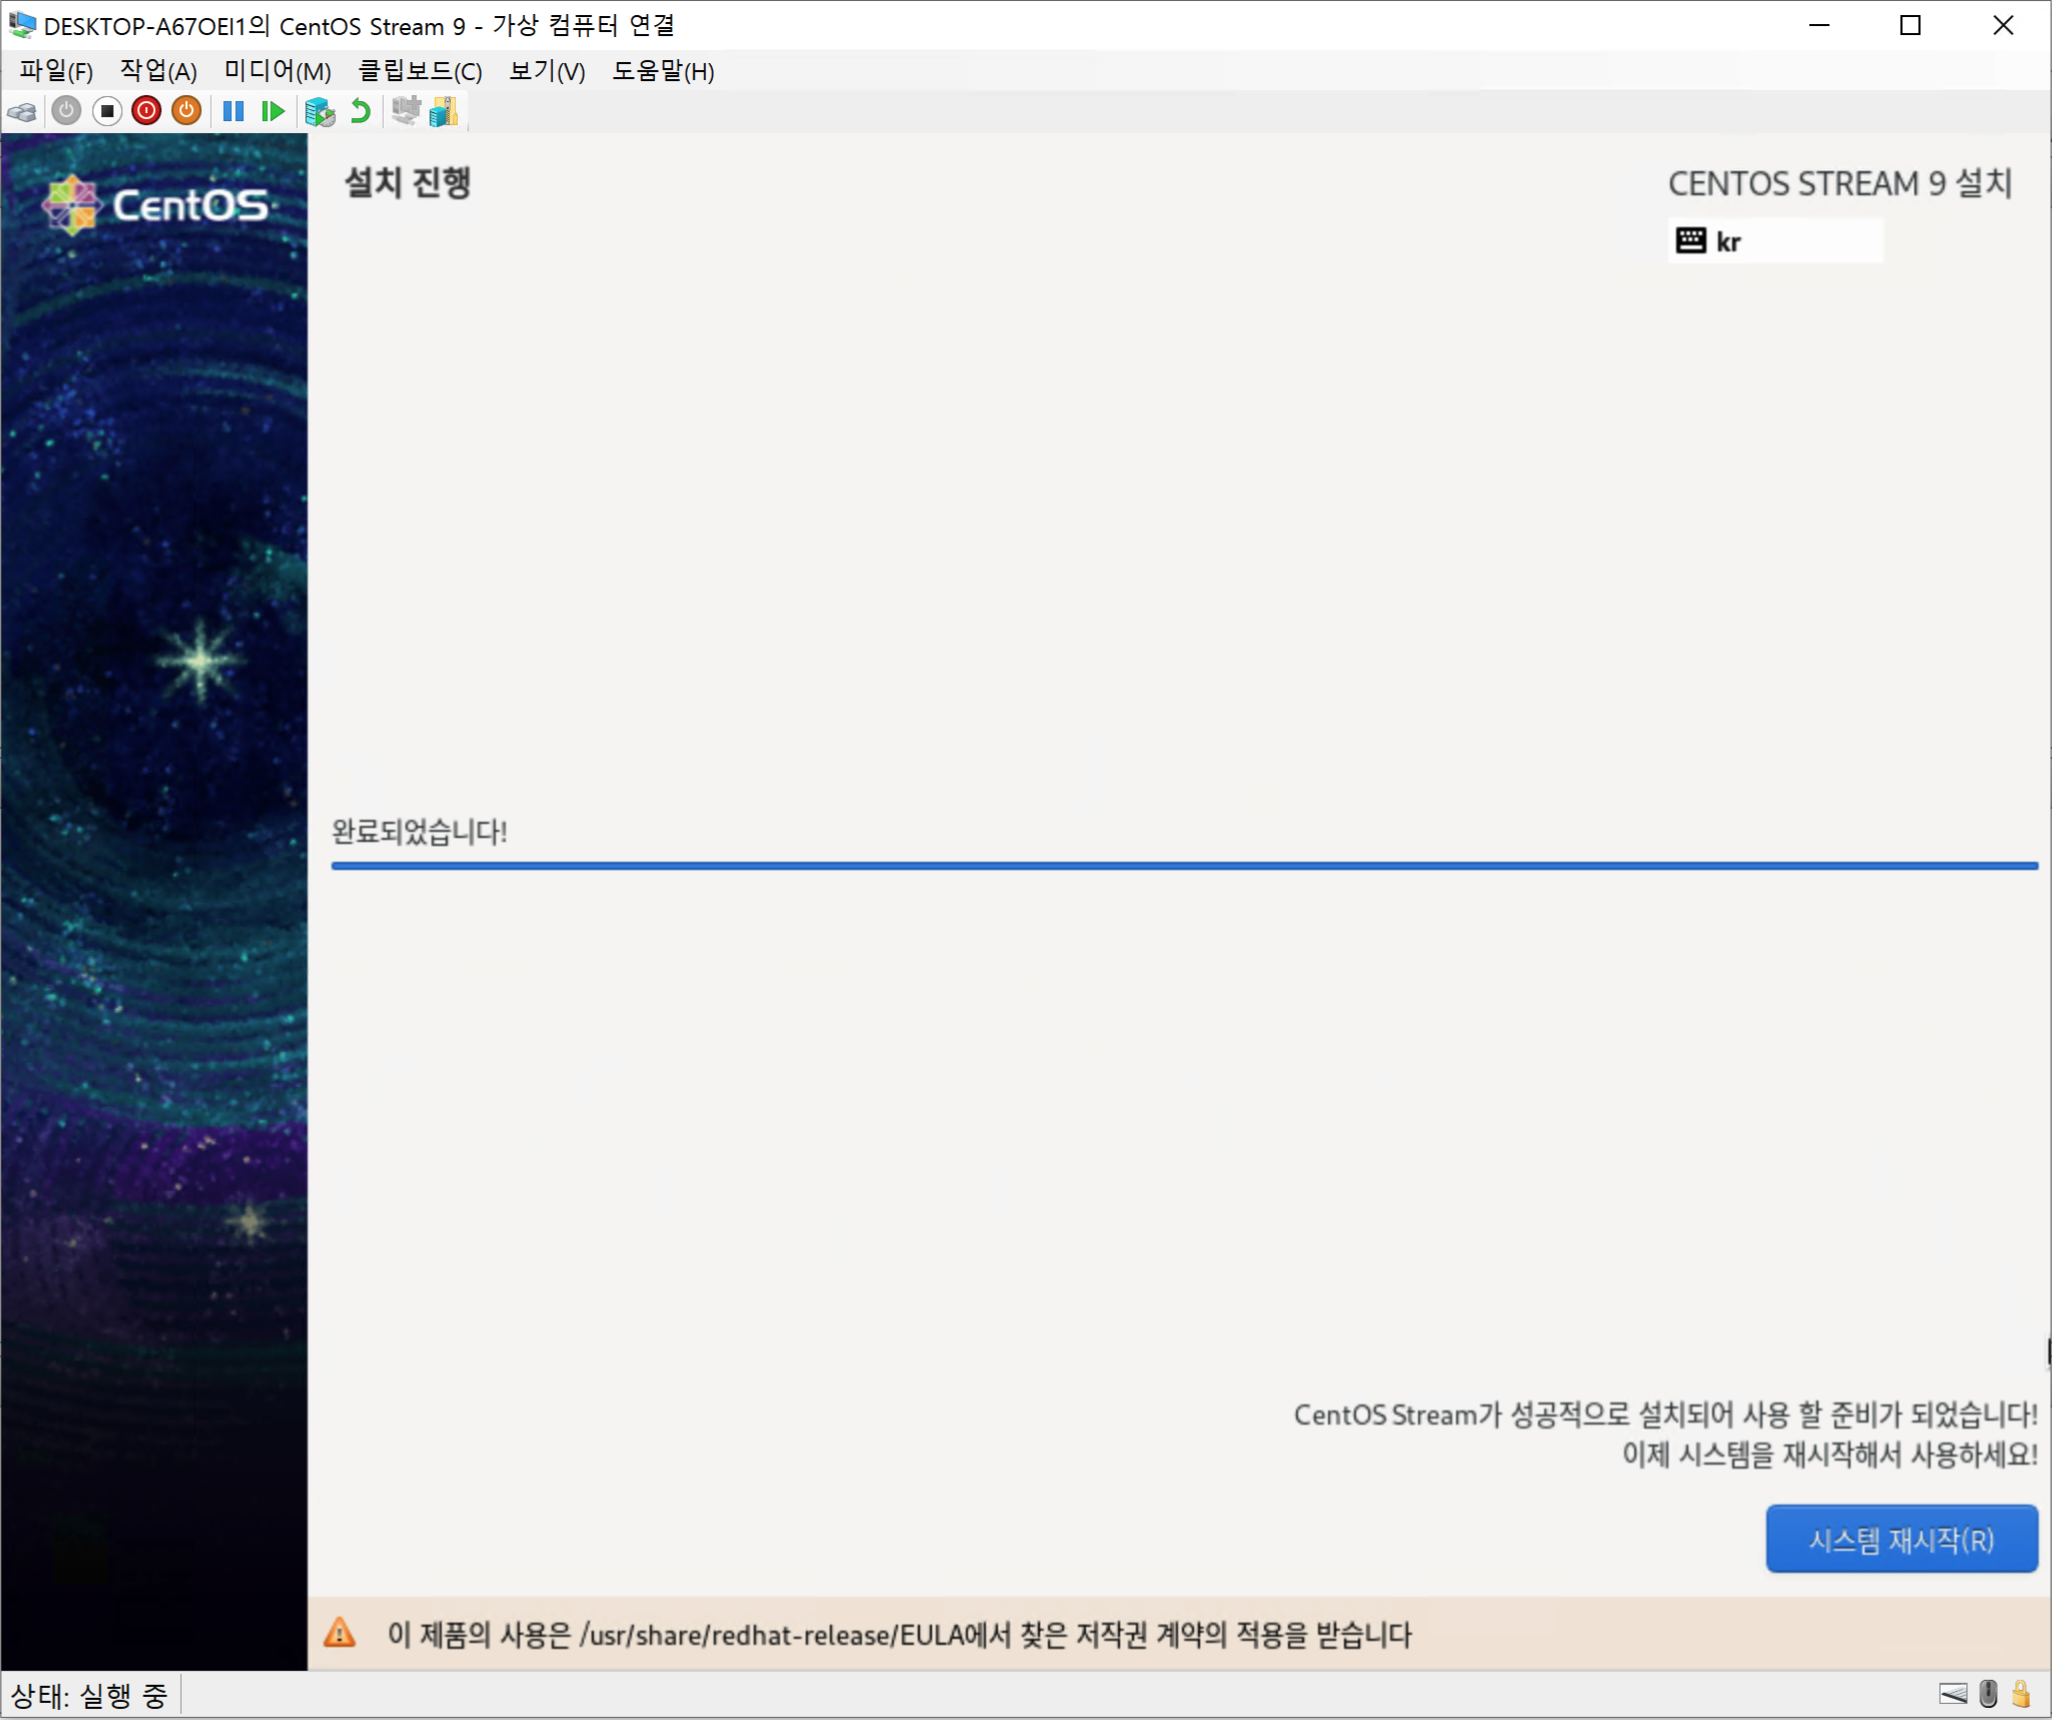
When installation finishes with the message “Complete!”, click “Reboot System”.
-
After rebooting, you can confirm that login works with the account configured above.