Creating a Ktor Project
![]()
What Is Ktor?
Ktor is an open source web framework written in Kotlin. It is developed and maintained by JetBrains, and it is used to build asynchronous web applications and microservices. Ktor is lightweight while still providing powerful features. It helps developers build web applications quickly and efficiently by taking advantage of Kotlin’s concise and expressive syntax. It can also create standalone applications by using its embedded HTTP server.
Getting Started
First, let’s refer to the official Getting Started page and create our first project.
Creating a New Ktor Project
This section introduces how to create, run, and test a simple Ktor application. The way to create a new Ktor project differs depending on the IDE.
- IntelliJ IDEA Ultimate
- Use the dedicated plugin
- IntelliJ IDEA Community and other environments
- Use the web-based project generator
Here, we will proceed with the web-based project generator.
Web-based Project Generator
First, go to the Ktor Project Generator and configure it as shown below.
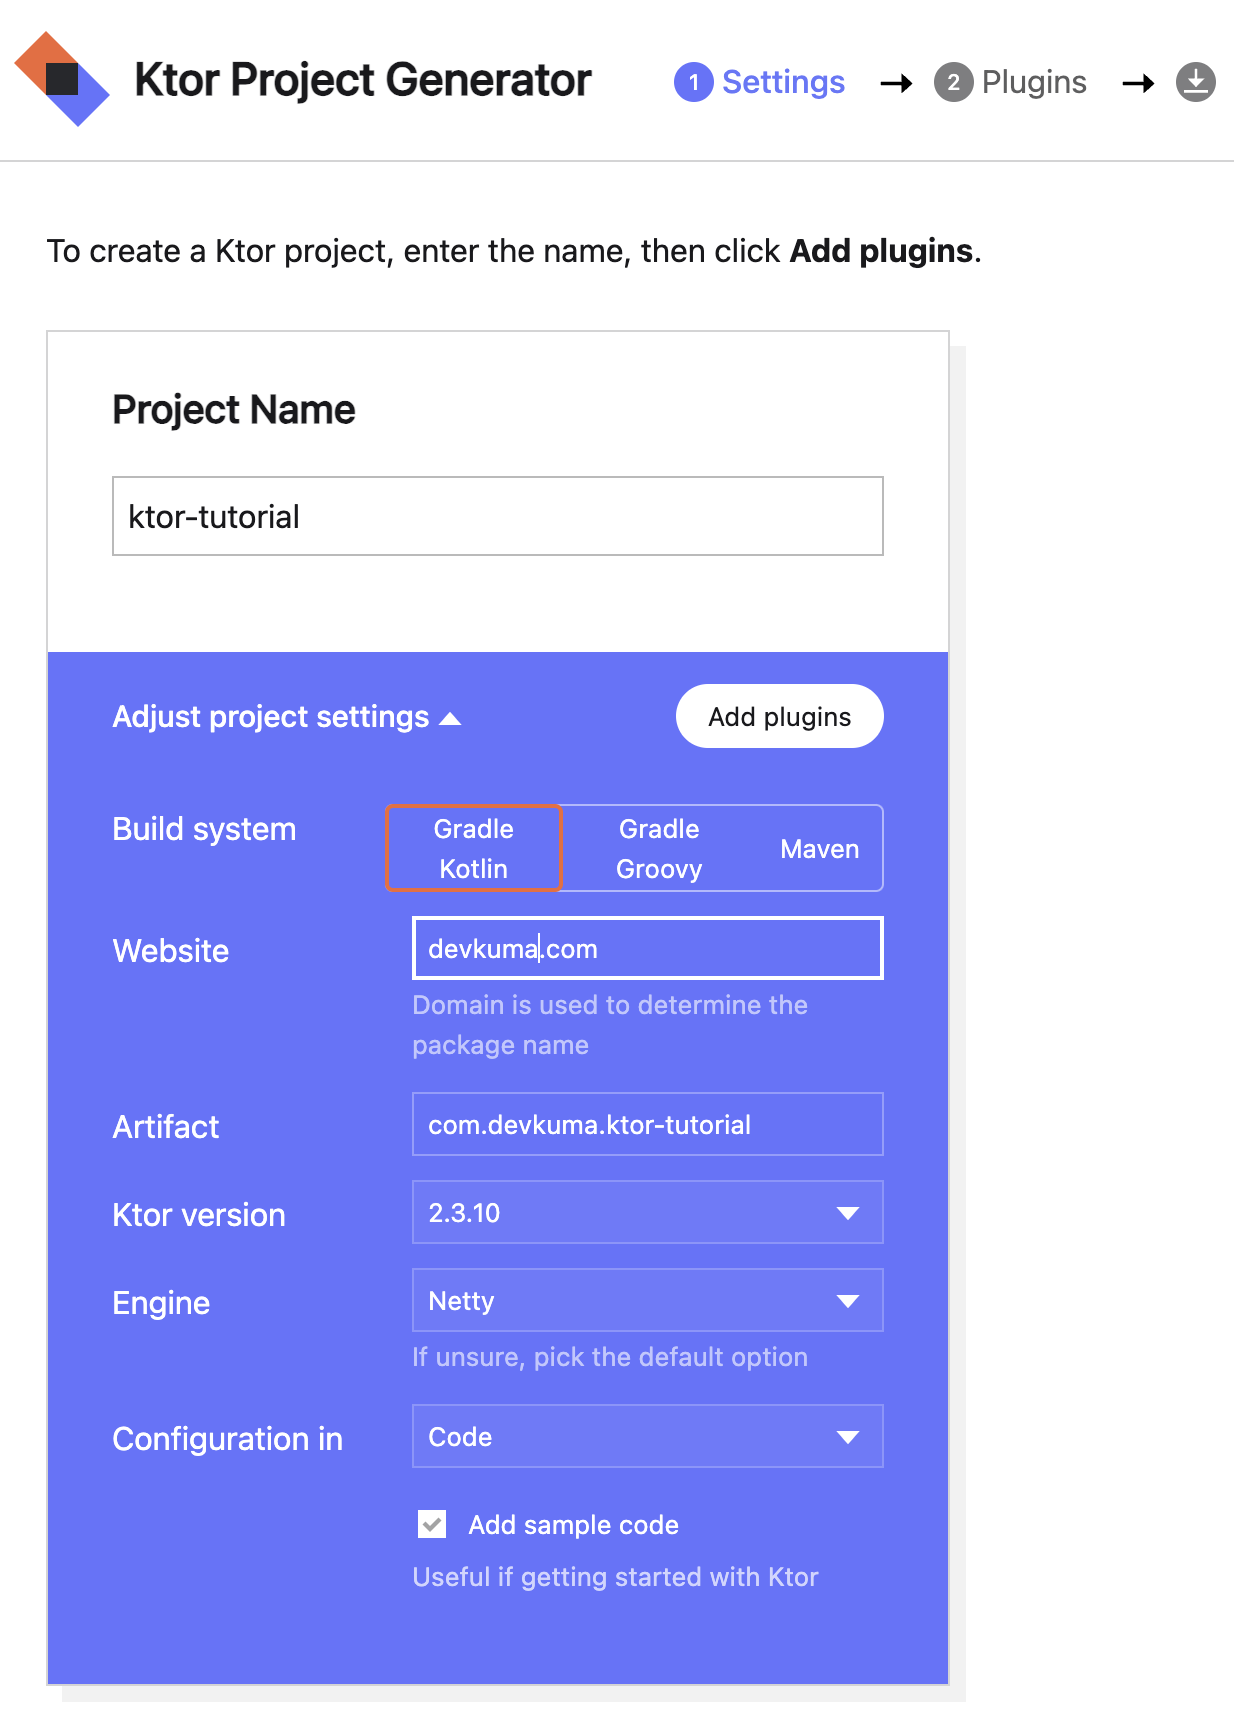
You can keep the default values except for the project name. When the configuration is complete, click the “Add plugins” button.
On the next screen, you can select a plugin set.
The plugin sets provide common Ktor application features such as security, routing, HTTP, monitoring, serialization, content encoding, compression, and cookie support.
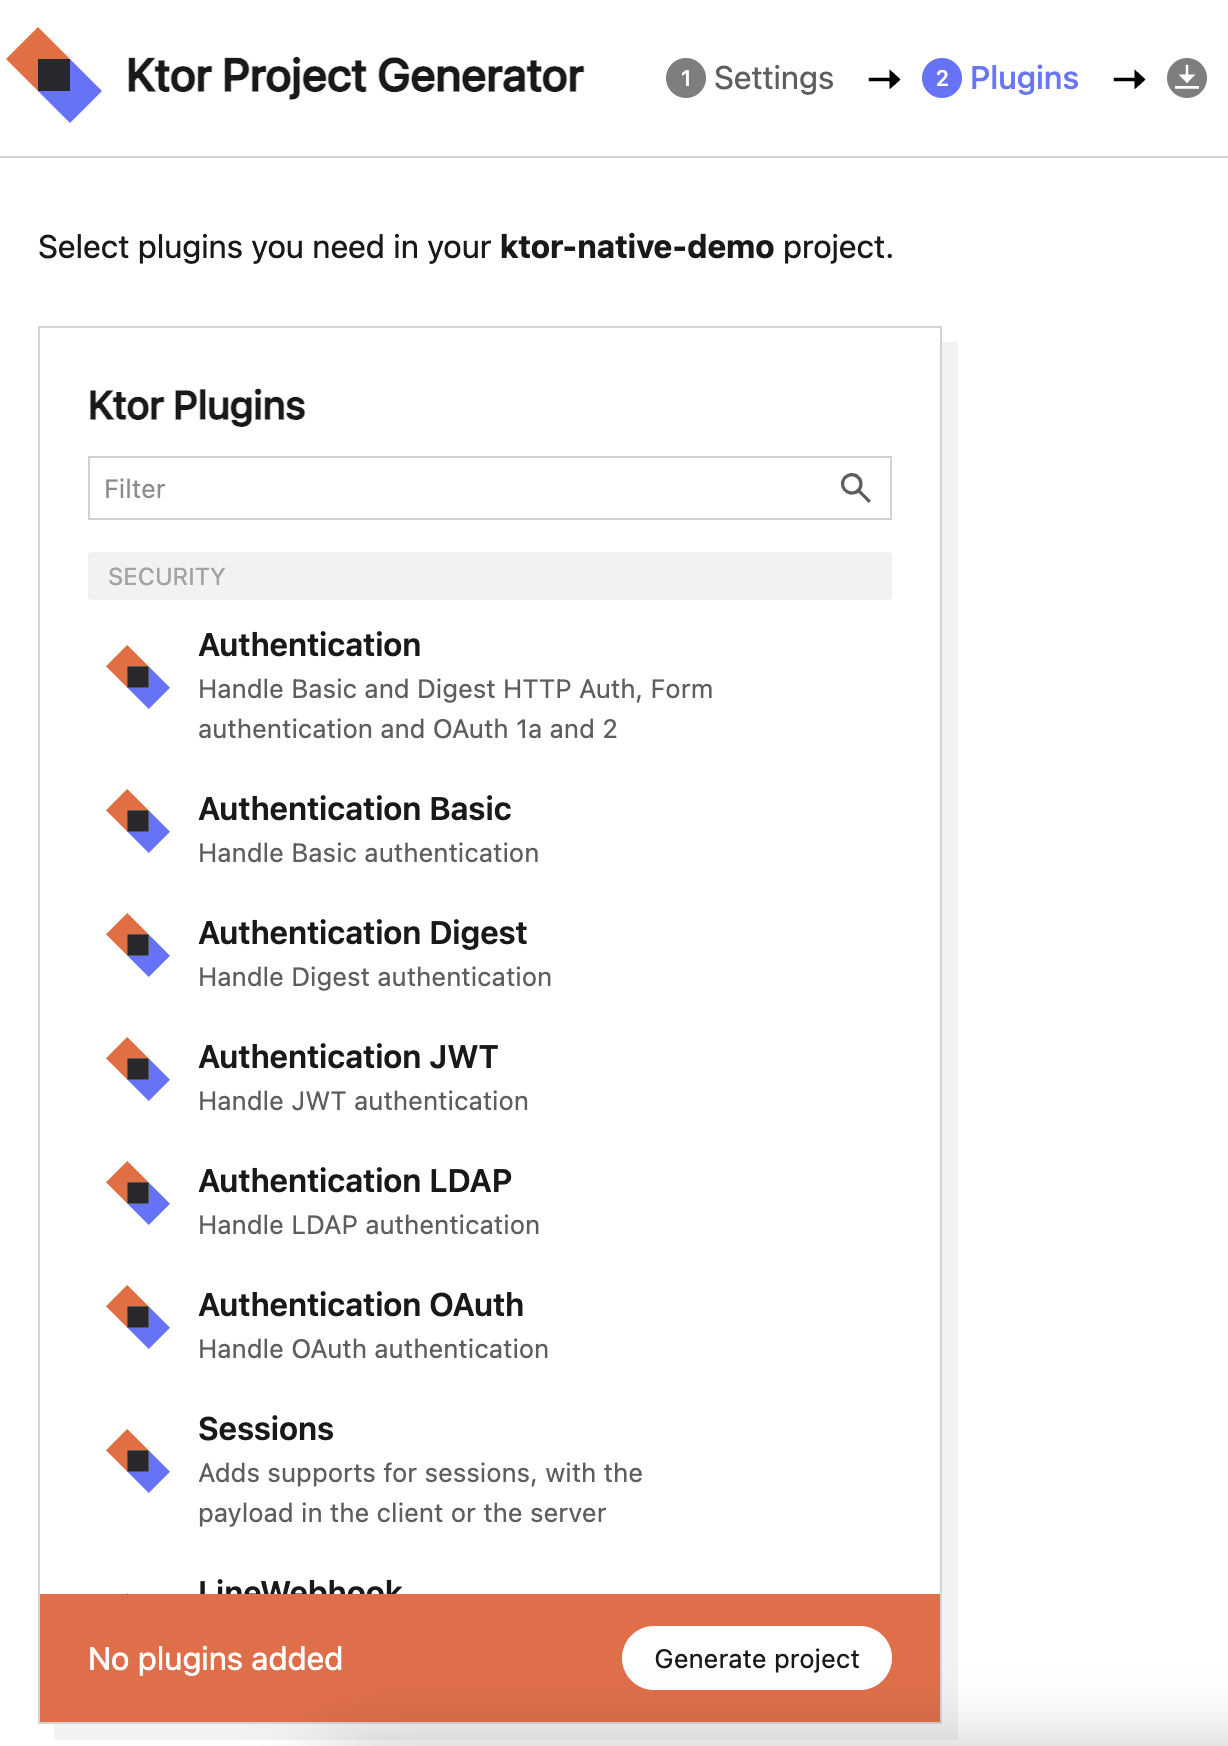
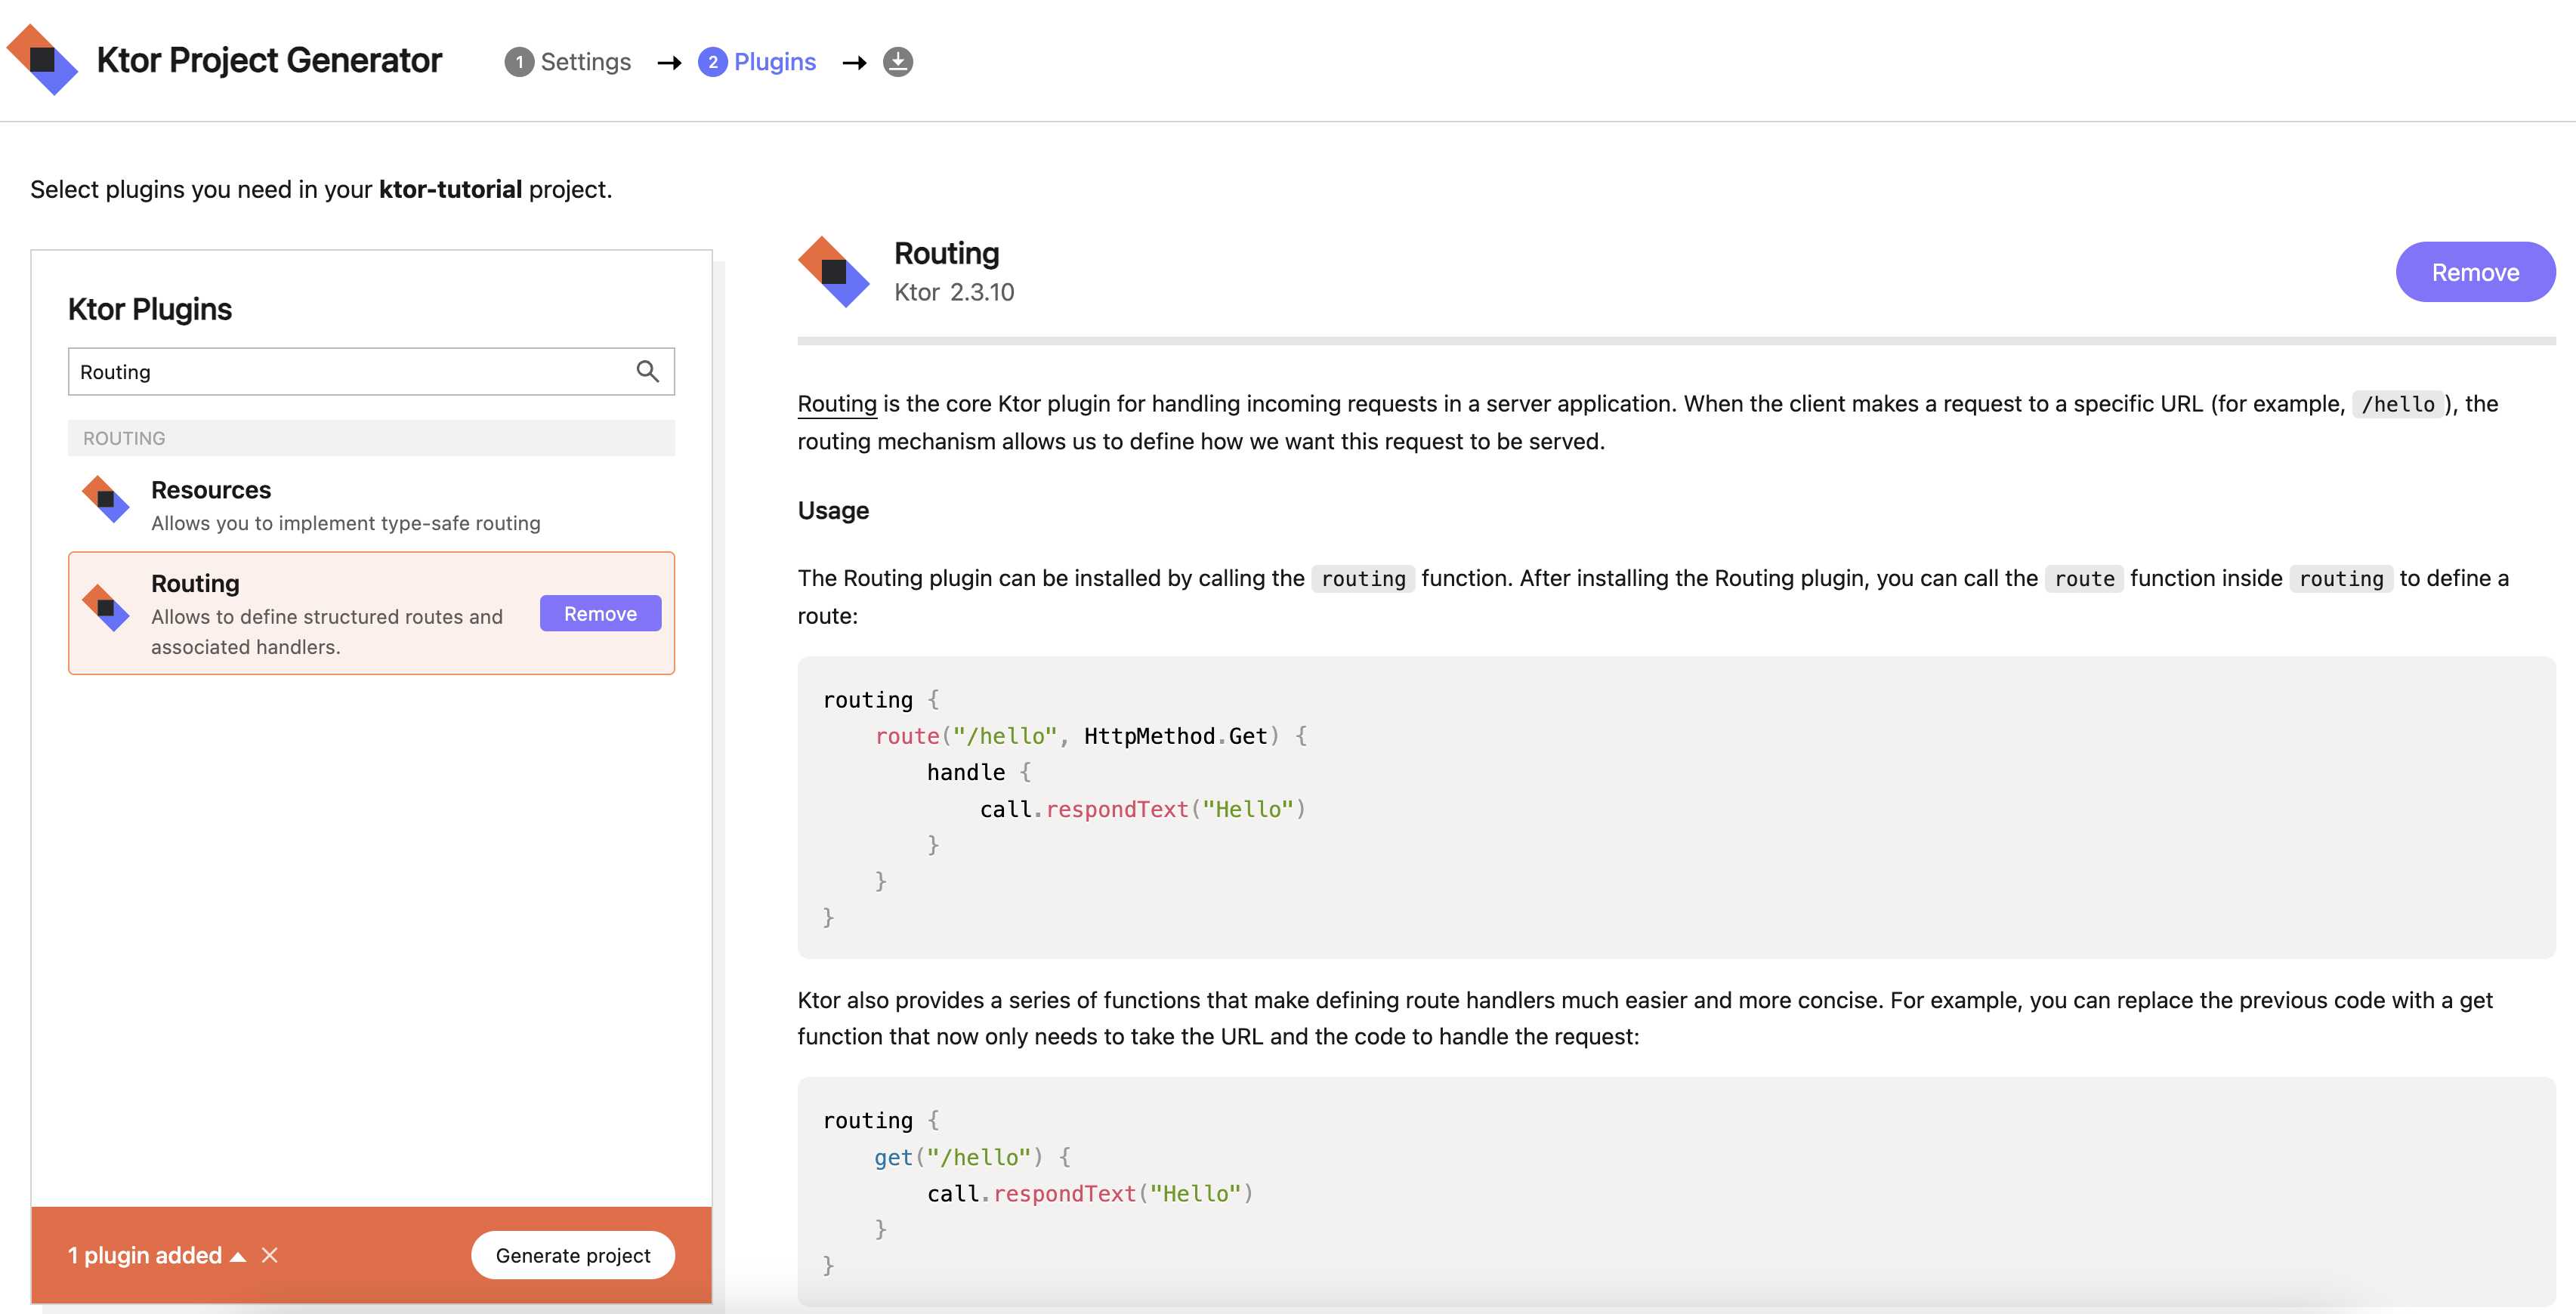
Here, let’s add only “Routing” by following the official procedure. Add it with the Add button, then click the “Generate project” button.
A zip file will be downloaded. Extract the downloaded file and place it in the directory you want. Then check the generated ktor-tutorial directory. The file and directory structure is as follows.
% tree
.
├── build.gradle.kts
├── gradle
│   └── wrapper
│       ├── gradle-wrapper.jar
│       └── gradle-wrapper.properties
├── gradle.properties
├── gradlew
├── gradlew.bat
├── settings.gradle.kts
└── src
    ├── main
    │   ├── kotlin
    │   │   └── com
    │   │       └── devkuma
    │   │           ├── Application.kt
    │   │           └── plugins
    │   │               └── Routing.kt
    │   └── resources
    │       └── logback.xml
    └── test
        └── kotlin
            └── com
                └── devkuma
                    └── ApplicationTest.kt

13 directories, 11 files
Running the Ktor Application
Open the project in IntelliJ IDEA, then open Application.kt at the following path in the project view.
src/main/kotlin/com/devkuma/Application.kt
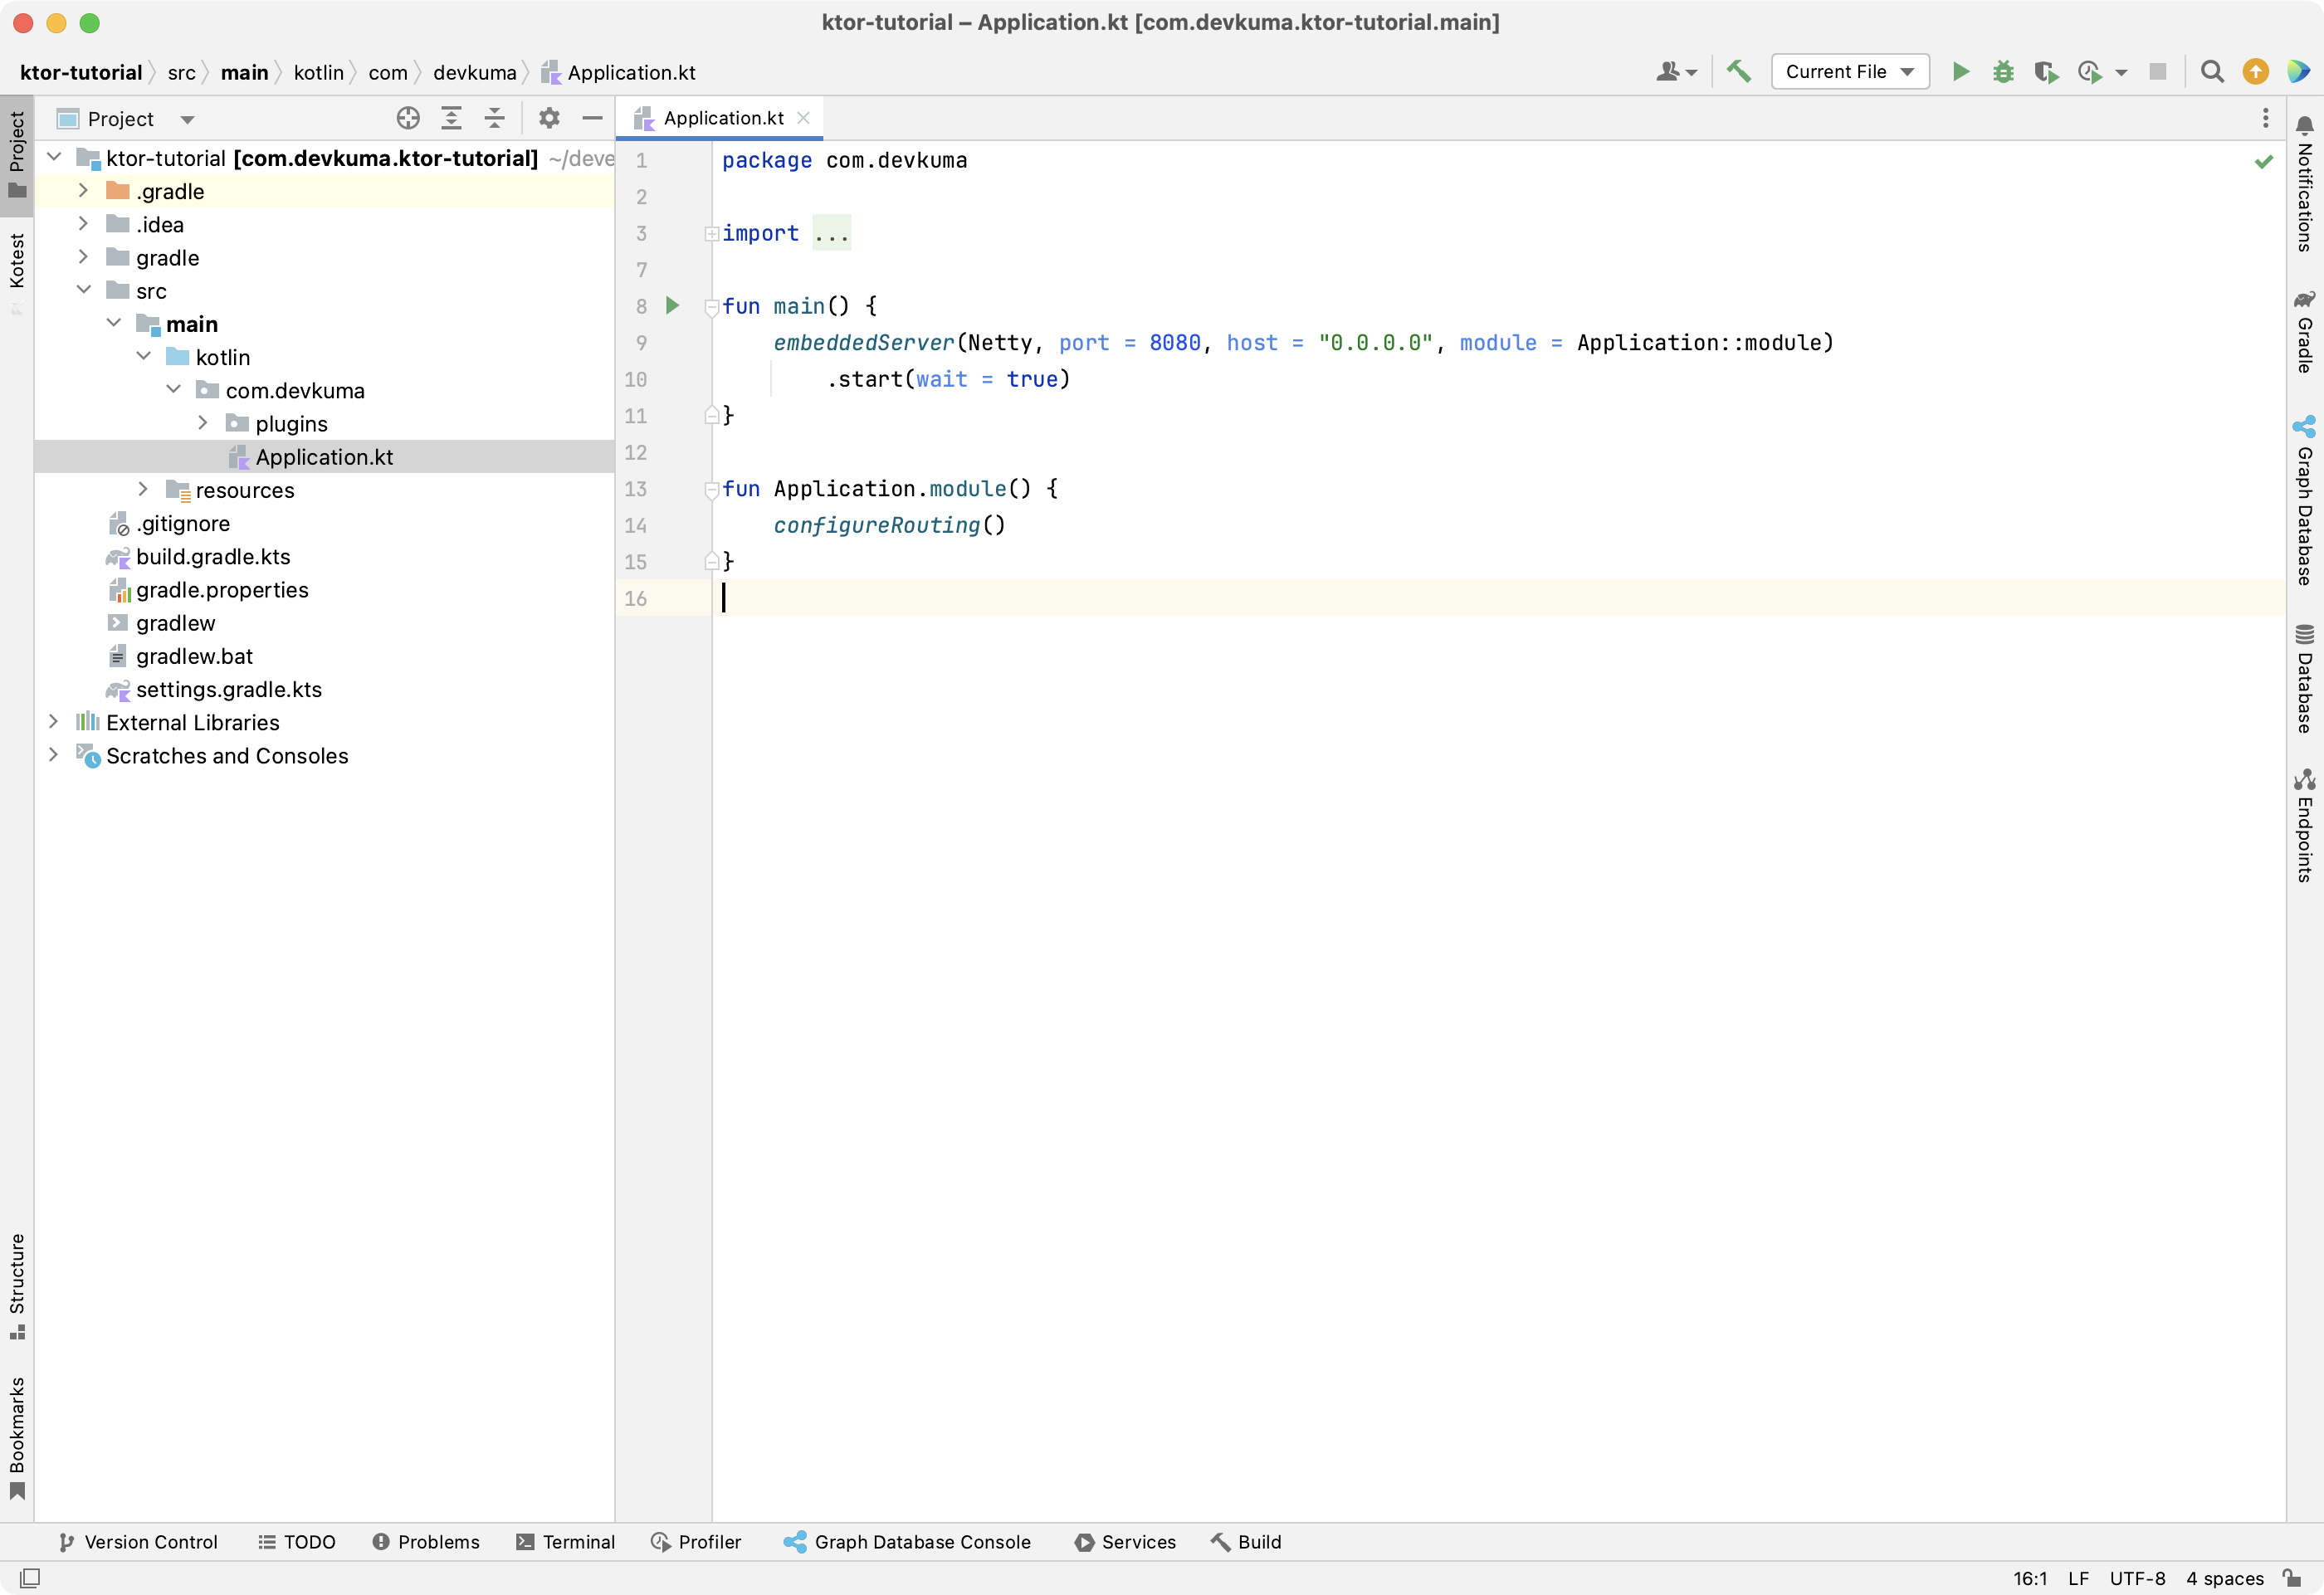
When it opens, you should see the following source code.
package com.devkuma

import com.devkuma.plugins.*
import io.ktor.server.application.*
import io.ktor.server.engine.*
import io.ktor.server.netty.*

fun main() {
    embeddedServer(Netty, port = 8080, host = "0.0.0.0", module = Application::module)
        .start(wait = true)
}

fun Application.module() {
    configureRouting()
}
The key points are as follows.
- The
embeddedServerfunction is used to set the server parameters in code and run the application. configureRoutingis an extension function that defines routing. This function is declared in a separate package namedplugins, and its code is as follows.
src/main/kotlin/com/devkuma/Application.kt
package com.devkuma.plugins

import io.ktor.server.application.*
import io.ktor.server.response.*
import io.ktor.server.routing.*

fun Application.configureRouting() {
    routing {
        get("/") {
            call.respondText("Hello World!")
        }
    }
}
Then return to the main function in Application.kt and click the run button.
After waiting until the application starts in IntelliJ IDEA, you can see logs like the following.
[main] INFO  ktor.application - Autoreload is disabled because the development mode is off.
[main] INFO  ktor.application - Application started in 0.214 seconds.
DefaultDispatcher-worker-1] INFO  ktor.application - Responding at http://0.0.0.0:8080
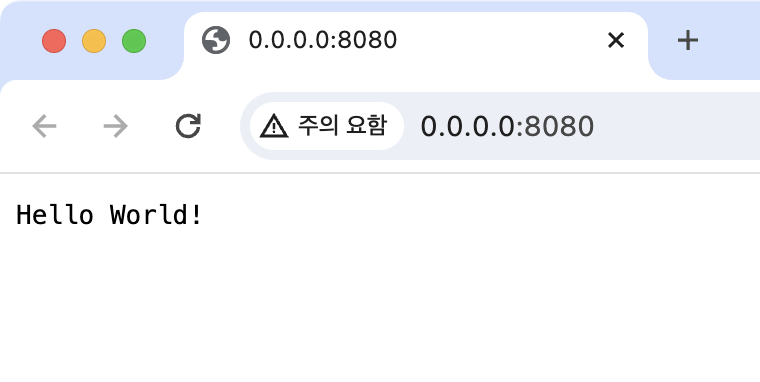
The important point is not the exact message, but that the server is ready to receive requests at http://0.0.0.0:8000. Open it in a browser.
You can confirm that Hello World! is displayed.
Testing the Ktor Application
Next, let’s run the test code that is generated by default.
Open the file at the following path to see the automatically generated test code.
src/main/kotlin/com/devkuma/ApplicationTest.kt
package com.devkuma

import com.devkuma.plugins.*
import io.ktor.client.request.*
import io.ktor.client.statement.*
import io.ktor.http.*
import io.ktor.server.testing.*
import kotlin.test.*

class ApplicationTest {
    @Test
    fun testRoot() = testApplication {
        application {
            configureRouting()
        }
        client.get("/").apply {
            assertEquals(HttpStatusCode.OK, status)
            assertEquals("Hello World!", bodyAsText())
        }
    }
}
Here, the testApplication function is called, a GET request is sent to /, and the response status and content are checked.
When you run the testApplication function, you can see logs like the following, which indicate that the test completed successfully.
[Test worker @coroutine#1] TRACE i.ktor.client.plugins.HttpPlainText - Adding Accept-Charset=UTF-8 to http:///
[DefaultDispatcher-worker-1 @call-context#2] INFO  ktor.test - No ktor.deployment.watch patterns specified, automatic reload is not active.
[DefaultDispatcher-worker-1 @call-context#2] INFO  ktor.test - Application started in 0.015 seconds.
[DefaultDispatcher-worker-3 @coroutine#4] INFO  ktor.test - Responding at http://localhost:80
[DefaultDispatcher-worker-3 @coroutine#4] INFO  ktor.test - Responding at https://localhost:443
[DefaultDispatcher-worker-1 @request#2] TRACE io.ktor.routing.Routing - Trace for []

... omitted ...
Wrap-up
This time, we confirmed Hello World! through the standard Ktor tutorial. It is also notable that test code is provided by default and that the routing code is written in an intuitive, easy-to-understand way.