Creating My Own New Hugo Theme - new theme
Creating a New Theme
Hugo has many templates that are already publicly available, but you can also design and create a theme exactly as you want. To create a theme, first create a basic form with the following command.
$ hugo new theme {theme name}
For example, running the following creates the themes/my-theme directory.
$ hugo new theme my-theme
The generated files look like the following. The directory structure is created, but the file contents are almost empty. Create templates based on these files.
Form of the newly created theme
themes/my-theme
├── LICENSE   (MIT license)
├── archetypes
│   └── default.md
├── layouts
│   ├── 404.html
│   ├── _default
│   │   ├── baseof.html
│   │   ├── list.html
│   │   └── single.html
│   ├── index.html
│   └── partials
│       ├── footer.html
│       ├── head.html
│       └── header.html
├── static
│   ├── css
│   └── js
└── theme.toml (basic configuration file)
Creating the First Page Layout (layouts/index.html)
The layouts/index.html file inside the theme directory is the template file for the site’s first page. If you are creating a site made up of only one HTML file (SPA: Single Page Application), you only need to create this file. Since nothing is written in the initial state, first modify it so that only the site name is displayed at startup.
themes/my-theme/layouts/index.html
<h1>{{ .Site.Title }}</h1>
As shown above, you can output the value of the Title field of the .Site variable, which holds site information. The text set in title in the site configuration file (config.toml) is displayed here.
After creating it up to this point, check the site using this theme. To specify the theme to use with the hugo command, use the -t {theme name} option.
$ hugo server -t my-theme
After starting the Hugo server as above, access http://localhost:1313/ to check the view.
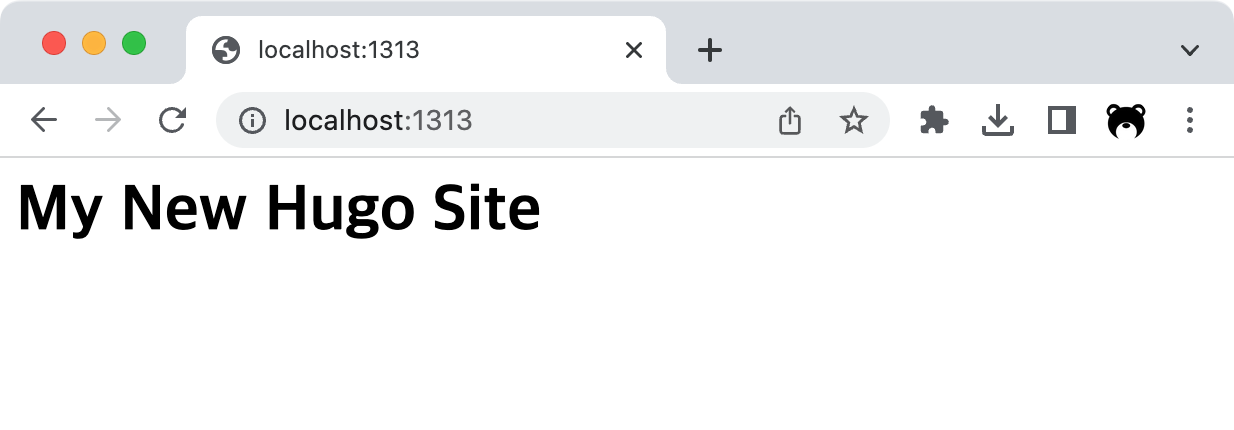 Figure: First page using my theme
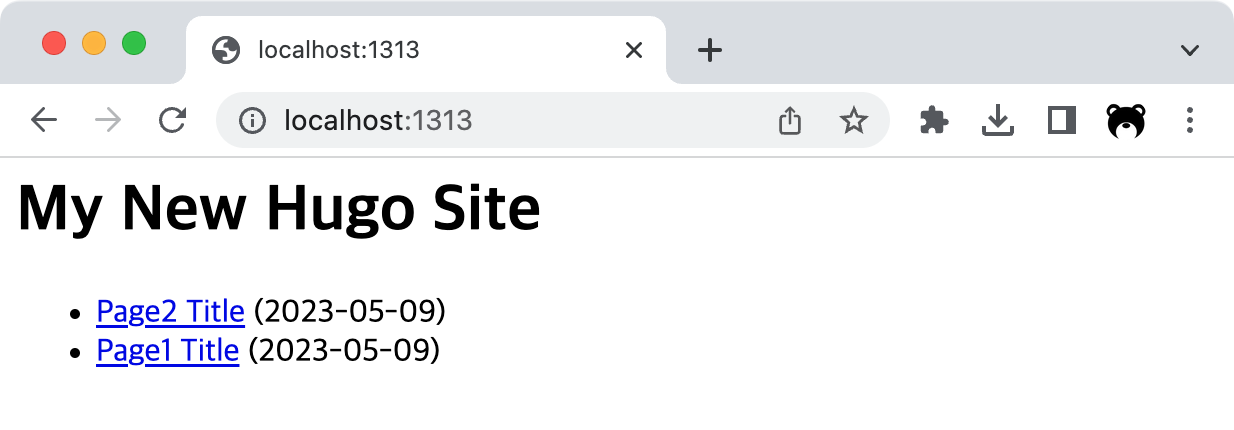
Displaying a List of All Pages on the First Page
Inside the first page template (layouts/index.html), you can refer to the .Data.Pages variable to obtain information for all pages (Page variables). If you loop through this information with range, you can output links to all pages.
themes/my-theme/layouts/index.html
<h1>{{ .Site.Title }}</h1>
<ul>
  {{ range .Data.Pages }}
    <li><a href="{{ .RelPermalink }}">{{ .Title }}</a> ({{ .Date.Format "2006-01-02" }})</li>
  {{ end }}
</ul>
Creating a Layout for Each Page (layouts/_default/single.html)
Each linked page is generated based on the layouts/_default/single.html template file, so this file must be created in advance. In this template, you can refer to fields of the Page variable. For example, .Title refers to the page title and .Content refers to the page body.
themes/my-theme/layouts/_default/single.html
<h1>{{ .Title }}</h1>

{{ .Content }}
Prepare the content of each page in the content/ directory as follows.
content/page1.md
---
title: "Page1 Title"
date: "2017-09-10"
---

Page1 Content
If you create the layout file and content as shown above, each page’s content will be displayed as follows.
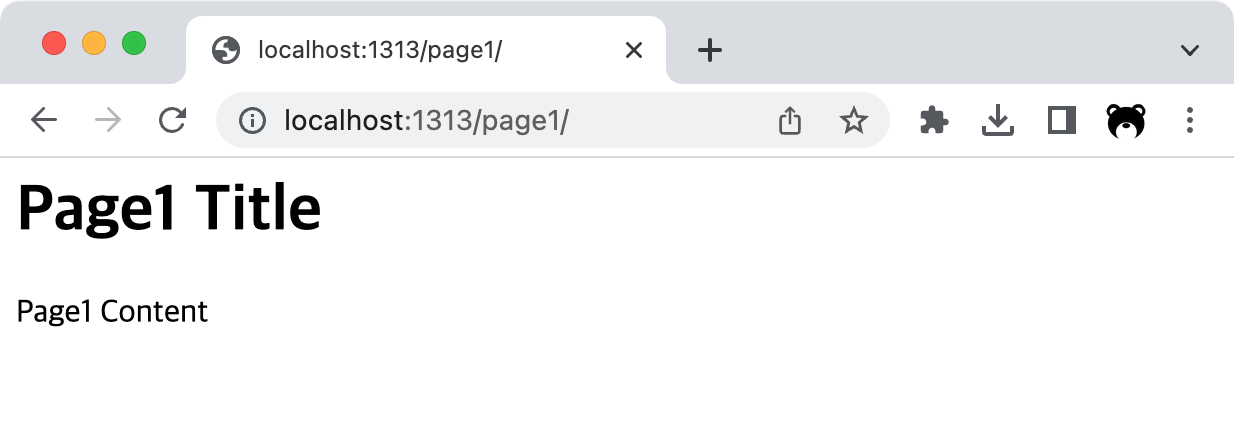 Figure: Output with a single page template
From here, continue creating template code in the layouts directory in the same way to complete your theme. Shortcodes that can be used in Markdown files can also be provided as custom theme components (layouts/shortcodes).